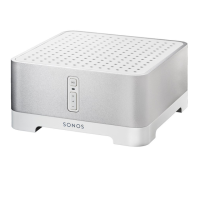
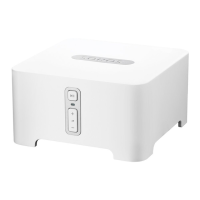
Sonos Multi-Room Music System User Guide
6-10
If the message Firewall Off does not display, please continue on to step 4 to add
access to the ports your ZonePlayers will use.
4. Click the New button.
If the New button is disabled, click the lock at the bottom of the window and enter
an administrator's password.
5. From the pull-down Port Name menu, select Other.
6. For TCP Port Number(s), type or paste 445,3400.
7. For UDP Port Number(s), type or paste 1900,1901,6969.
8. Type the description as Sonos.
9. Click OK.
10. Close the System Preferences window.
Mac OS X’s built-in firewall for 10.5
1. Open the System Preferences window.
2. Select the Security icon.
3. Select the Firewall tab.
If the firewall is set to Allow all incoming connections, nothing needs to be changed
and you can close the System Preferences window. If not, continue on to step 4
below.
4. Select Set access for specific services and applications, and click the “+” icon.
5. Select Sonos Desktop Controller from the list of Applications, and click Add.
6. Close the System Preferences window.
Norton Personal Firewall for Mac OS X
While you are setting up your Sonos system, you will be asked for network
connectivity permission.
1. Select Change, and then Allow to allow connections on these ports.
2. Select Done to confirm.
You will also need to add ports to the service.
3. From the Norton Antivirus Setup window, select New.