61
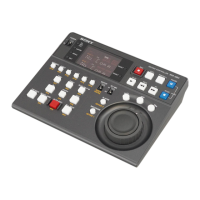
Using as an Editor
Setting the last OUT point
The duration of the player and that of the recorder are
equal. Therefore, when either of the OUT points is entered,
the duration between the IN and OUT points of one VTR
is automatically calculated and the other OUT point is
entered.
IN point near the beginning of tape
When setting an IN point near the beginning of tape, be
sure to allow enough time for preroll between the
beginning of tape and the IN point. The preroll time is set
using setup menu item 01 (see page 75).
Resetting the edit points
Press the RESET button simultaneously with the IN button
to reset only the IN point, simultaneously with the OUT
button to reset only the OUT point, or simultaneously with
the GO TO/SPLIT IN button to reset only the audio IN
point.
Recalling the previous edit point
Press the ENTRY button simultaneously with the
RECORDER (DEVICE 1) button or the PLAYER
(DEVICE 2) button.
Locating the edit points
To locate the IN or OUT point: Press the GO TO/SPLIT
IN button simultaneously with the IN or OUT button.
To locate the audio IN point: Press the GO TO/SPLIT IN
button simultaneously with the PREROLL button.
Checking the IN/OUT point
You can check the time data of the edit points on the time
data display while pressing the IN or OUT button.
Checking the duration between the IN and OUT
points
Press the IN and OUT buttons simultaneously.
Caution regarding CTL signal display
Errors in the display may occur when playing back a tape
which is missing some CTL signals or when repeatedly
rewinding or fast-forwarding.
Preview
Use this function to perform a rehearsal of the editing.
This function allows you to check the contents of the
editing and confirm the IN and OUT points you entered is
adequate before executing the editing. If a preview is not
necessary, skip this operation and execute the editing. The
PREVIEW button flashes when a preview can be done.
Executing the preview operation
Press the PREVIEW button.
The PREVIEW button lights up and the tapes of both the
player and the recorder are played back in the same way as
when editing.
The picture in the E-E mode can be checked on the monitor
connected to the recorder.
Canceling the preview operation
Press the ALL STOP button.
Modifying the Edit Points Frame by
Frame (Trimming)
Press the TRIM + or the TRIM – button holding down the
IN button, OUT button, or GO TO/SPLIT IN button you
want to modify.
TRIM +: Each time you press this button, the edit point
advances by one frame.
TRIM –: Each time you press this button, the edit point
goes back by one frame.
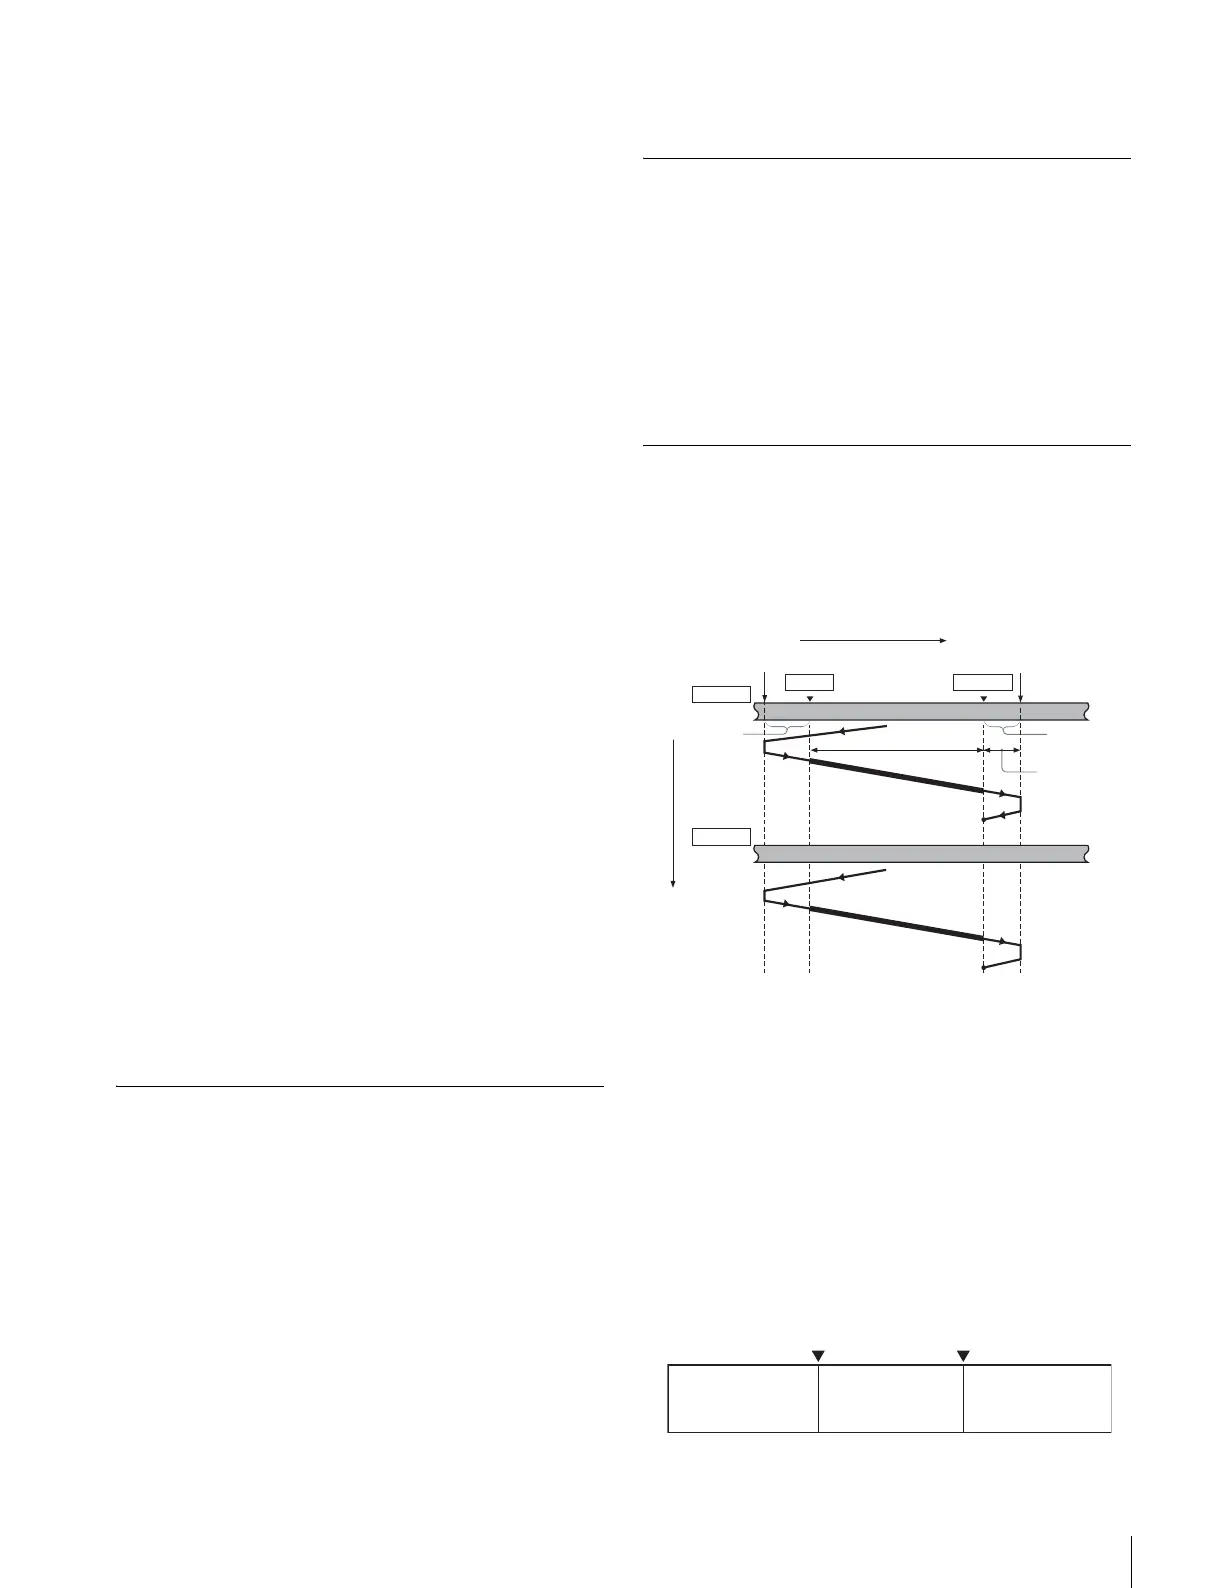
Executing Automatic Editing
When you perform automatic editing, the recorder and the
player operate as shown in the figure below, to record the
video and audio signals between the IN and OUT points of
the player starting at the IN point on the recorder.
Monitor output
During an automatic editing, in the same way as during a
preview, you can check the following video and audio
signals on a monitor connected to the recorder:
• From the preroll point to the IN point, you can monitor
the playback picture from the recorder.
• From the IN point to the OUT point, you can monitor the
playback picture from the player through the recorder in
E-E mode.
• From the OUT point to the postroll point, you can
monitor the playback picture from the recorder.
The figure illustrates this.
Playback
Stop
IN point OUT point
Postroll
Time flow
Preroll point
Stop
Preroll
Edit segment
Tape transport direction
Recording
overlap
Postroll point
Player
Recorder
Stop
IN point OUT point
PB (Recorder)PB (Recorder) E-E (Player)