63
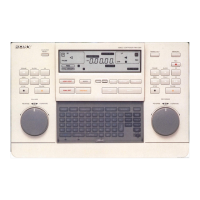
Using as an Editor
7
Complete the edit at the desired OUT point by doing
one of the followings.
• Press the ALL STOP button.
Both the recorder and the player stop.
• Press the PLAY button.
The recorder switches to playback and the player
continues the playback.
Do not start editing with the recorder in the still mode.
Otherwise, the edited picture will be distorted.
Quick Editing
You can save time by entering edit points while the unit is
in the preview mode.
1
Search for the IN points for both the player and the
recorder by using the search dial, and at the desired IN
points stop the tapes.
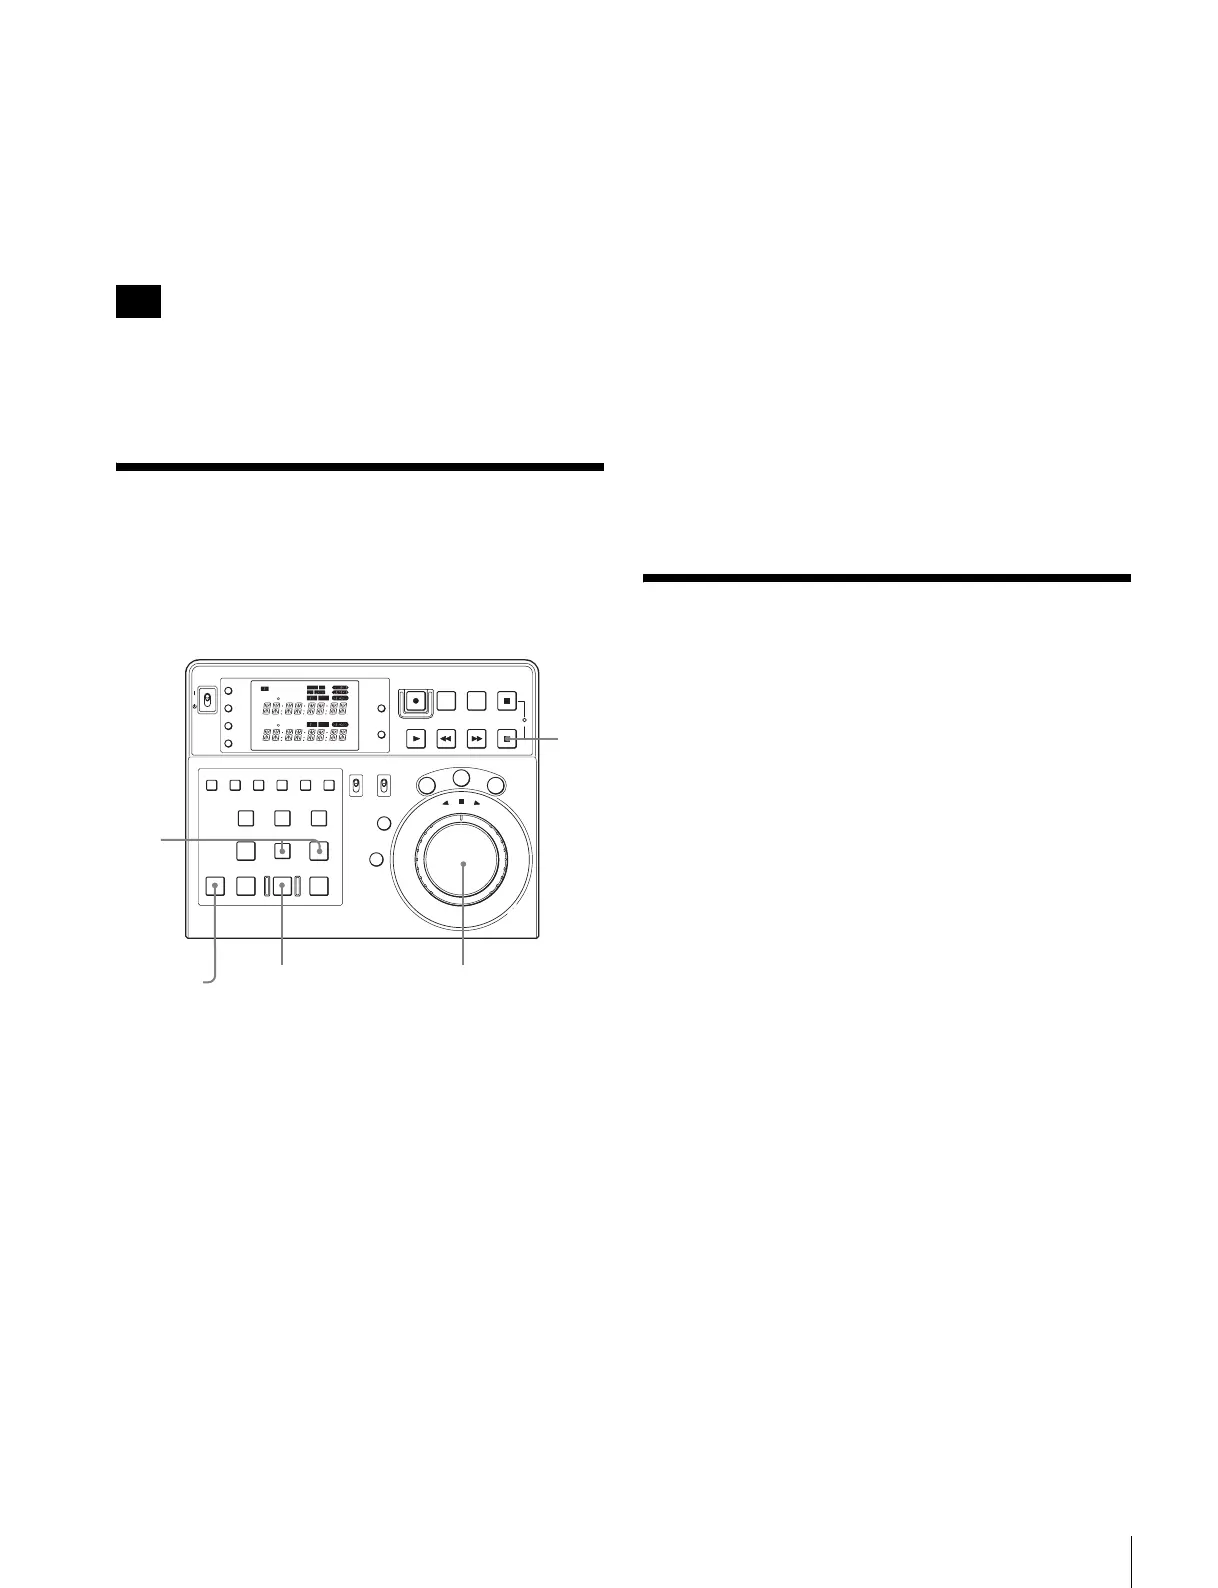
2
Press the PREVIEW button.
The point where you pressed the button is
automatically regarded as the IN point for the player
and the recorder and the preview begins.
3
Press the ENTRY button simultaneously with the
OUT button at the desired OUT point, observing the
monitor.
The OUT point is entered.
After approximately two seconds, both the player and
the recorder stop.
4
Modify the IN and OUT points, performing the
preview again if necessary.
5
Press the AUTO EDIT button.
The editing begins.
To enter the OUT point precisely
After proceeding to Step 3, use the search dial to find the
precise scene for the OUT point. When you find the scene,
press the ENTRY and OUT buttons simultaneously to
enter the OUT points again.
Then press the AUTO EDIT button to start the editing.
Editing even more quickly
Instead of pressing the PREVIEW button in Step 2, press
the AUTO EDIT button. Preview is omitted and actual
editing begins immediately.
Single (Standalone)
Editing
You can perform editing only on the recorder by importing
the E-E output or still image output from the player.
Selecting single editing
Perform one of the following operations:
• Remove the cassette tape or disc from the player.
• Set the player to the standby/off mode.
• Set the remote setting of the player to LOCAL.
• Press the RECORDER button simultaneously with the
ALL STOP button on this unit.
The unit is forced to enter the single editing mode.
To exit the unit from the single editing mode, press the
RECORDER button simultaneously with the ALL
STOP button again.
• Remove the 9-pin cable connected to the REMOTE (9P)
PLAYER (DEVICE 2) of the connector panel on this
unit.
In the single editing mode, you can edit using only the edit
points made with the recorder. Operations available after
you select the single editing mode are the same as the ones
available when you select the recorder in the automatic
editing mode.
For detailed procedures, see “Automatic Editing” on page
59.
Note
POWER
TC
IN OUT
PLAYER
RTCTL
DEVICE 2
RTC
CTL
LEARN
RESET
REC EDIT
JOG
SHTL
V
AR
EDITING CONTROLLER
RM
-
280
PREROLL PAUSE
PLAY REW FF STOP
STANDBY
RESET
MENU
SET
ASSEMBLE
VIDEO
TRIM
-
TRIM+
GO TO/SPLIT IN
PF7 PF8 PF9
PF4 PF5 PF6
PF1 PF2 PF3
IN ENTRY OUT
REVIEW / JUMP
PREVIEW AUTO EDIT ALL STOP
A1 A2 A3 A4
PF10 PF11 PF12 PF13 PF14 PF15
EDITOR
PLAYER
DEVICE 2
DEVICE 1
RECORDER
REMOTE
CONTROL
KEY INHI
ON
OFF
RECORDER
RTCTL
DEVICE 1
1
12, 4
3
5