Home
SPECTRO
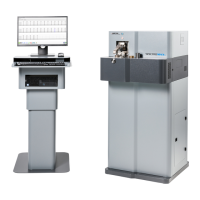
Measuring Instruments
XEP05
Page 48
SPECTRO XEP05 - Page 48
56 pages
Manual
Save Page as PDF
To Next Page
To Next Page
To Previous Page
To Previous Page
Loading...
Maintenance by the operator
— 48
SPECTRO XEPOS — 19.01.2017
6.
In order to replace the film, push
the tool into the gap between the
sample cup holder and the
clamping ring and push off the
clamping ring.
The film is now inserted.
Fig. 23
47
49
Table of Contents
Main Page
Default Chapter
3
Table of Contents
3
1 Description of Instrument
5
Description
5
Function
5
Overview
6
Configuration
6
Instrument (Front)
7
Opening and Closing the Sample Chamber Lid
8
Instrument (Back)
9
Sample Chamber
10
Sample Chamber - Additional Components
11
Sample Tray
11
2 Safety
12
Symbols Used
12
User Information
13
Intended Use
13
Prohibited Operating Conditions
14
Residual Risks
14
Radiation Protection Advice
16
Other Countries
16
3 Technical Data
17
4 Transportation/Setting-Up
18
Storage
19
Gas Supply (Optional)
19
Vacuum (Option)
20
Uninterruptible Power Supply - UPS (Option)
21
5 Operation
23
Displays
23
Screen - Routine Dialog
23
Beam Stop Display on the Instrument
24
Switching on the Instrument
25
Proceed with the Start-Up Test
27
Checking the Safety Circuits on the Sample Chamber Lid
27
Checking the Safety Circuit on the Filter Changer ("Beam Stop")
28
Initialization of the Stepping Motors
29
Automatic Verification of the Safety Circuits after One Month
30
Switching off the Instrument
31
Standby Mode
32
Measuring Procedure
33
Preparing the Measuring Procedure
33
How to Measure Cuvettes (Powder or Liquid)
34
How to Measure Different Samples
34
How to Measure Glass or Melting Pellets
35
How to Measure Powder Pallets
35
How to Measure Large Samples
36
Proceed with the Measurement
37
How to Change/Remove the Sample Tray
38
Dust Protection Shutter / Beam Stabilization Vacuum Shutter (Option)
39
Dust Protection Shutter
39
Beam Stabilization Vacuum Shutter
39
6 Maintenance by the Operator
40
Operator Maintenance Plan
40
Energy Channel Recalibration (MCA)
42
Standardization (Global Recalibration)
43
Clean the Sample Tray
44
Clean the Sample Chamber
44
Replacing the Adhesive Film in the Discharge Reservoir
45
Replacing the Tray Pads
46
Insert the Film for the "Liquid Protect" Sample Cup
47
Replacing the Filter Mat
49
Dust Protection Shutter / Beam Stabilization Vacuum Shutter (Option) - Clean O-Ring
50
Troubleshooting
51
7 Spare Parts and Consumables
55
8 Commissioning
55
9 Manufacturer Address
55
10 EC Declaration of Conformity
56
Related product manuals
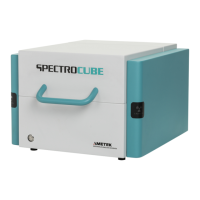
SPECTRO SPECTROCUBE C XEP06C
40 pages
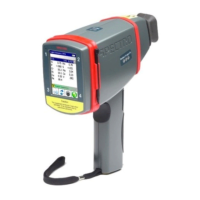
SPECTRO xSORT
53 pages
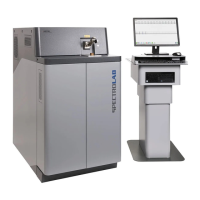
SPECTRO SPECTROLAB
46 pages
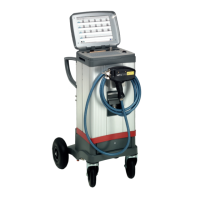
SPECTRO SPECTROTEST
42 pages
SPECTRO SPECTROMAXx
58 pages