QA BEAMCHECKER™ PLUS 11
2.3 Baseline Acquisition
A baseline is what the QA BeamChecker Plus uses to automatically determine which energy
was delivered for static photon and electron measurements and serves as a comparative
benchmark for subsequent exposures. A baseline must be acquired for each energy or plan
delivered to the QA BeamChecker Plus.
NOTE: Additional preparations are necessary before taking this step for rotational methods
such as TomoTherapy or IMAT/VMAT. See Appendix B for more information before proceeding.
NOTE: A baseline should be acquired roughly when the daily measurement will take place. For
instance, if the daily measurement is regularly performed at 7:00 AM, the baseline should be
taken at a similar time.
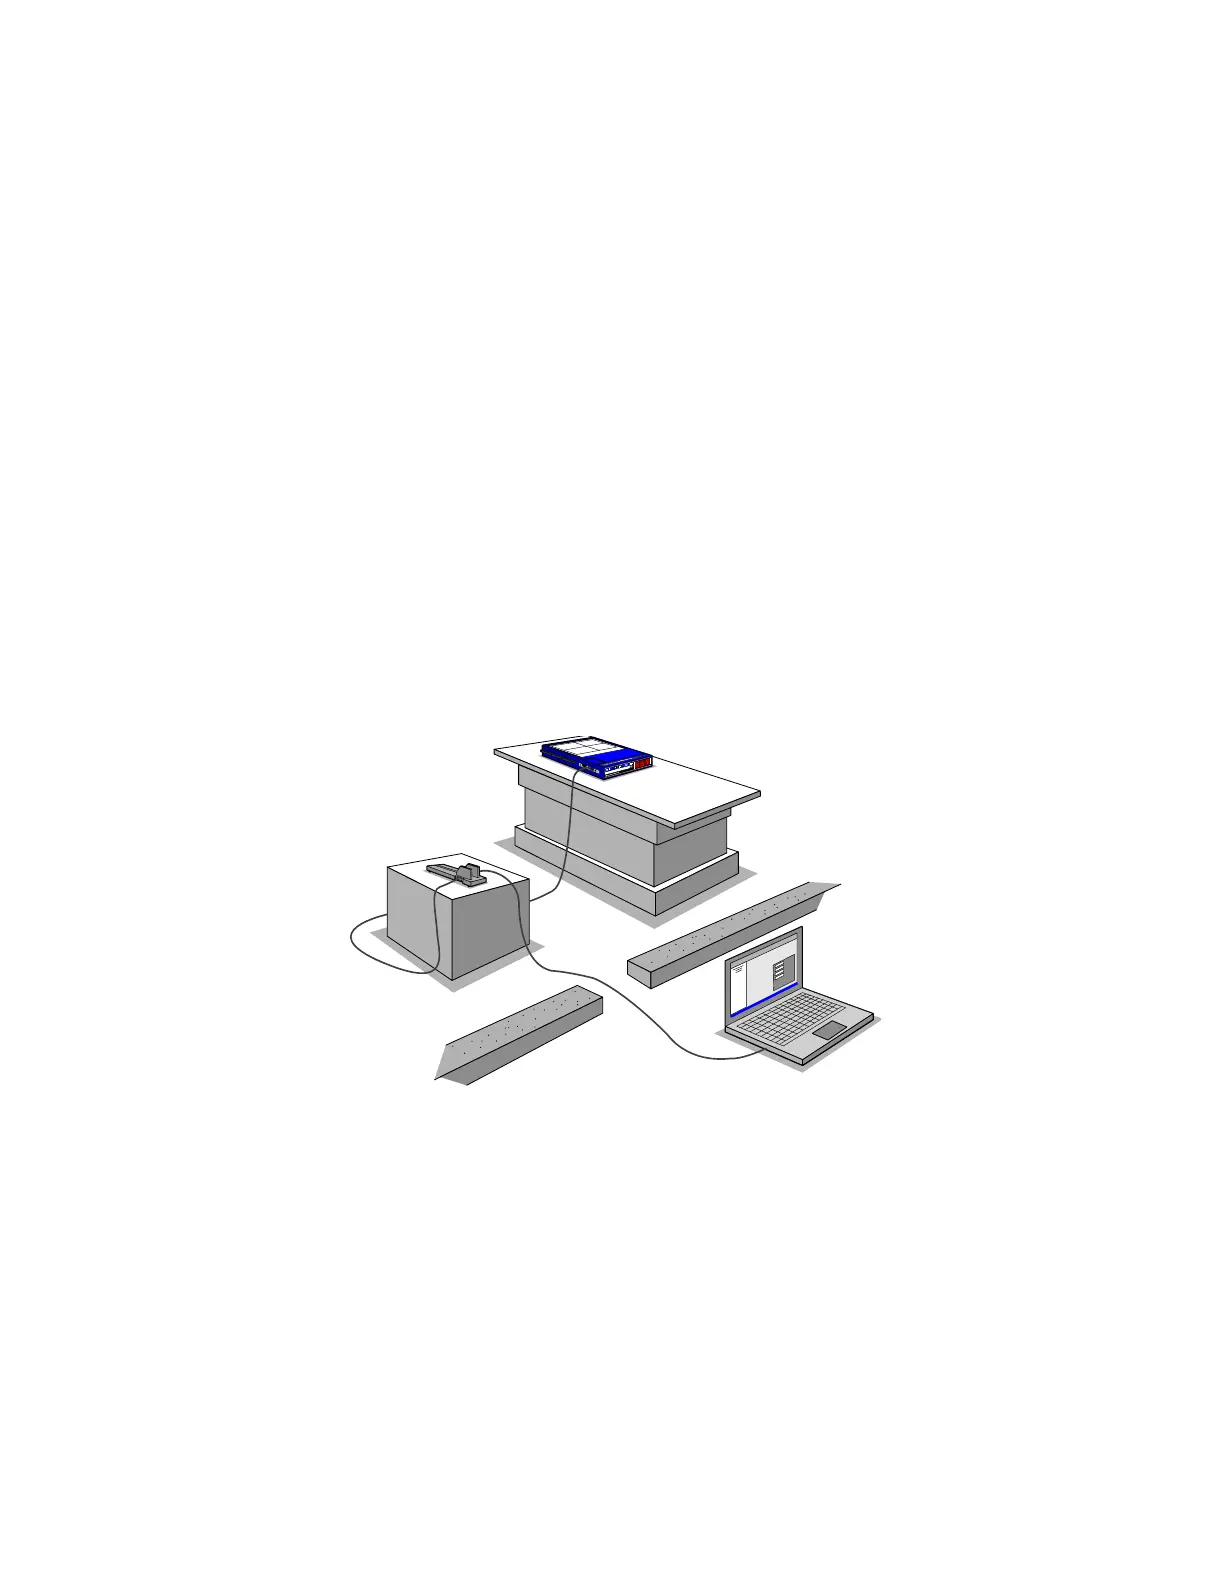
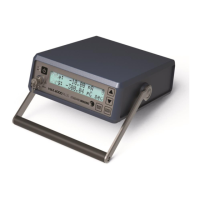
1. The QA BeamChecker Plus must be connected to the PC while baselines are acquired.
Typically, the 100 ft serial cable is run from the computer (with USB adapter, if needed), into
the treatment vault, and connected to the Power/Data Cradle (read more about the
Power/Data Cradle on page 8). Using the pass-through port on the Power/Data Cradle, the 25
ft serial cable is used to connect the cradle to the QA BeamChecker Plus which is placed on
the treatment couch. Ensure the QA BeamChecker Plus is flipped to the proper side based on
initial energy to be delivered. Exact positioning varies by application; however 100 cm SSD and
20 x 20 cm field size is typical for static electron and photon exposure.
Figure 1: Typical QA BeamChecker Plus wired setup
2. Return to computer and launch the QA BeamChecker Plus software. At the top of the
screen is a colored bar showing the hardware connection status. If the Baselines tab (bottom
of screen) is selected, the status indicator at the top of the screen should show as yellow
(Waiting). Click the Create New Baseline button.
3. Complete the form with the appropriate parameters and proceed to measurement. See
page 12 for more information.
4. The status indicator should now show green (Ready). Review the entered parameters and
expose the QA BeamChecker Plus with the desired energy or plan. The acquired