QA BEAMCHECKER™ PLUS 12
measurement values will show on screen. If satisfied with the measurement result, click Save
Measurement. The main baseline screen is displayed, and results can be reviewed.
5. Repeat steps 2-4 for each desired energy or plan. The QA BeamChecker Plus will need to be
flipped over if switching between photons and electrons. Baselines can be recreated at any
time if necessary.
The QA BeamChecker Plus is now prepared for daily measurements.
2.4 Performing Routine Measurements
Routine measurements can be performed using either Wire-Free or Real-Time Operation
modes, but this abbreviated guide will cover taking static linear accelerator measurements
using the Wire-Free mode. The PC is not used for this method, therefore no cables or software
are required.
Setup
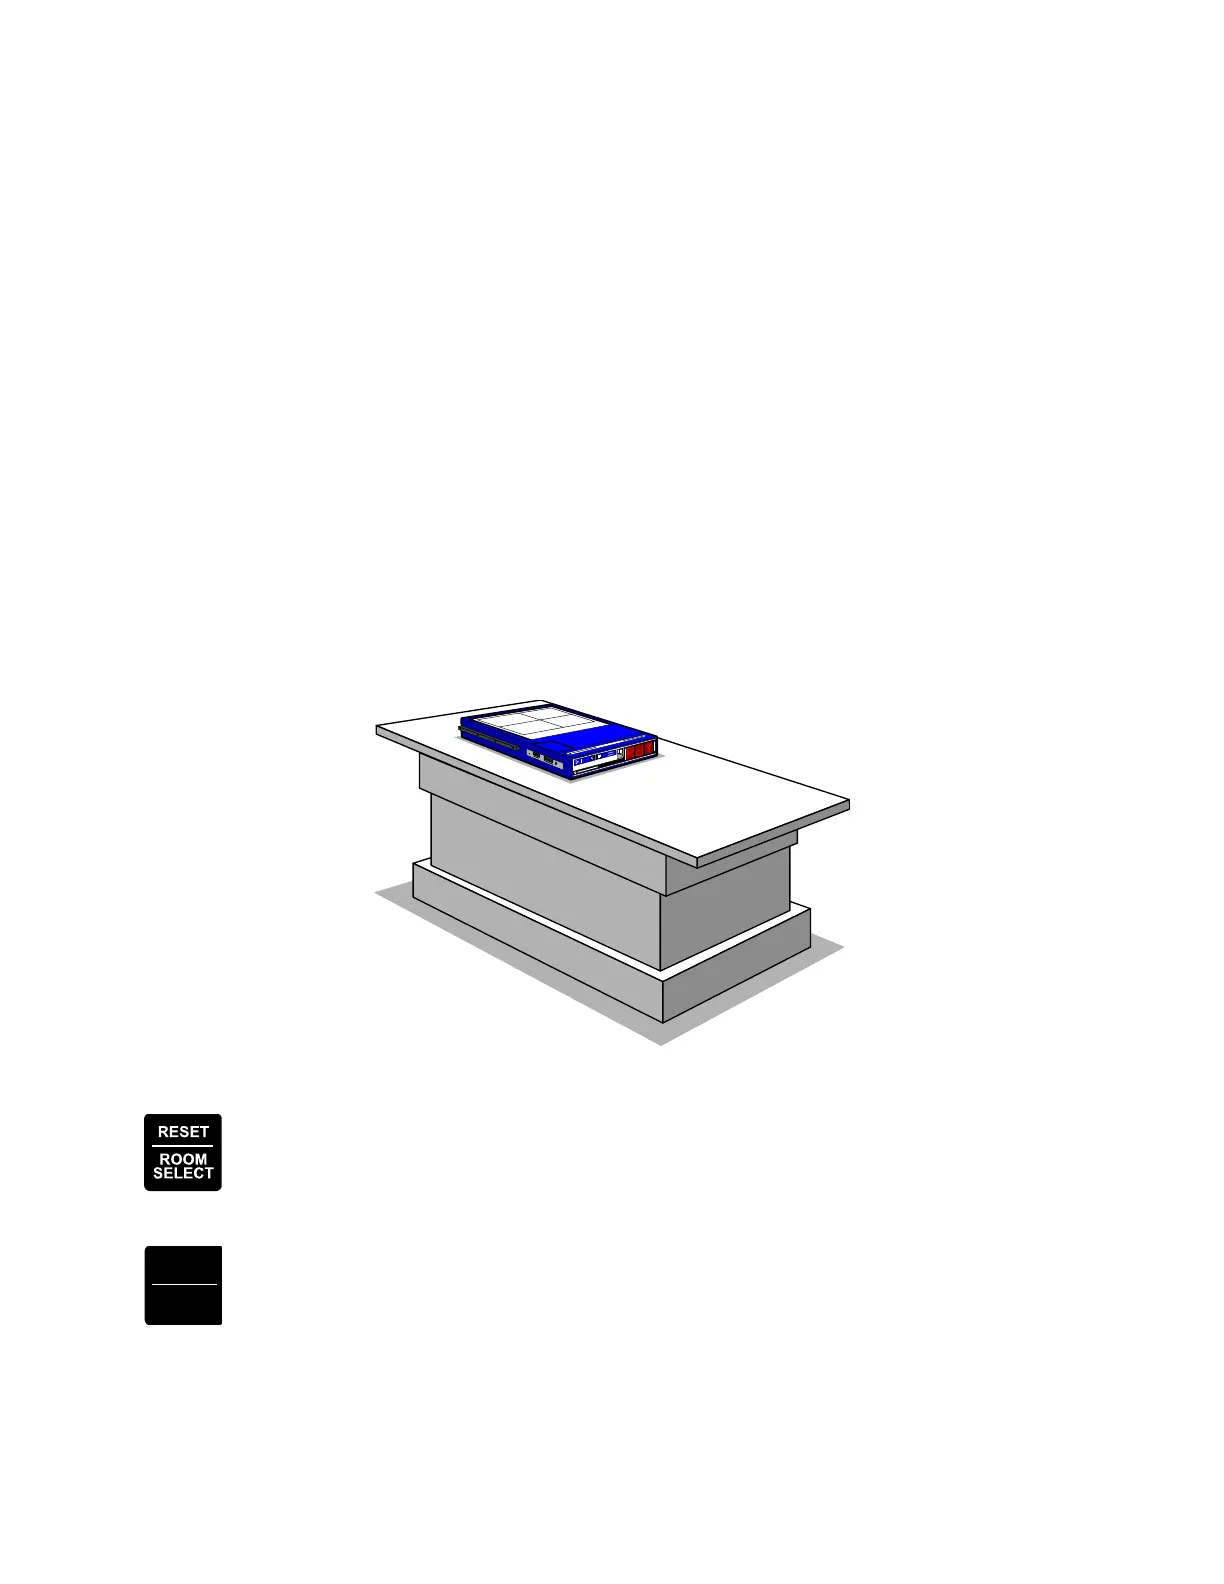
1. Place the QA BeamChecker Plus on the treatment couch. For best results, match the
approximate time of day and couch positioning used when the baselines were taken to
minimize variance caused by accelerator warm-up and changes in scatter contribution. The
unit will need to be flipped to the proper side for photon or electron measurement.
Figure 2: QA BeamChecker Plus Wire-Free setup
2. Turn the unit on. The firmware version will briefly display (e.g. 210), followed by RM
(Room) alternating with SEL (Select), Room Select. Press the RESET/ROOM SELECT
button to select the desired room (RM1, RM2, etc). After a brief pause the unit will
display RdY (Ready).
3. Using the MODE / PLAN button (simply MODE on some models), select between
Photon