QA BEAMCHECKER™ PLUS 31
7.2 Measurement with Wire-Free Mode
Select the appropriate section below based on application: Static 5 Channel (traditional linear
accelerator photon/electron measurements), Dynamic 5 Channel (IMAT, VMAT, or dynamic
wedge measurements) or TomoTherapy System (static or dynamic exposure).
NOTE: To ensure the QA BeamChecker Plus is always charged and ready to use, return the
unit to its cradle after measurements are completed.
Static 5 Channel Room
1. Choose whether measuring photons or electrons. If using electrons, ensure a 20 x 20 cm
electron cone is attached to the accelerator.
2. Place the QA BeamChecker Plus on the treatment couch ensuring it is flipped to the proper
side, Photon or Electron, as indicated by the large white field labels on both sides of the device.
3. Position the QA BeamChecker Plus at 100 cm SSD with a field size of 20 x 20 cm. Align the
unit to the center of the field using the QA BeamChecker Plus fiducials and the room
alignment lasers.
4. Turn the QA BeamChecker Plus on using the power button on the front of the unit.
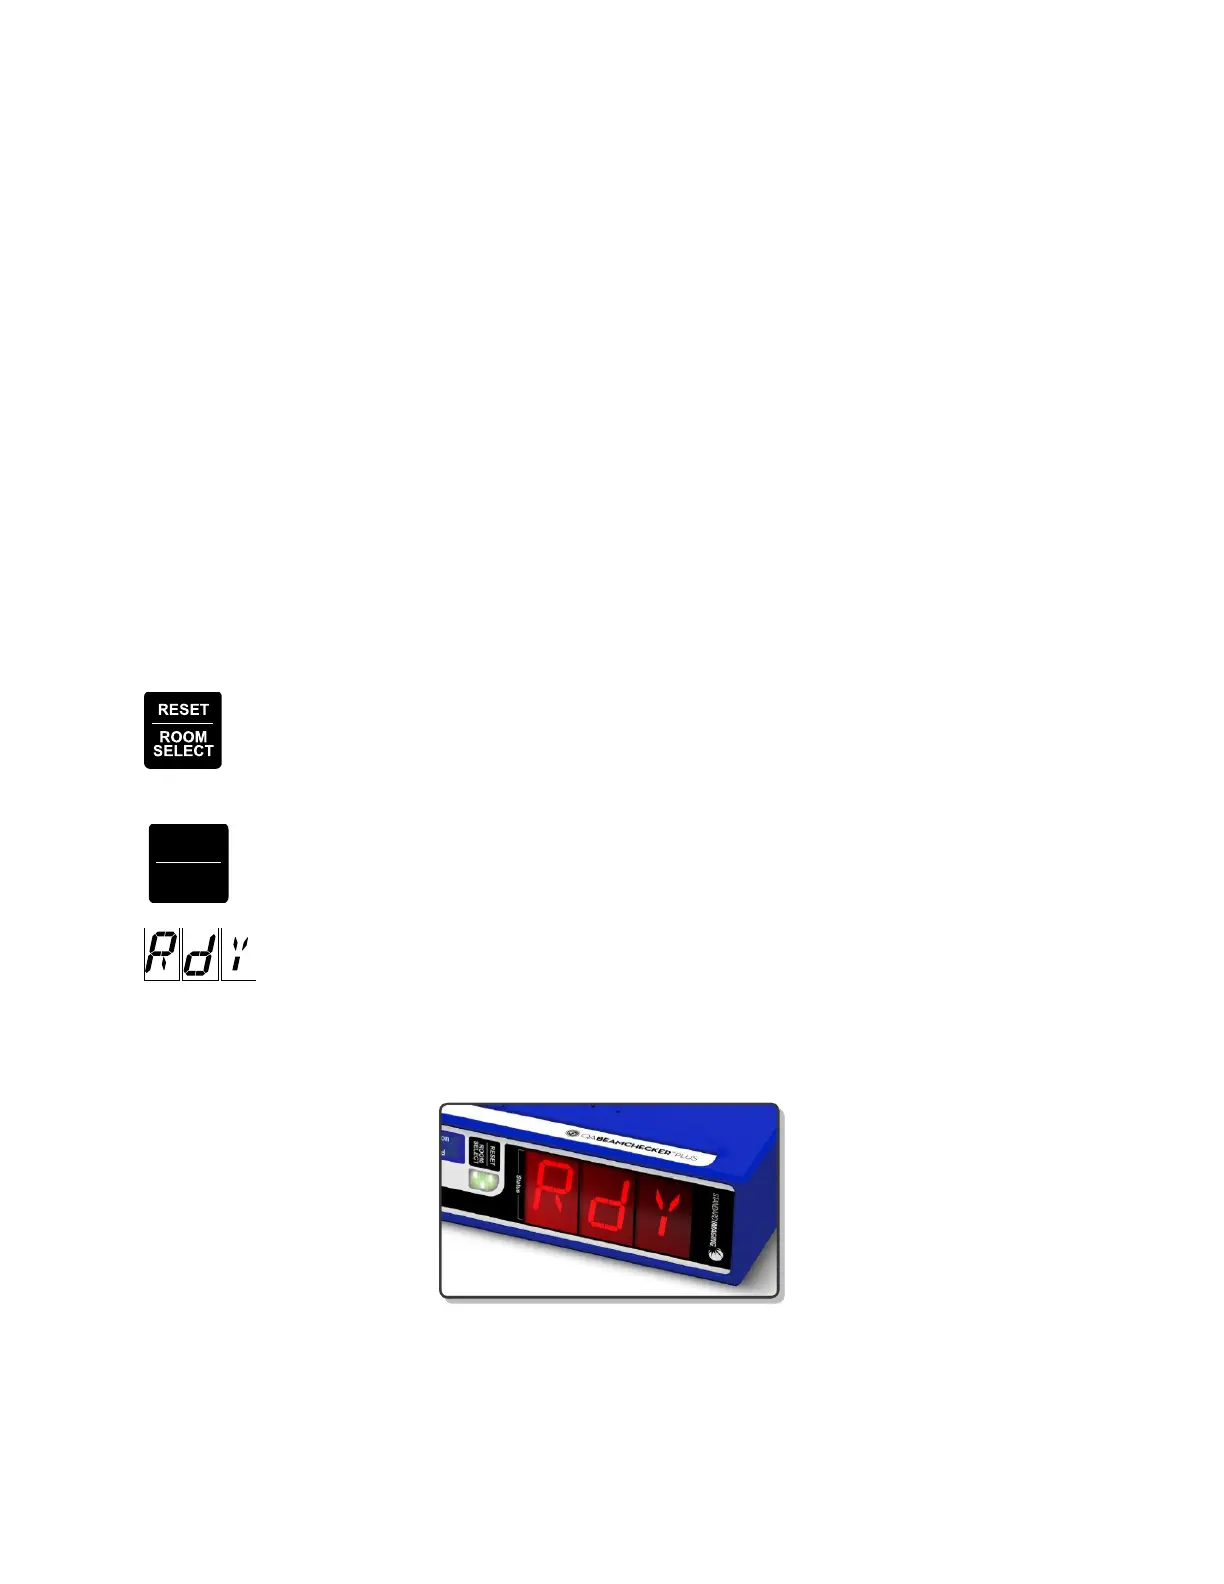
5. If only 1 room is configured, skip to step 6. After displaying the firmware version,
the front panel will alternate between RM and SEL (Room Select). Press the RESET /
ROOM SELECT button to cycle through the available rooms (displayed as RM1, RM2,
etc). Once the desired room number is displayed, briefly wait and the selection will be set.
6. Select PHO (Photon) or ELE (Electron) mode using the MODE / PLAN button. If
the QA BeamChecker Plus is flipped to the proper side, the front display should be
properly oriented.
7. The front panel will now display Rdy (Ready).
8. Exit the vault and position the patient monitor to view the front panel of the QA
BeamChecker Plus so its display is readable.
Orientation may differ depending on room type or energy selected
9. Deliver any energy to the QA BeamChecker Plus for which a baseline exists. Measurement
will start automatically as indicated by spinning lines displayed on the front panel.