Changing slave settings
Name
Notices
Q An individual name can be assigned to each StecaLink slave.
Q Assignment of a name is optional and is not required for ope-
rating the device.
Q The name is shown in the measurements display on the status
screen.
Q The following printable ASCII characters can be used for ente-
ring an individual name: !'#$%&'()*+,-./0123456789:;<=>?
@ABCDEFGHIJKLMNOPQRSTUVWXYZ[\]^_`abcdefghijklm
nopqrstuvwxyz{|}~
Q An individual name with a length of up to 8 characters can be
entered.
‘Main menu‘
‘System settings‘ ‘StecaLink master menu‘
‘Change slave settings‘ Selection of the slave is displayed
‘Name’
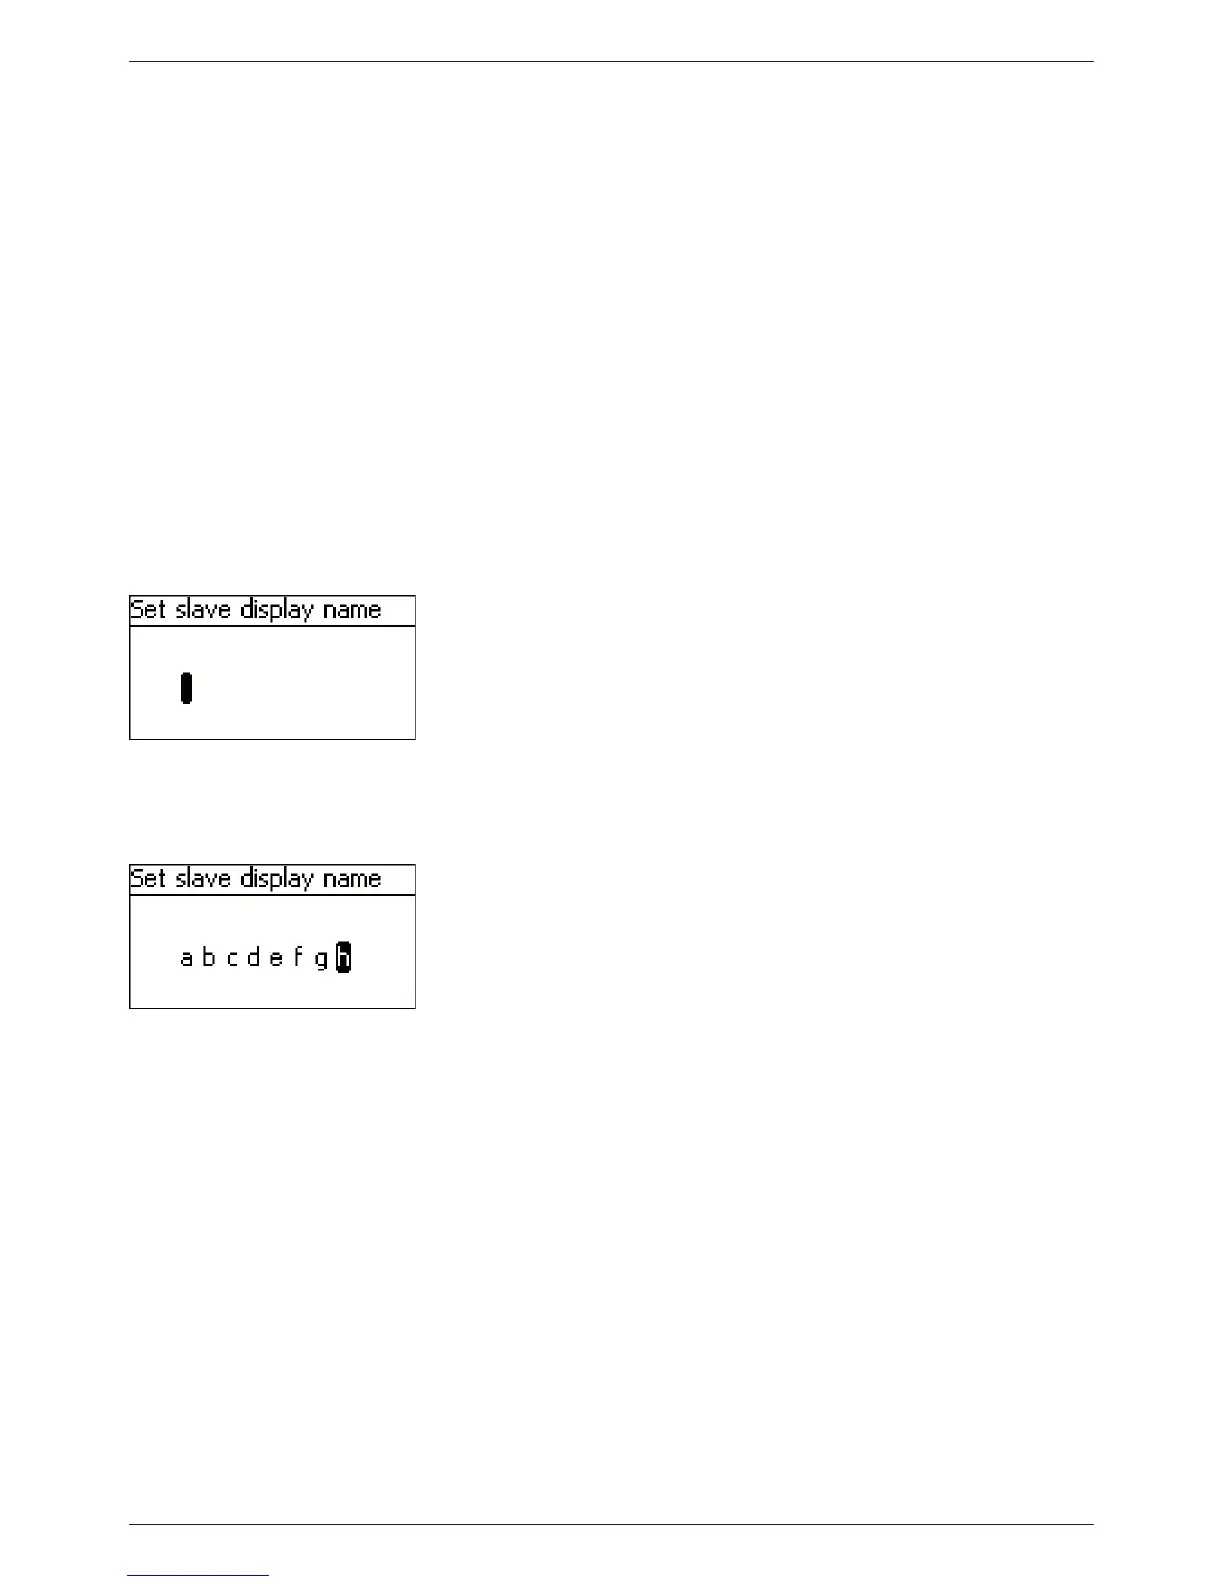
1. Press ‘SET‘. The ‘Set slave display name‘ dialogue appears
(Fig. left).
2. Press r, s to select the character position.
3. Press ‘SET‘. The entry position blinks.
4. Press
r, s to select the desired character.
5. Press ‘SET‘. The entry position stops blinking
The selected character is adopted
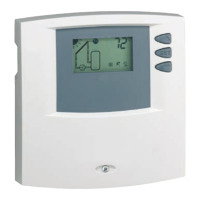
6. Repeat steps 2.-5. until the desired name with max. 8 cha-
racters has been entered (Fig. left).
7. Press ‘SET‘ to exit the data entry dialogue.