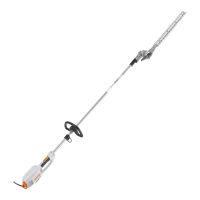
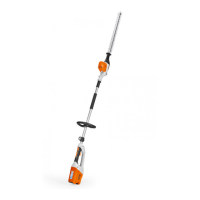
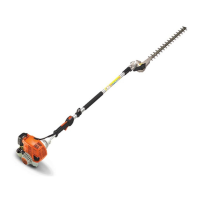
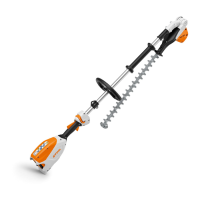
HLE 71, HLE 71K
English
35
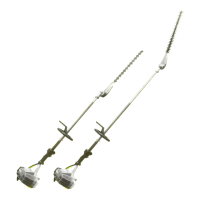
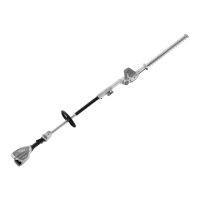
N Loosen the clamp screws (1).
N Line up the sliding sleeve (2) – it
must be in line with the opening in
the angle drive.
N Push the gearbox (3) onto the drive
tube (4), turn the gearbox back and
forth as necessary.
N Once the end of the drive tube is
inserted beyond the slot in the
clamp (5), push the gearbox fully
home.
N Tighten down the clamp screws
moderately.
N Line up the gearbox (3).
N Tighten down the clamp screws
firmly.
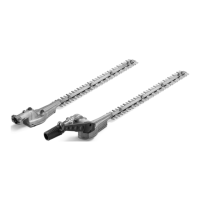
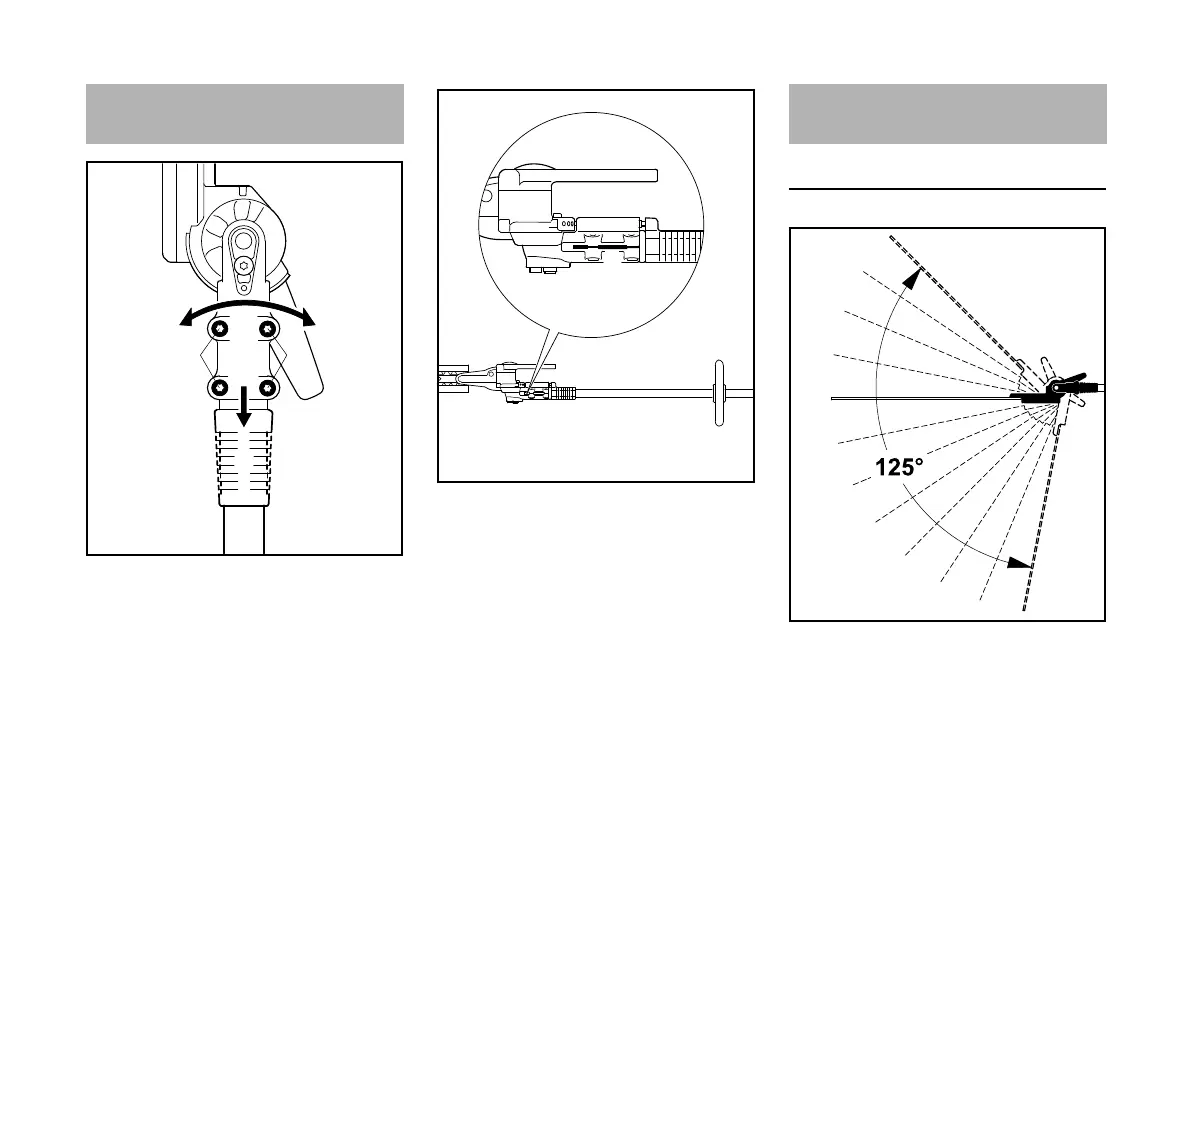
Adjustment mechanism 125°
In this version, the angle of the cutting
bar relative to the shaft is adjustable
from 0° (completely straight) to 45° (in
4 stages upward) and to 80° (in 7 stages
downward). Twelve individually
adjustable working positions are
possible.
Additionally, the cutting bar can be set to
a defined transport position.
Mounting the Gearbox
Adjusting the Cutter Bar
 Loading...