29
Replacing material for dual material bays
1. From the display panel press Material... The display will show Add/Remove and
S1(remaining%), S2(remaining%) and M1, M2 (remaining%). Asterisks will mark the
currently active material bays (the material bays that are currently loaded to the head).
2. Press Unload...
3. Press Unload both, Unload Model or Unload Support.
4. The printer will now unload material from the head. When the material has unloaded, you will
need to replace the material carriers.
5. Open the material bay doors by gently pressing in to release and pulling outwards.
6. Remove the material carriers by first pushing them in to unlatch and then pulling them
outwards.
7. Place the carrier on a flat stable surface.
8. Open the carrier.
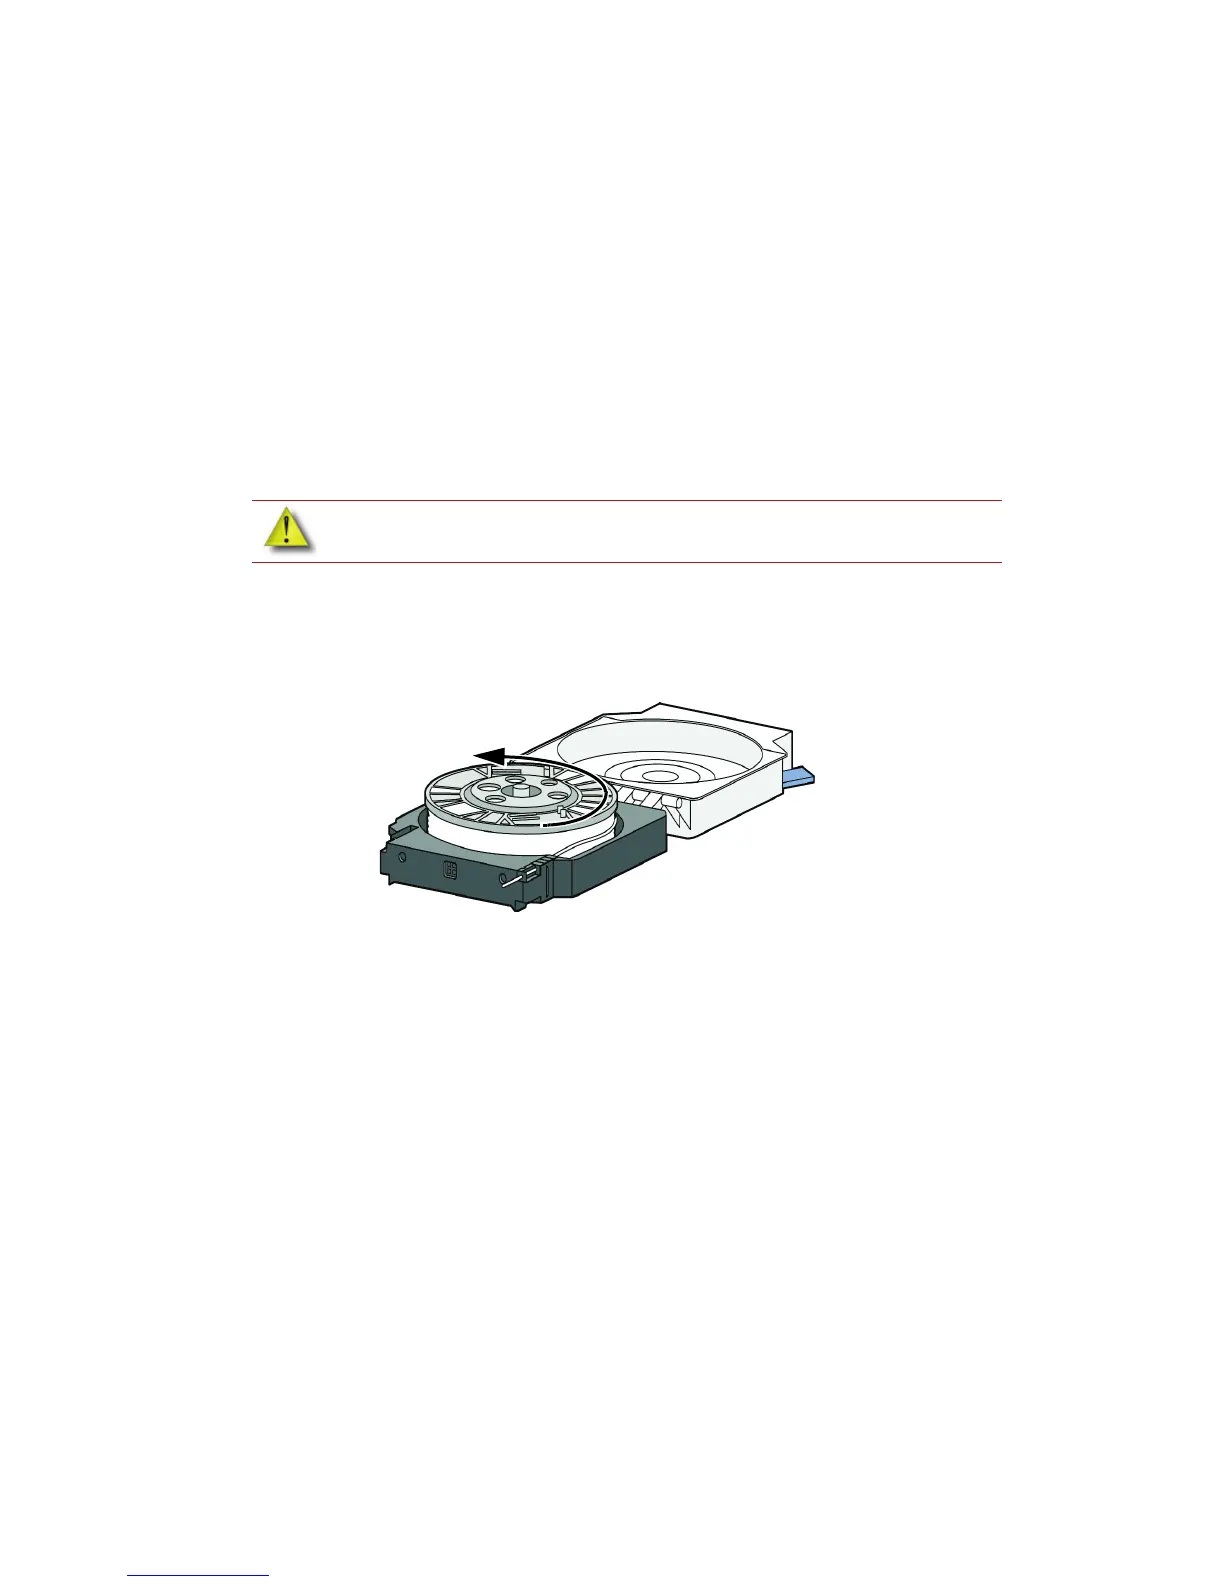
9. Rotate the spool to rewind the material, leaving 2 inches (50mm) remaining at the material
guide. See Figure 21.
Figure 21 Rewinding the material spool
10. Using a cutters, cut the excess 2 inches (50mm) of material from the material guide, leaving a
blunt end.
11. Replace the material spool.
12. Close and latch the carrier.
13. Once the material carriers have been replaced press Load...
14. You can select which carriers you want to load to the head by selecting Next Model or Next
Support. When done selecting press Load Selected.
15. The printer will now load the selected material bays and prepare the other bays for automatic
loading. After they are done loading and preparing, press Done... the display will show Wait
for Part or Ready to Build.
CAUTION: Do not push the material through the material guide back into the
carrier, doing so can cause material to break or become tangled.