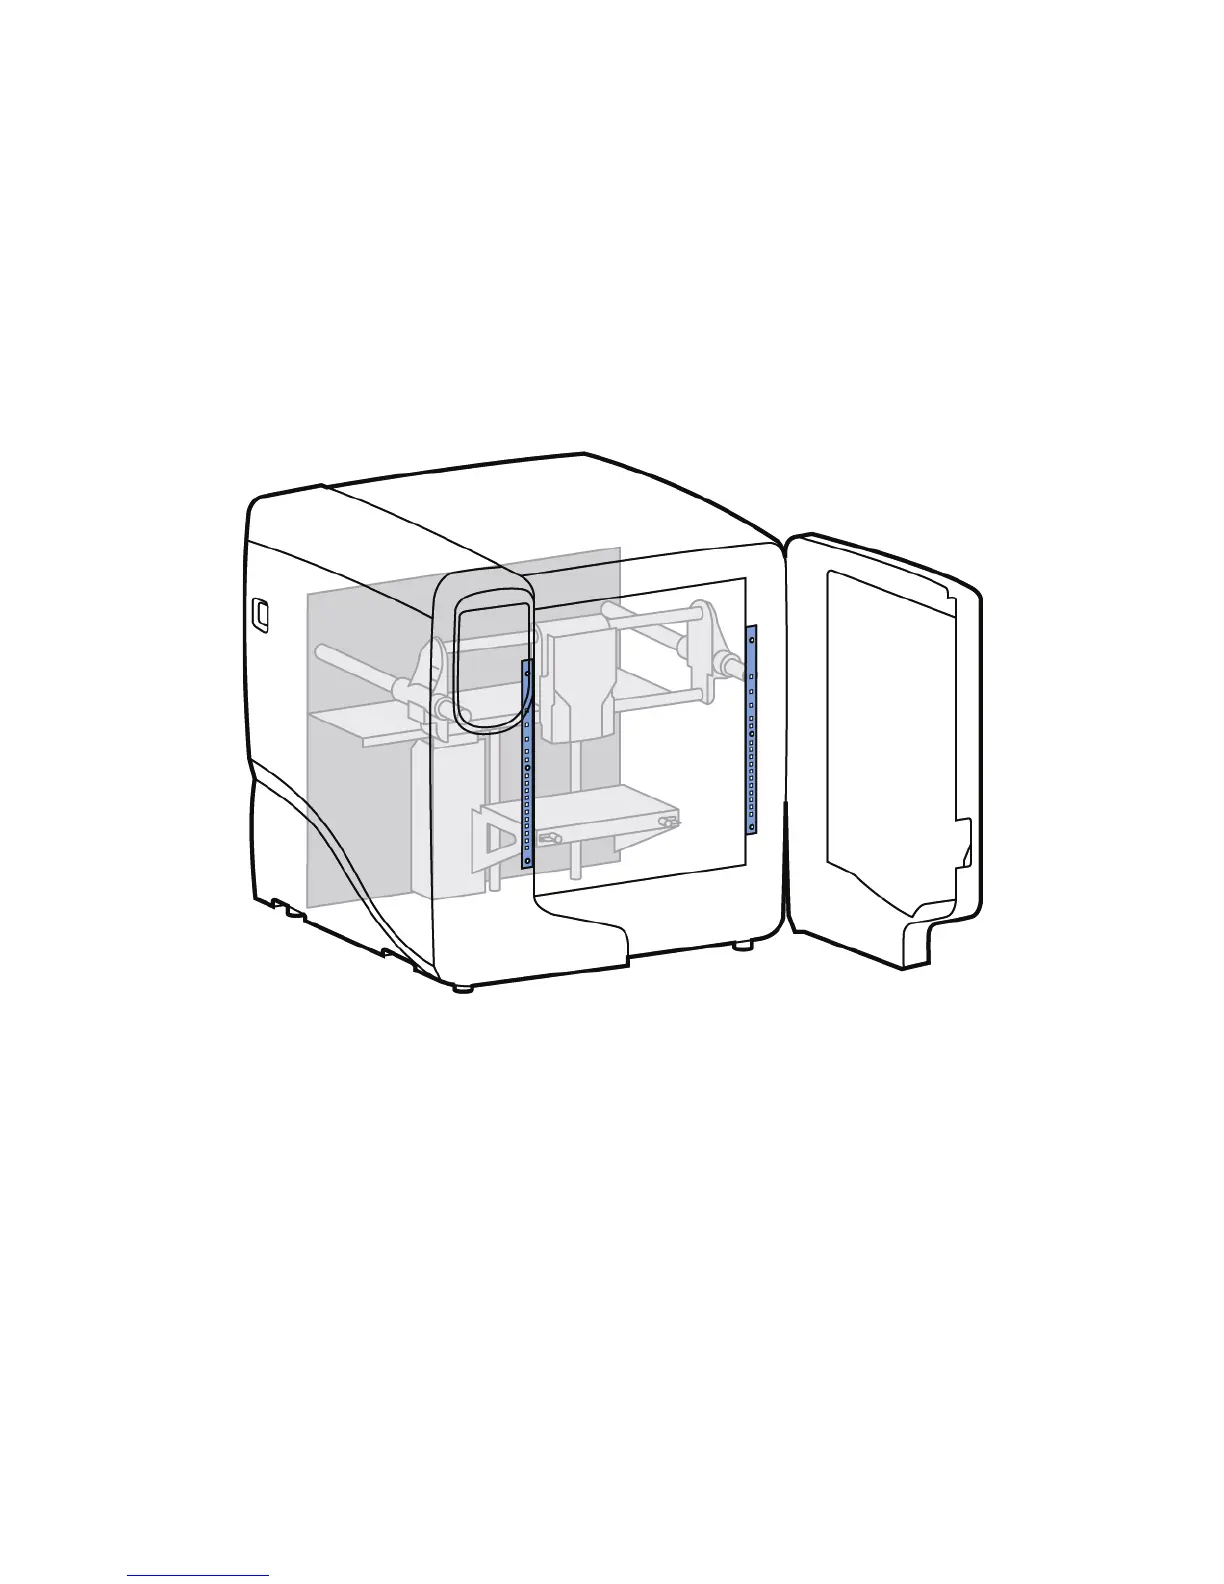
47
Chamber light bar replacement
1. Power down the printer.
2. Locate the wiring harness leading away from the top of the light bar.
3. Disconnect the light bar from the wiring harness by squeezing the wiring harness clip while
pulling down.
4. Remove the light bar by removing the three attachment screws (top, middle, bottom) - use the
7/64 T-handle wrench supplied in the startup kit.
5. Install a replacement light bar with the three attachment screws - do not overtighten the screws.
6. Re-attach the wiring harness lead.
Figure 46 Chamber light bar locations