40
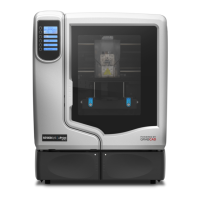
Figure 36 Filament Present Switch location
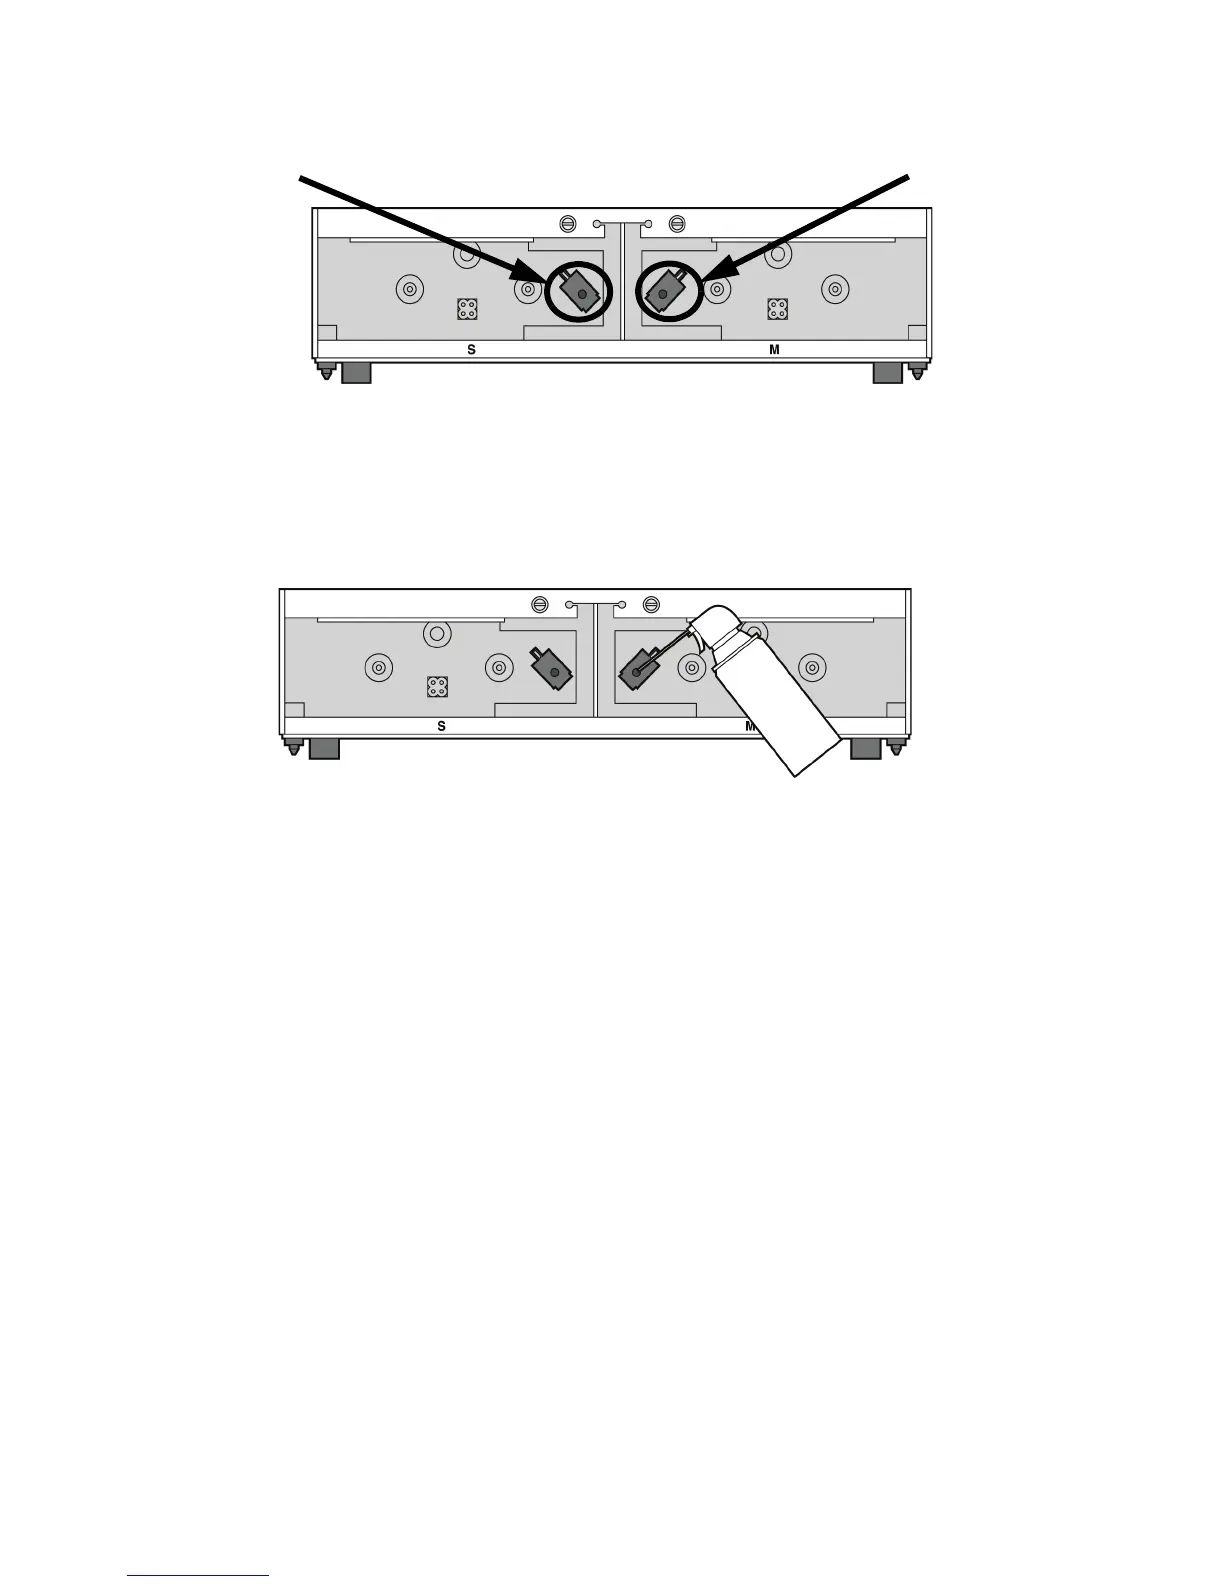
6. Obtain a can of compressed air.
7. Insert the canned air extension tube to its spray nozzle.
8. Align the canned air extension tube with the entrance hole of the Filament Present Switch. See
Figure 37.
Figure 37 Cleaning the Filament Present Switch
9. Squeeze the spray nozzle for one quick burst (approximately 2 seconds) to clear each Filament
Present Switch on the model and support sides of the material bay. If an optional material bay
is installed, repeat this procedure for the second bay.
10. Reconnect the material tubes to the rear of the material bay(s).
11. Replace the material carriers and load material.
Support side Filament Present Switch
Model side Filament Present Switch