Drive Chain / Drive Train / Drive Shaft: 3A-5
Installation
Install the rear sprocket and rear sprocket mounting
drum in the reverse order of removal. Pay attention to
the following points:
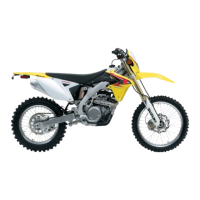
• Install the rear sprocket as the letter on the sprocket
surface faces outside.
• Tighten the rear sprocket nuts to the specified torque.
Tightening torque
Rear sprocket nut (a): 30 N·m (3.0 kgf-m, 21.5 lbf-
ft)
• Install the rear wheel assembly. Refer to “Rear Wheel
Assembly Removal and Installation” in Section 2D
(Page 2D-11).
Drive Chain Guide Removal and Installation
BA02J23106005
Removal
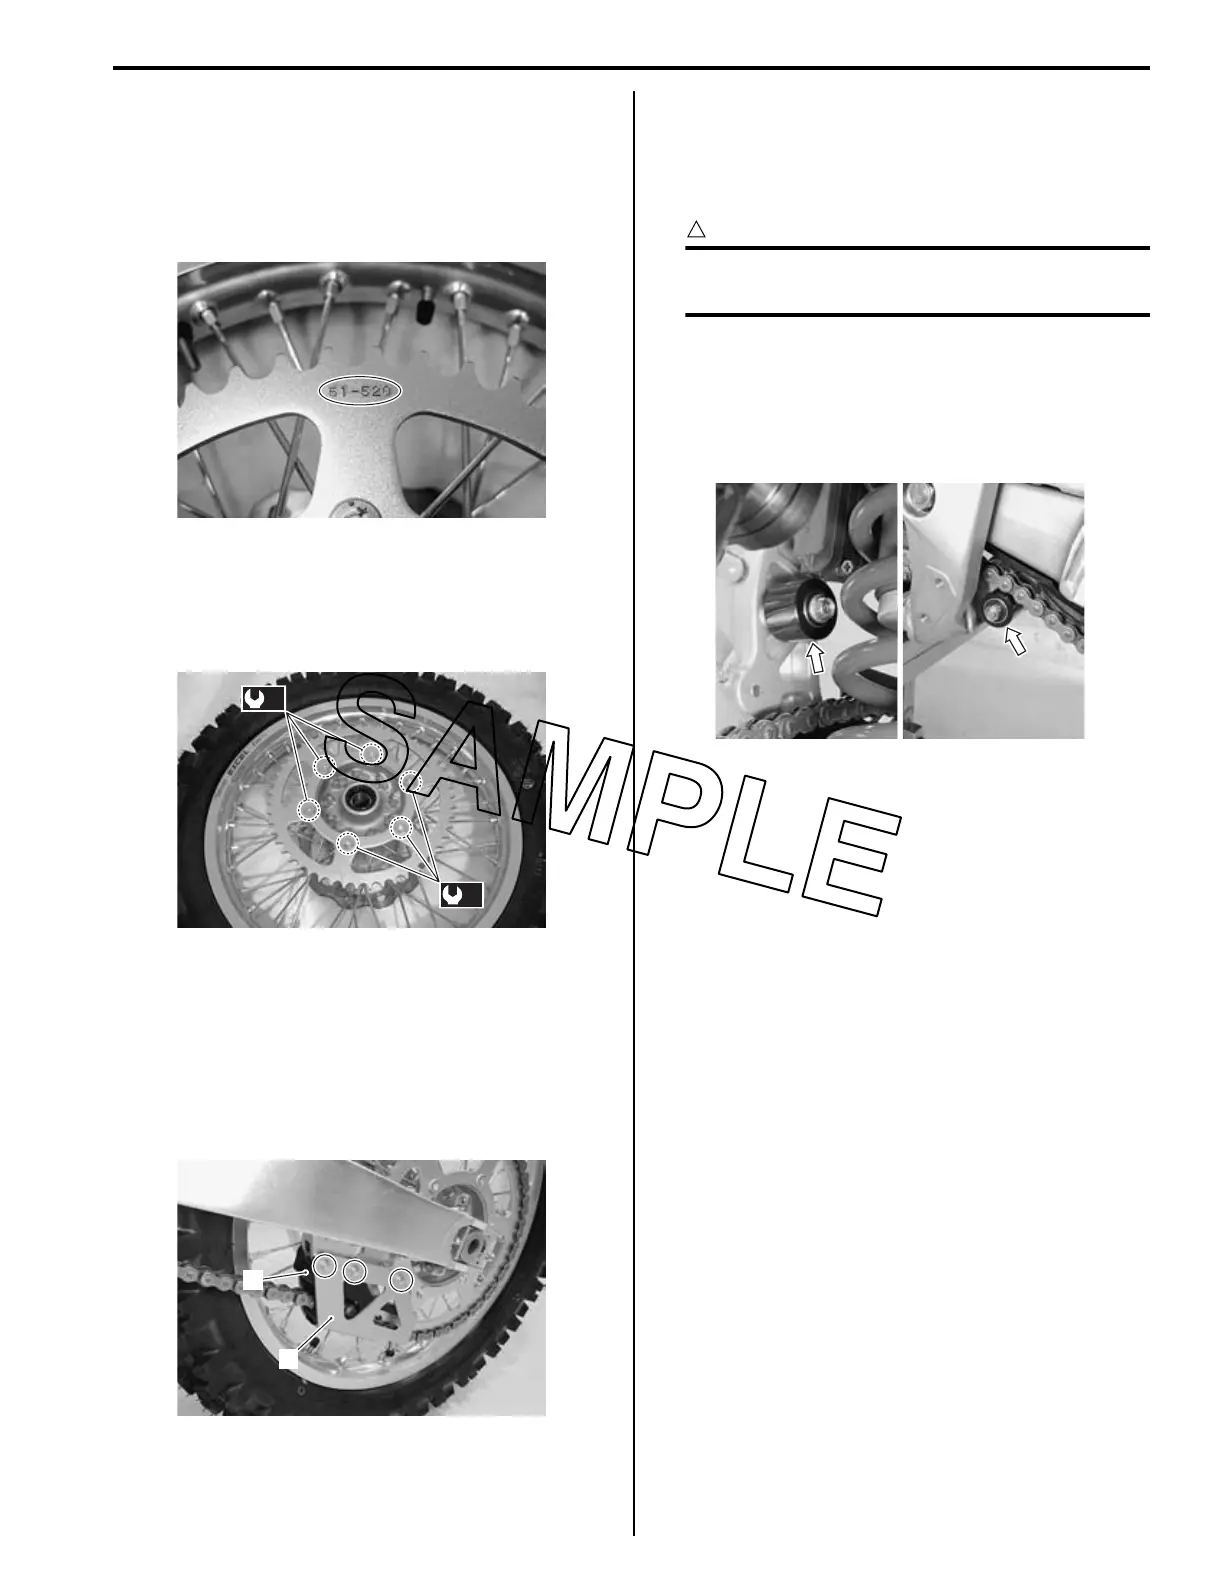
Remove the chain guide plate (1) and chain guide (2).
Installation
Install the chain guide in the reverse order of removal.
Drive Chain Roller Removal and Installation
BA02J23106006
CAUTION
!
Make sure that the motorcycle is supported
securely.
Removal
1) Remove the left footrest. Refer to “Footrest Bracket
Construction” in Section 9E (Page 9E-3) and “Side-
stand Construction” in Section 9E (Page 9E-3).
2) Remove the chain rollers.
Installation
Install the chain rollers as shown in the chain roller
construction. Refer to “Drive Chain Roller Construction”
(Page 3A-3).
Drive Chain Buffer Removal and Installation
BA02J23106007
Refer to “Swingarm Removal and Installation” in Section
2C (Page 2C-20).
Drive Chain Related Parts Inspection
BA02J23106008
Refer to “Rear Sprocket Removal and Installation”
(Page 3A-4) and “Drive Chain Guide Removal and
Installation” (Page 3A-5) and “Drive Chain Buffer
Removal and Installation” (Page 3A-5).
Engine Sprocket and Rear Sprocket
Refer to “Sprocket Inspection” in Section 0B (Page 0B-
21).
IA02J1310007-01
(a)
(a)
IA02J1310008-01
1
2
IA02J1310009-01
IA02J1310010-01
 Loading...