N
INTRODUCTION
PREPARATION
WATCHING TV
OPTIONAL SETTING OPERATING DVD
DVD SETTING
TROUBLESHOOTING INFORMATION
EnglishEspañol Français
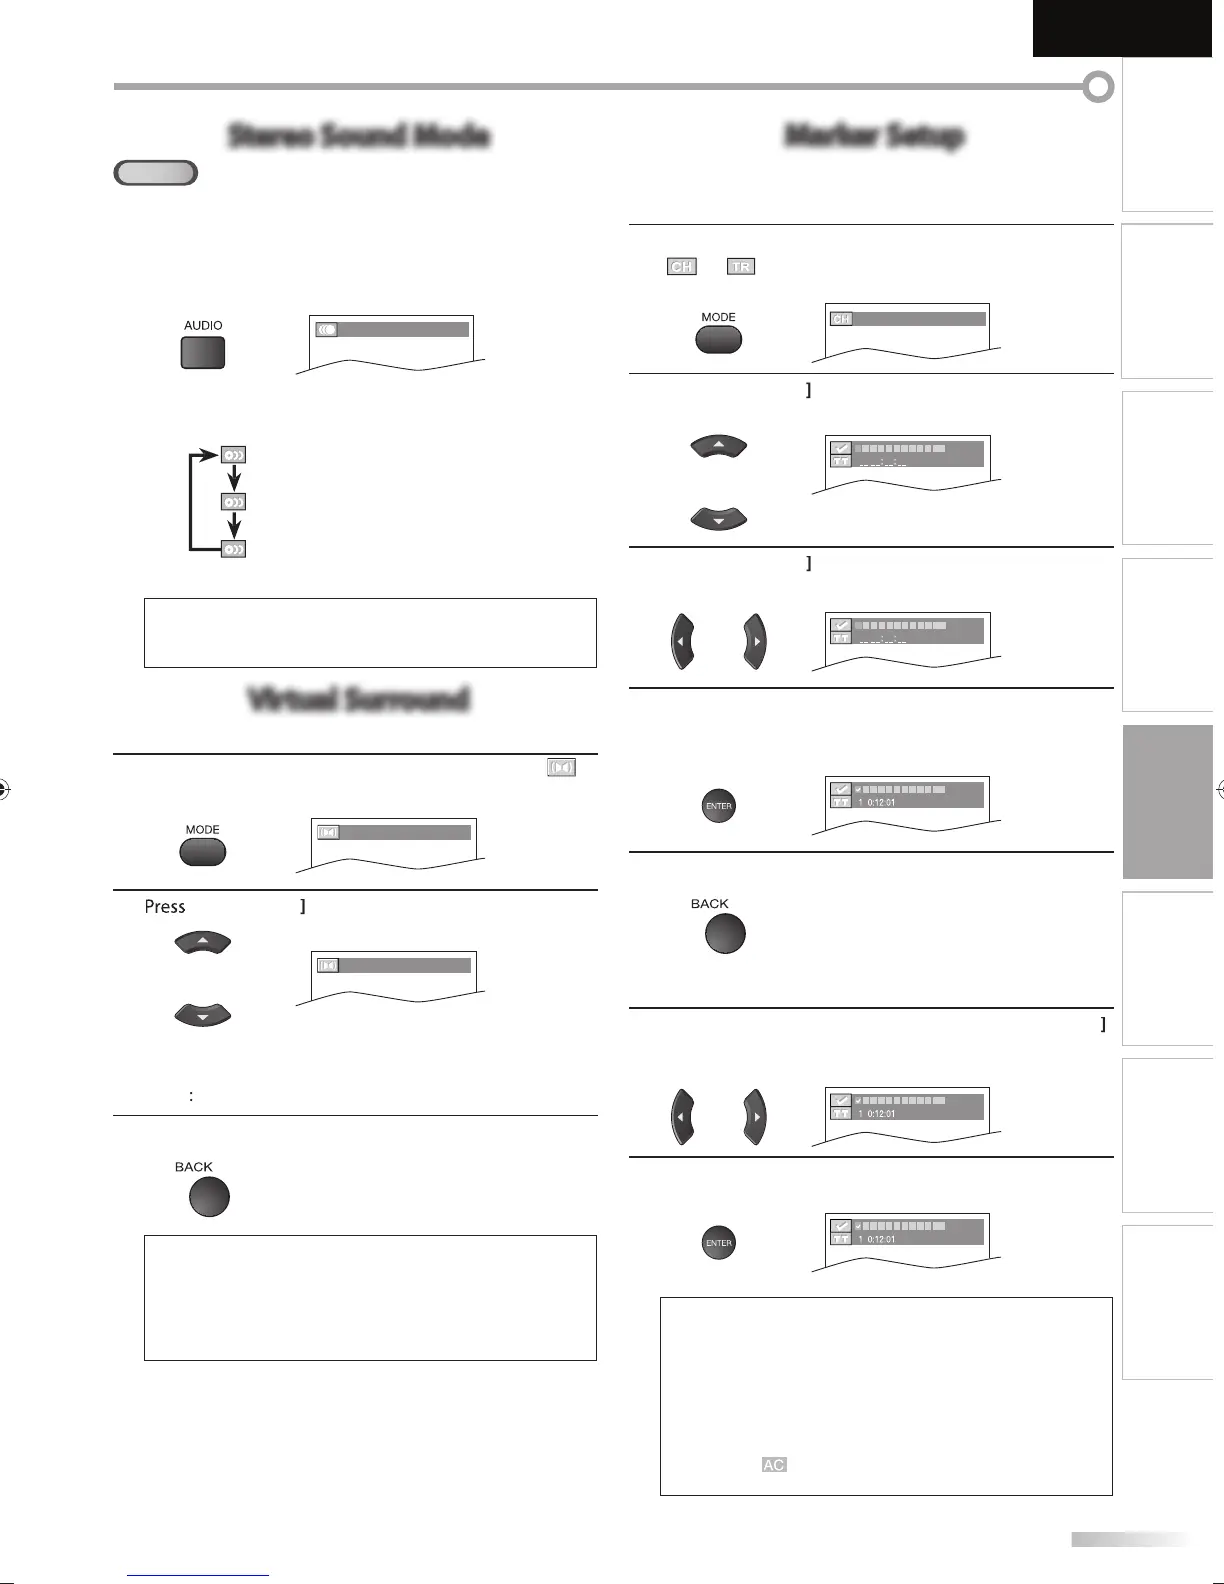
Stereo Sound Mode
CD
This unit allows you to select a sound mode during CD playback.
During pla
back, press
AUDIO
repeatedl
until the
desired sound mode a
ears.
STEREO
ach time
ou press
AUDIO
the sound mode
han
es as example below.
TERE
stereo sound with le
t and
ri
t c
anne
s)
-
le
t channel sound only
-
rig
t c
anne
soun
on
y)
ote:
• Virtual surround cannot be chan
ed when the sound mode
i
i
h
r “L-
h”
r “R-
h
Virtual Surround
You can enjoy virtual surround on your 2 channel stereo system.
1
During pla
back, press
MODE
repeatedl
until “
OFF
(
SURROUND
)
2
[Cursor
n
v
1
(
SURROUND
)
: Natural e
ect
: Emphasized e
ect.
FF
o e
ects (original sound)
3
ress
BACK
to ex
t
N
The settin
will be kept even if the unit is turned of
.
•
or audio CD
virtual surround will not be e
ective i
the
sound mode is set to somethin
other than “STEREO
.
efer to “Stereo Sound Mode” on page 43
• T
rn
wn
h
l
v
l
r
l
“
FF” if
h
n
i
i
r
Marker Setup
This feature allows you to assign a specific point on a disc to be called back later.
m
r
r
1
During pla
back, press
MODE
repeatedl
until
”
“
a
ears.
.g.
V
_ _ /12 (SEARCH)
2
Cursor
repeate
y unti
mar
er searc
u
123456789
10
AC
3
Cursor
n
v
i
m
r
r wi
in
n
123456789
10
AC
4
W
en t
e p
ay
ac
reac
es t
e point at w
ic
you
want to set a mar
er, press
ENTER
r
r i
n
w
23456789
10
AC
5
ress
BACK
to ex
t
o return to t
e mar
er
ate
1
Repeat steps 1-2 in “To set a mar
er”.
se
Cursor
to se
ect t
e
esire
mar
er
.
.)
V
23456789
10
AC
2
r
ENTER
at t
e
esire
mar
er to restart p
ay
ac
rom the speci
ic point which
ou set
23456789
10
AC
arker search menu will disa
ear in about 60 seconds
hen there is no in
ut.
ou can mar
u
to 10
oints.
• To clear a marker
select the marker to be cleared
and then
ress
CLEAR
• Ejecting the disc or turning off the power will erase all
rk
r
Se
ectin
“ ” at ste
3 in t
e section “To set a mar
er” wi
l
r
ll m
rk
r
A9DF1UH_LD320SS1_EN_v1.indd 43A9DF1UH_LD320SS1_EN_v1.indd 43 2010/01/22 17:14:032010/01/22 17:14:03
 Loading...