K80v / K120v BOWL CUTTERS
EN-24
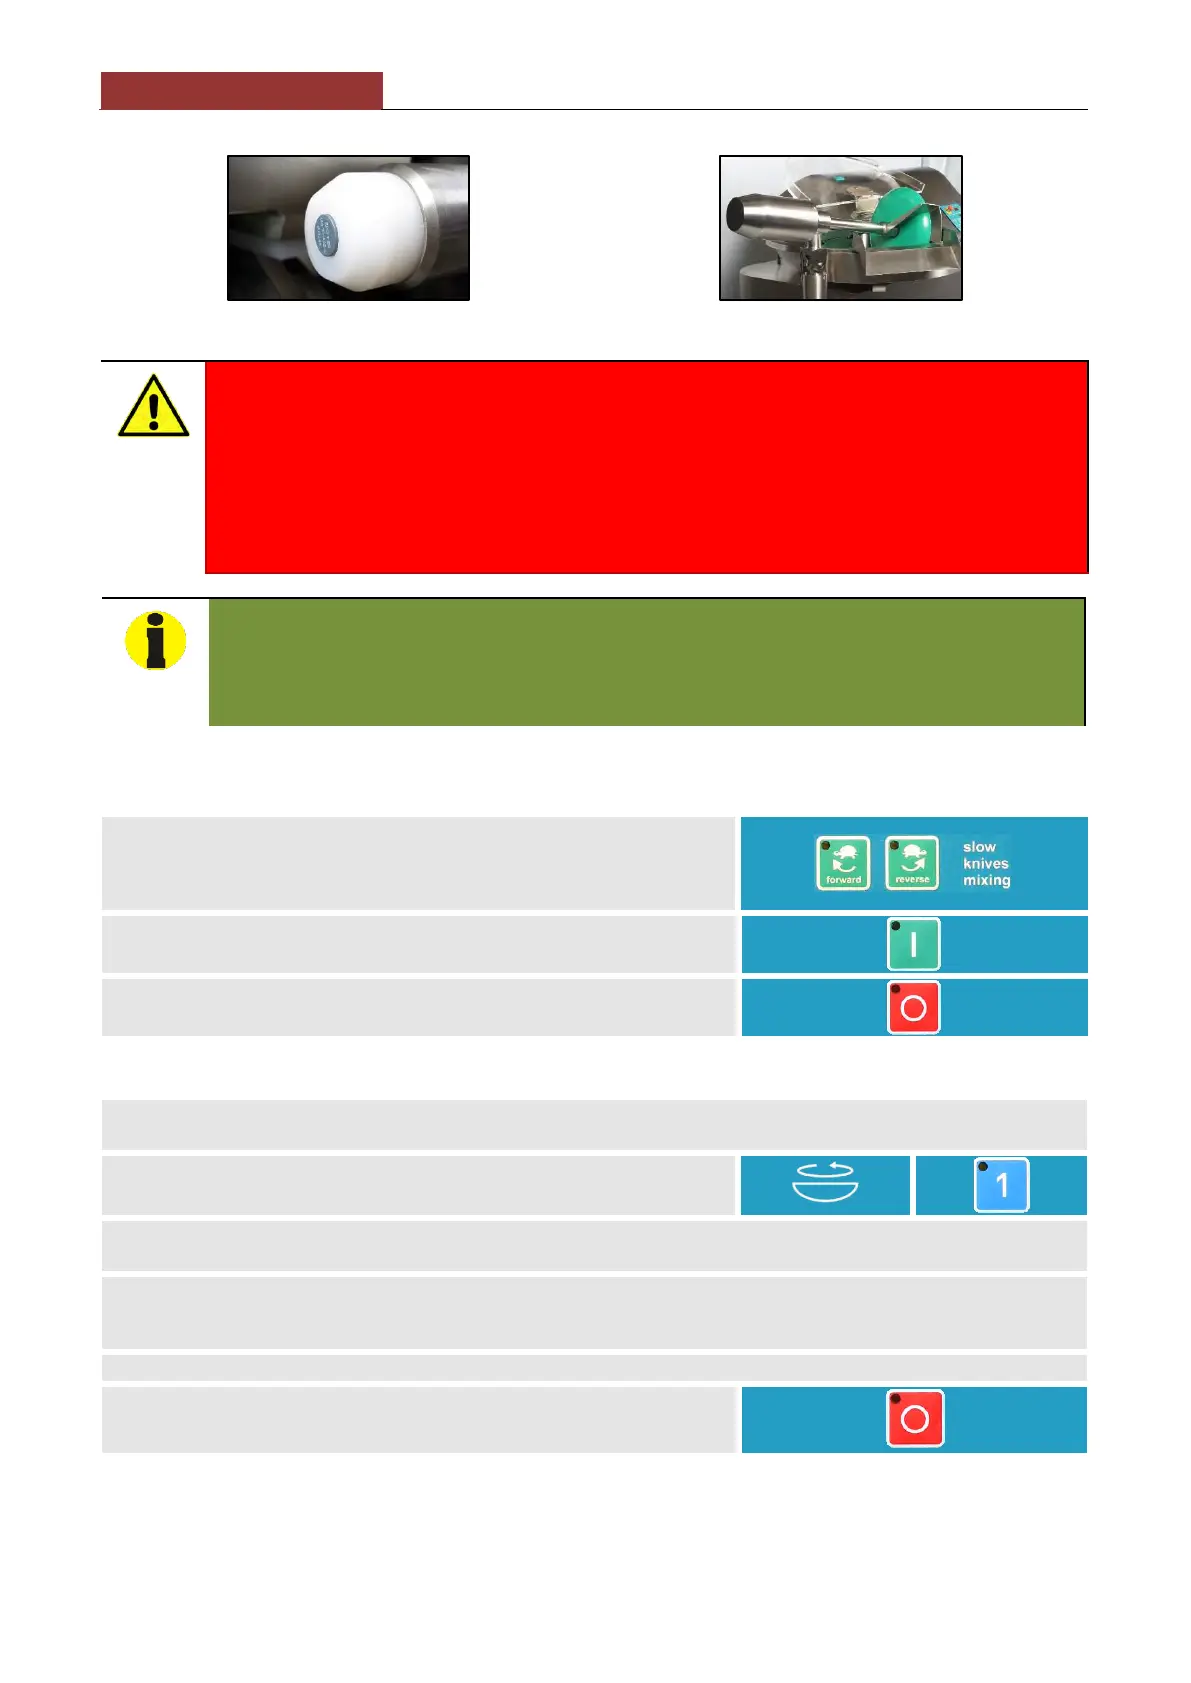
IMG. 7: Anti-noise bowl cover sensor
IMG. 8: Motorized unloader arm
Important Warnings!
NEVER REACH INTO THE BOWL WHILE THE CUTTER IS RUNNING. NEVER PUT YOUR HANDS UNDER THE
STAINLESS STEEL KNIVES LID. AVOID ANY POSSIBILITY THAT YOUR HANDS, CLOTHING, JEWELRY OR
OTHER ACCOUTREMENT MAY BECOME CAUGHT ON A MOVING PART OR DRAGGED UNDER THE BOWL
COVER AND KNIVES LID.
THIS MACHINE IS NOT DESIGNED FOR CONSTANT, UNINTERRUPTED USE, BUT RATHER TO RUN
INTERMITTENTLY TO ALLOW FOR DISSIPATION OF THE HEAT GENERATED DURING USE; THE AMOUNT
OF HEAT PRODUCED WILL DEPEND ON THE CONSISTENCY OF THE MIXTURE.
Important
The temperature display measures only the critical knives rotation area to control that with the high rubbing
from the same the fat does not turn into oil. Temperature may vary a few degrees with the average temperature
of the mixture. Meat machinery does not require permanent monitoring of temperature since the professional
user controls temperature processes. However, if desired, a second bowl thermometer can be installed/used.
6.1 Slow Speed Mixing
To use the slow mixing function proceed as follows:
1. While the machine is completely stopped, press either the FORWARD or
REVERSE MIXING buttons located in the middle of the control panel depending
on which direction (clockwise or counterclockwise) you want the cutting head to
rotate. Each mixing button changes the turning direction of the knives.
2. Press the START button; the knives will start rotating slowly (approximately 100
rpm).
3. To stop the mixing function, press the red STOP button.
6.2 Motorized Unloader Arm Option
1 Before using the motorized unloader arm (IMG. 8) to empty the bowl, open the plastic anti-noise cover and have ready a
suitable receptacle in which to catch the dough from the extracting pan outlet.
2. Set the desired knife mixing speed as per the instructions above and select the
slow bowl speed, button No. 10.
3. Lower the unloader arm by pulling down on its front handle, taking care not to crush anything underneath the arm or in its hinge.
The motorized disk will automatically start spinning.
4. Grasp the arm firmly as you lower the spinning disk slowly into the dough. Adjust the arm to achieve the desired flow rate as you
empty the bowl. Periodically check the receptacle into which the dough is being emptied to avoid overfilling it.
5. Raise the unloader arm to its vertical position to stop extracting dough; the motorized disk will automatically stop spinning.
6. Press the STOP button to turn off the machine.