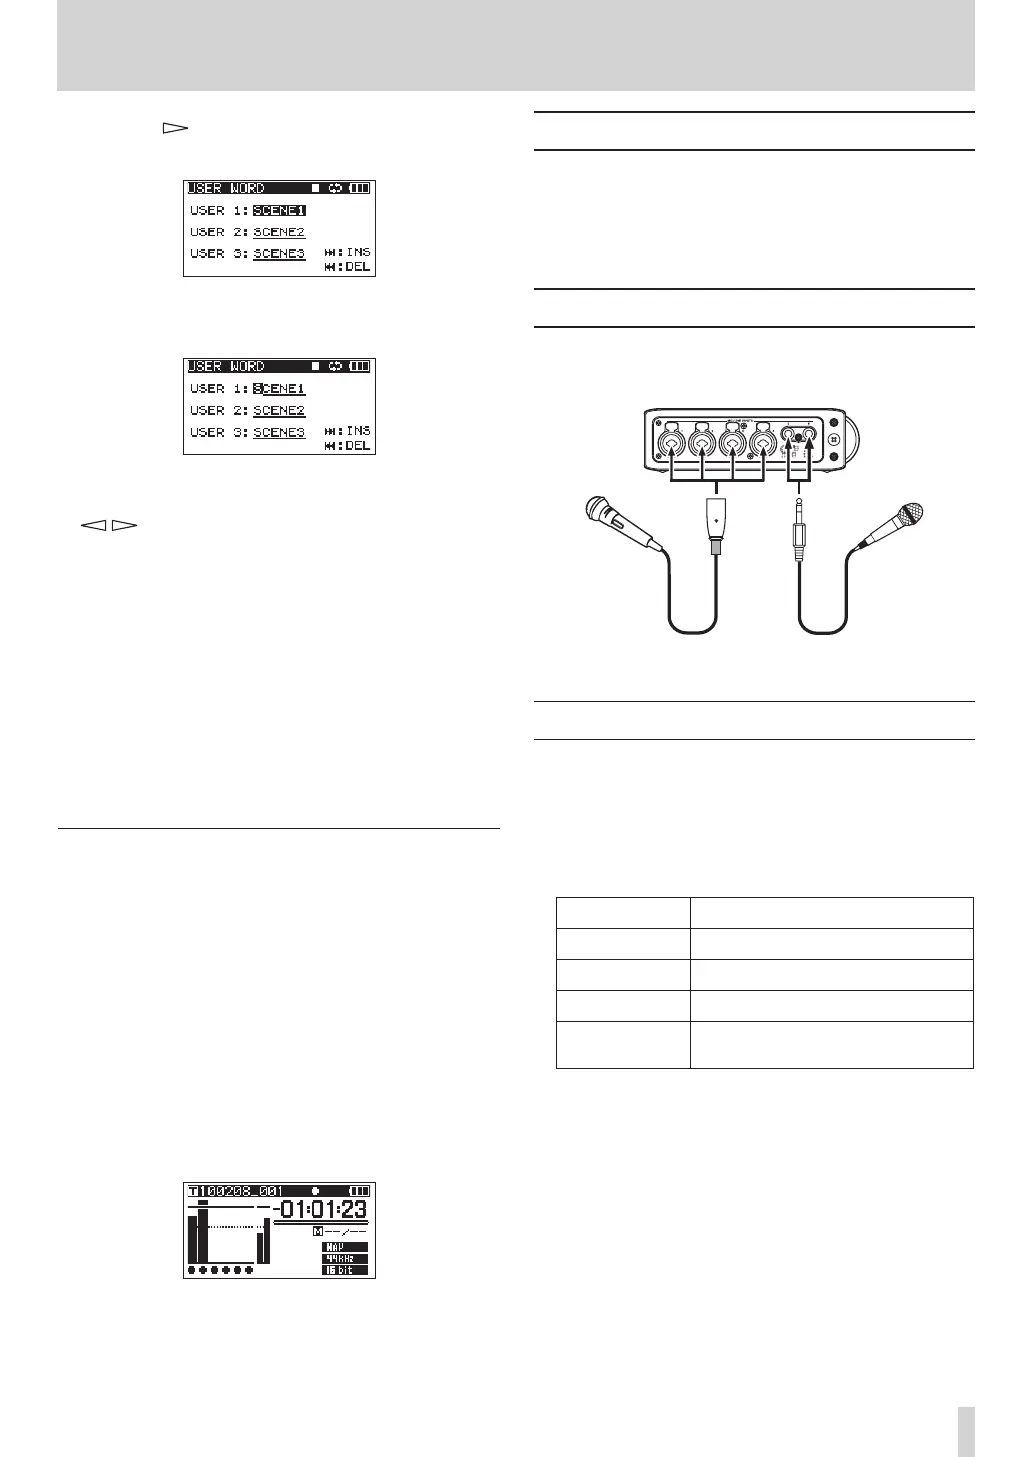
4 Press the key again to open the
USER
WORD
edit screen.
5 Use the DATA wheel to select the user word that
you want to edit, and press the ENTER key.
6 Use the following keys to edit the user words.
/ keys: Move the cursor.
DATA wheel:
Select characters.
¯ key:
Add a space at the cursor position.
 key:
Erase the character at the cursor
position
7 When you have finished editing a user word,
press the ENTER key.
8 Press the MENU key to return to the selection of
items on the
REC
screen. Press the HOME/FUNC
key to return to the Home Screen.
Available recording time display
Available recording time varies according to the
SDcardcapacityandtheleformat,lemodeand
sampling frequency settings. (See “Recording times”
on page 36.)
You can check the amount of time available for
recording using the inserted SD card on the Home
Screen. When recording or in recording standby
press the DISPL AY key to switch between showing
the elapsed recording time (of the current recording)
and the remaining available recording time. When
the remaining available recording time is shown, it
appears as a negative number.
Set the folder for saving takes
You can set the folder where recorded takes are saved.
(See “Folder operations” on page 38.) By default,
recorded takes are saved in the “
PROJECT0000
” folder
that is automatically created under the "
MUSIC
" folder.
Connecting other equipment
Connect microphones and other external equipment as
showninthegurebelow.
Input settings
This unit has 6 analog mic/line inputs and a stereo
digital input.
6 tracks and a stereo track can be recorded for a total
of 8 tracks.
The inputs recorded on the tracks are as follows.
Track Input
Tracks 1/2 Analog inputs 1/2
Tracks 3/4 Analog inputs 3/4
Tracks 5/6 Analog inputs 5/6 or digital input
Stereo track Stereo mix of inputs 1–6 or digital
input
Set the recording source for the stereo track on the
REC
screen. (See “Stereo track recording settings” on
page 25.)
4 – Recording


 To Next Page