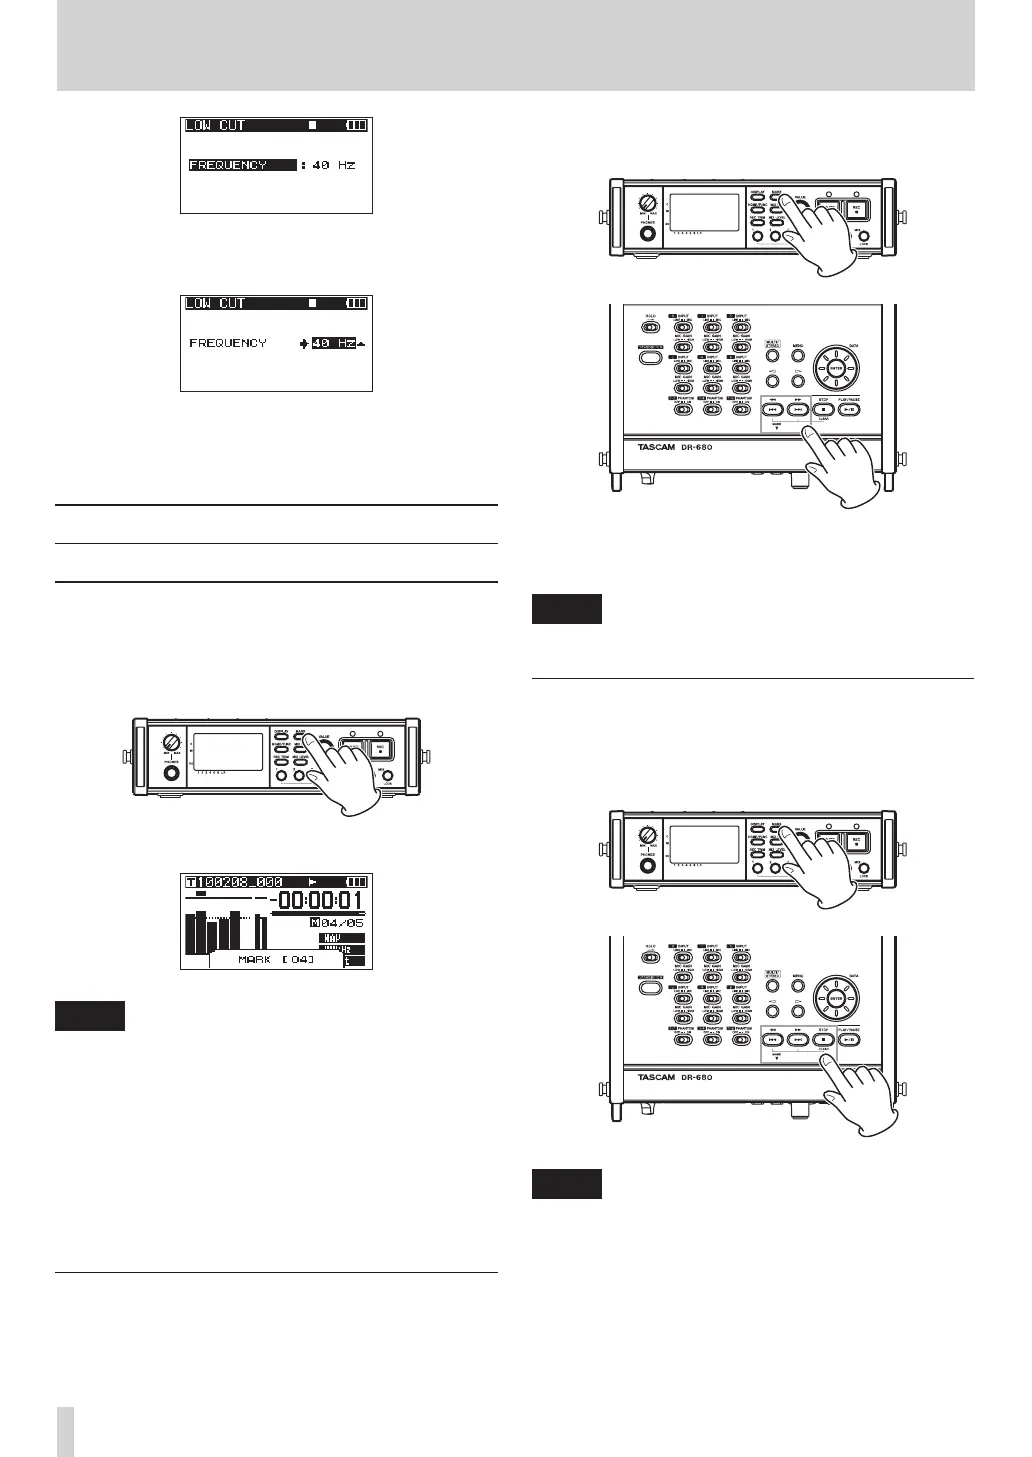
3 Use the DATA wheel to set the cut-off frequency
to
40
Hz
,
80
Hz
(default value) or
120
Hz
.
4 When you have finished making the settings,
press the HOME/FUNC key to return to the Home
Screen.
Using marks
Manually adding marks when recording
and during playback
Press the MARK key when recording and during
playback to add a mark at a desired position.
The mark number is shown when you do this.
NOTE
When a recording is paused and then restarted, a
•
mark is added at that point. Marks are numbered in
each take from 01–99, and the mark data is saved
with each take.
If you add a mark during playback, the mark is not
•
immediately saved in the file, but rather is saved when
playback stops. If you change the take using the Â
or ¯ key without stopping, the addition of mark is
not completed.
Moving to a mark
When stopped or during playback, press the ¯
key or  key while pressing and holding the
MARK key to move backward or forward to the
nearest mark in the selected take.
You can use these marks to index places where you
might want to resume playback.
NOTE
You cannot move to a mark in a different take.
Erasing marks
Press the STOP key while pressing and holding
the MARK to erase the nearest mark before the
current position.
NOTE
If you erase a mark during playback, the mark is not
immediately erased, but rather is erased when playback
stops. If you change the take using the  or ¯ key
without stopping, the erasure of marks is not completed.
4 – Recording
 Loading...