ATTACHMENTS
10-9TX 413 Service Manual
Rev. 001
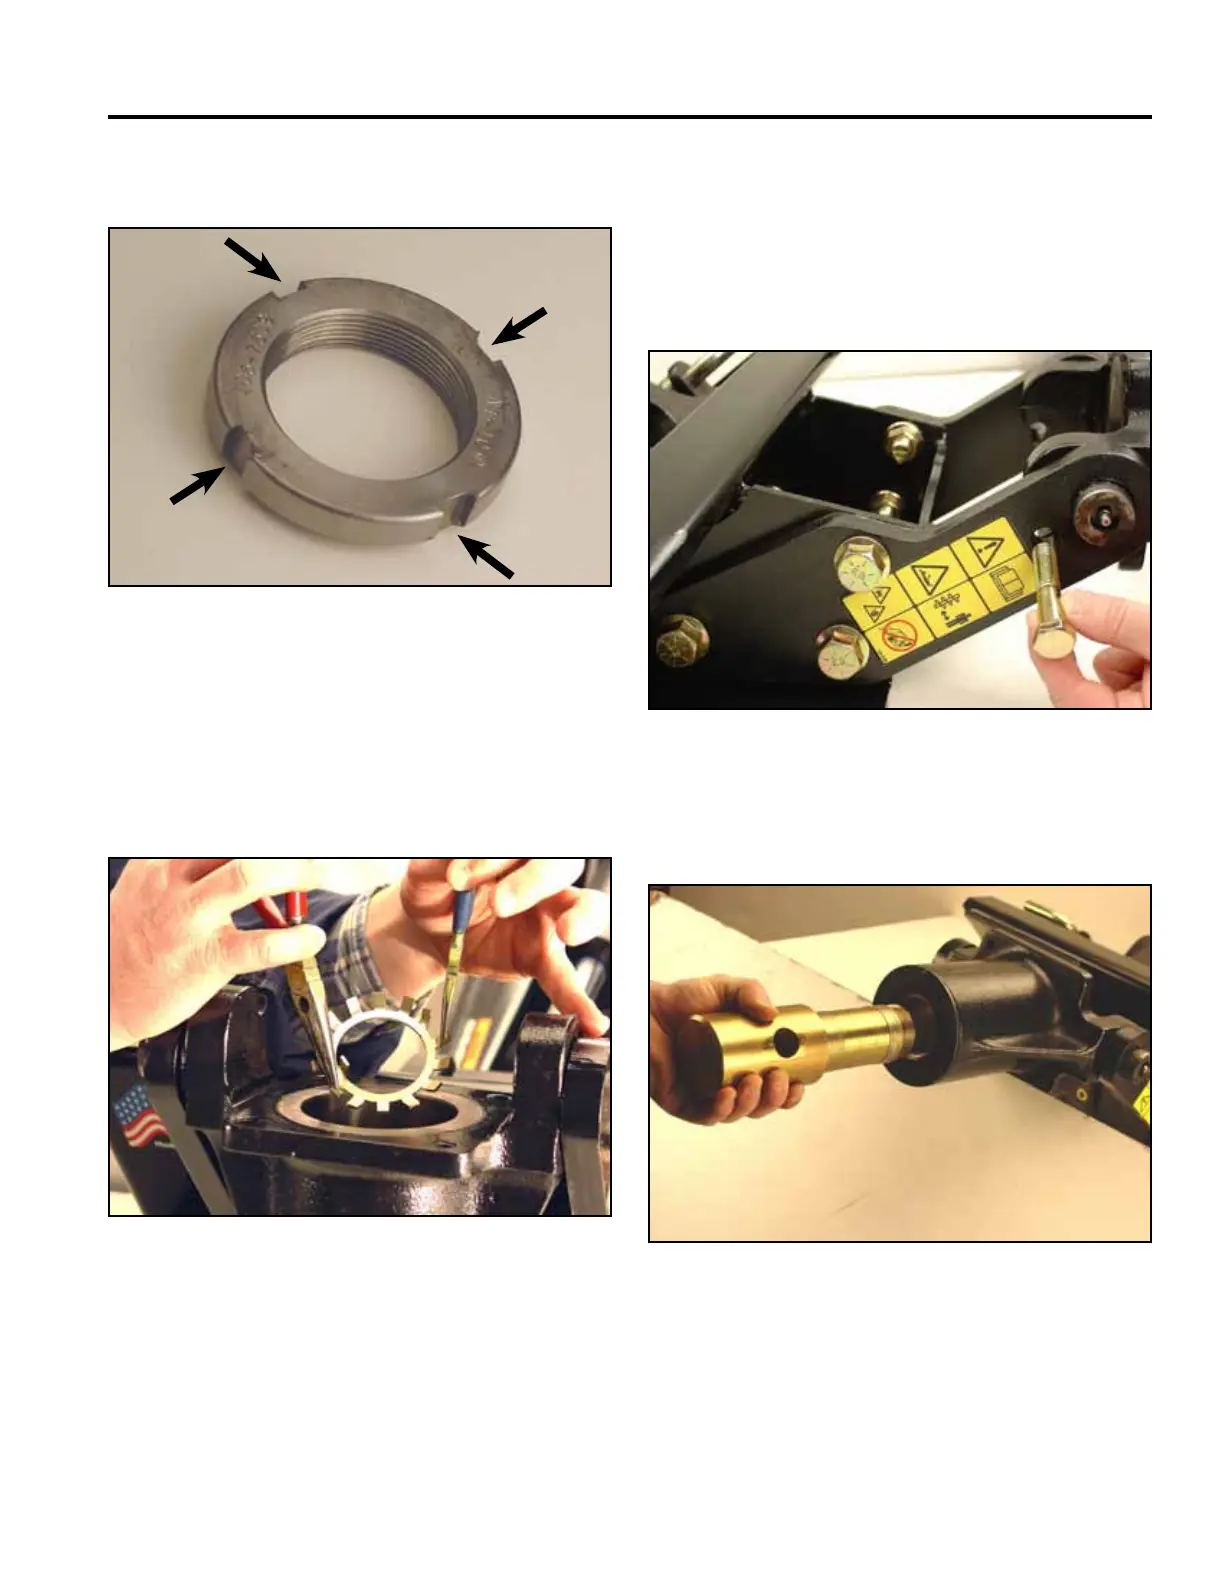
Fig 028 CLR DSC-0122
Nut removed (four notches) (Fig. 028).
4. Using two pairs of needle nose pliers, remove the
bearing lockwasher (Fig. 029).
Note: Do not reuse. Discard and replace with new
lockwasher.
Fig 029 CLR DSC-0125
5. Raise the loader arms so the auger shaft clears the
surface area it is resting on.
6. Rotate the auger housing up until you can slide a
1/2” x 2-3/4” bolt into the hole on the cradle arm to
lock the auger housing in place (Fig. 030).
Fig 030 CLR DSC-0144
Fig 031 CLR DSC-0128
7. Slide auger shaft from auger housing (Fig. 031).