Rev. A
Cutting Units
(Model 03527, S/N 210000001 & Up)
(Model 03528, S/N 210000001 & Up)
Reelmaster 5200-D/5400-DPage 8.1 - 22
B. Using a large socket wrench, remove the reel
bearing adjustment nut (Fig. 39). Tap on the head of
the hex head bolt on the end of the reel shaft, with a
small hammer, until end play of the reel can be felt.
C. Hold the reel to keep it from turning and slowly
tighten the reel bearing adjustment nut until no end
play of the reel exists.
D. Using an appropriate torque wrench, check the
rolling torque of the reel. The rolling torque of the reel
should be 5 to 7 in.-lbs. Check to make sure no end
play exists and the reel spins freely.
E. Install the counterbalance end weight.
Reel Removal
1. Remove counterbalance end weight (Fig. 38).
2. Remove large bearing adjustment nut from the coun-
terbalance end of the reel shaft and the special spline
nut at the opposite end of the reel shaft.
3. Remove mounting bolts from the bearing housing on
both ends of cutting unit.
IMPORTANT: Remove grease fittings from bearing
housing at each end of cutting unit.
4. Using a plastic headed hammer, rotate bearing
housing slightly, install bearing housing bolts from out-
side housing, turn bolts alternately against side plate.
Use this method to remove bearing housing (Fig. 39).
5. The bearing housing will slip out of the side plates
and the reel assembly can be removed as soon as the
bearing housings are removed from the side plates.
6. If necessary, install new bearings and seals:
A. Remove bearing cup, bearing cone and inner
seal.
B. Bearing housing must be completely free of paint
and foreign material before installing bearing cup. If
necessary, remove any ”flash” from bearing housing
that may interfere with accurate seating of bearing.
Apply a thin film of grease to lip of new inner seal, and
install seal with face toward reel. Install bearing cup.
C. Install bearing housing to frame. Pack bearing
cone with grease and install over reel shaft into bear-
ing cup.
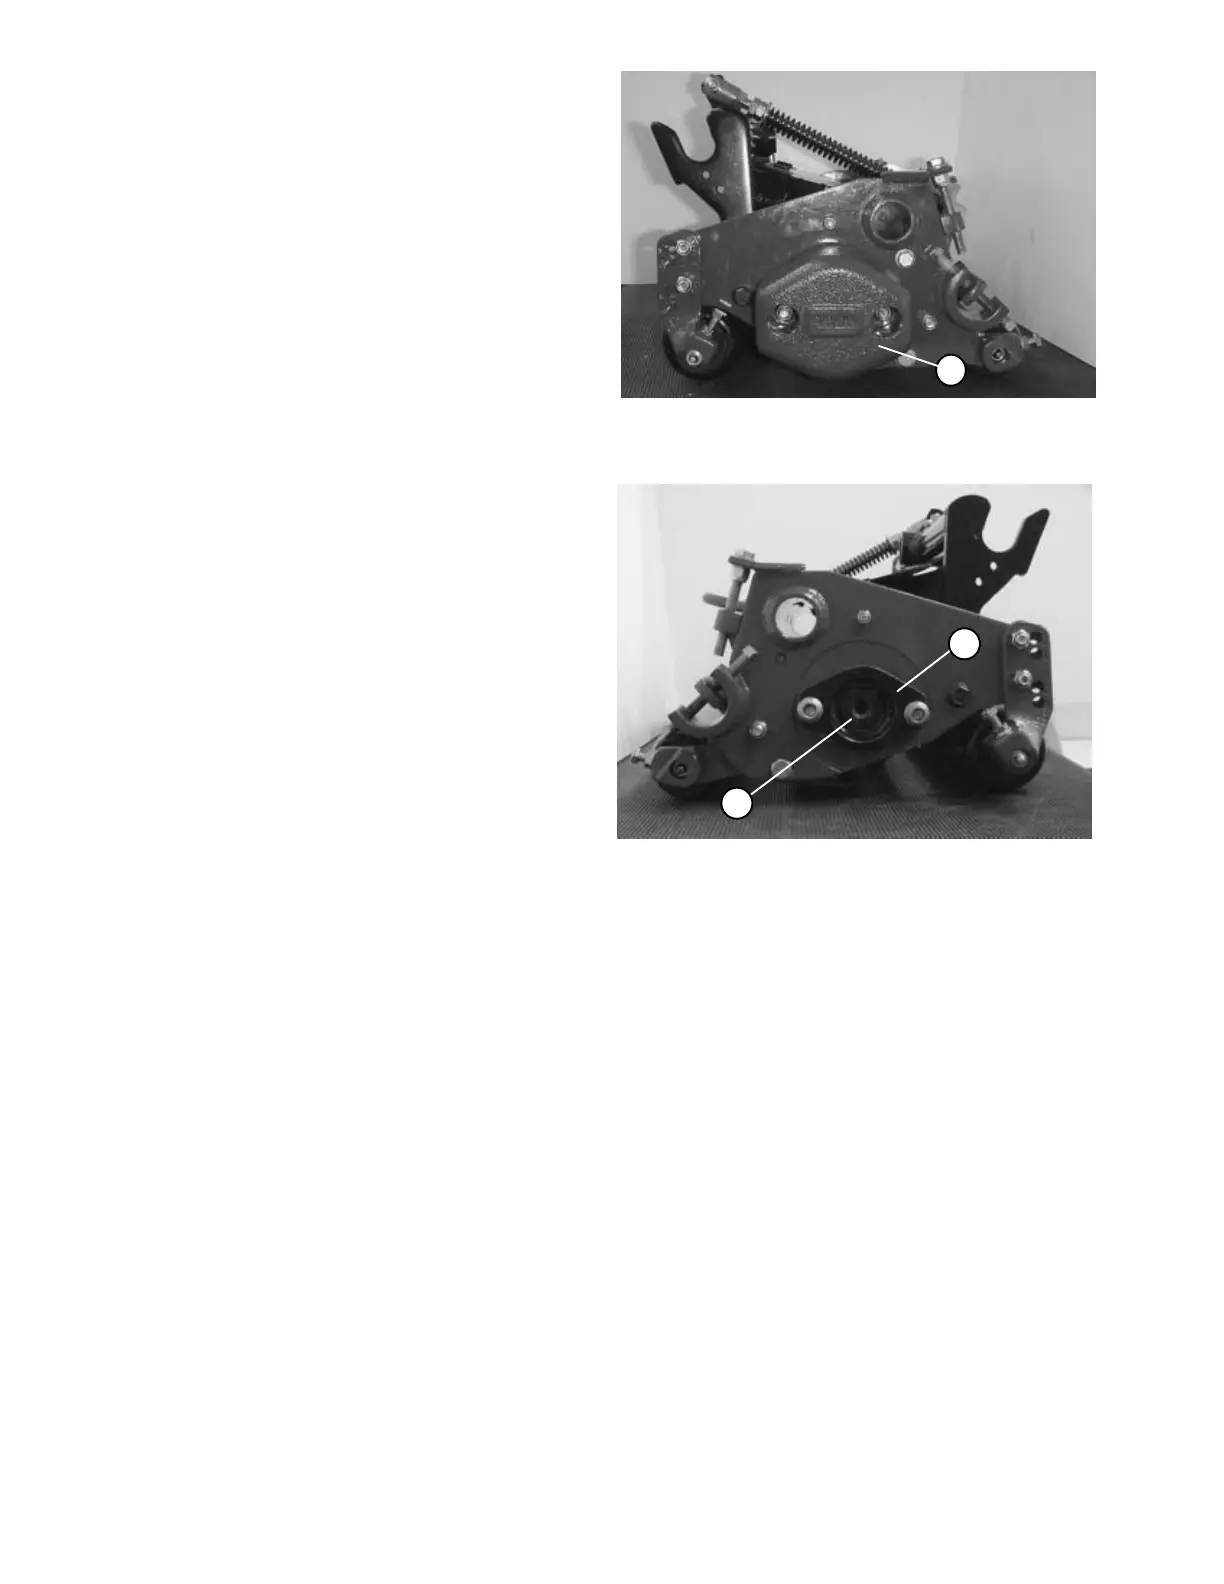
1. Counterbalance end weight
Figure 38
1
Figure 39
1
2
1. Reel bearing housing 3. Reel adjustment nut
7. Lubricate the (2) reel bearings until grease comes
out the bearing housing weep hole.
Inspection
1. Replace reel if diameter has decreased to the service
limit (see Reel Grinding Specifications).
2. Replace reel if blades are bent or cracked.
3. Inspect bearings and seals.

 Loading...


