Reelmaster 5200-D/5400-DHydraulic System Page 4 - 52
Inspection
1. After disassembly, thoroughly clean all parts in a suit-
able solvent. Replace all O-rings, gaskets and seals.
2. Inspect all parts for damage, nicks, or unusual wear
patterns. Replace all parts having unusual or excessive
wear or discoloration.
3. If scratches, which can be felt with a pencil lead, can
be found on bronze surface of valve plates or running
surface of cylinder blocks, polish or replace the parts.
4. Inspect needle bearings in center section. If replace-
ment is necessary, remove shaft needle bearings using
a suitable puller. Do not damage valve plate surface of
center section.
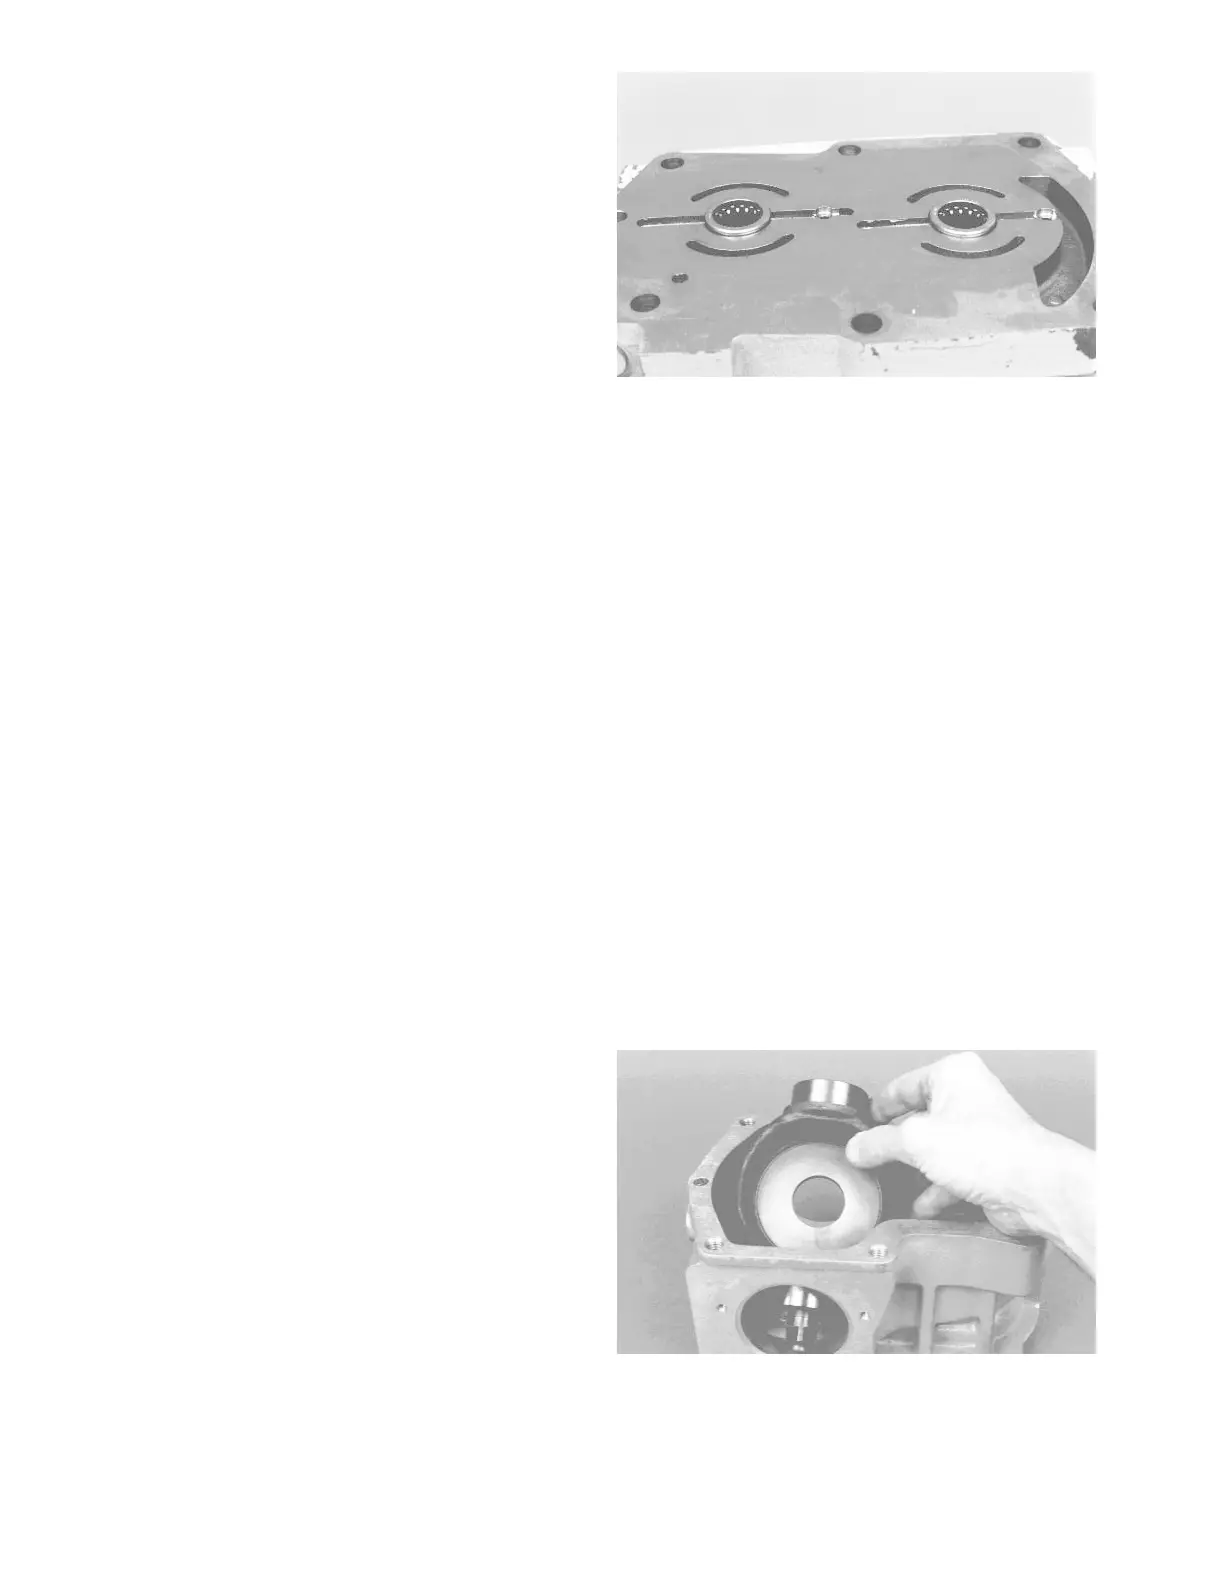
5. Press new needle bearings into center section using
a suitable press pin. When installed correctly, bearing
cage will protrude from 0.09 to 0.11 inch (2.3 to 2.8 mm)
from the surface of the center section to serve as pilots
for the valve plates (Fig. 58).
IMPORTANT: When installing the needle bearing,
the printed (numbered) end of the bearing cage
must face the press pin.
6. Install a new cylinder block kit if brass slippers on the
pistons are scored or excessively rounded at edges.
Assembly
Note: During assembly of the transmission, all sur-
faces which have relative motion between two parts
should be coated with a film of clean hydraulic oil. This
will assure that these surfaces will be lubricated during
start-up.
Note: Replace all gaskets, O-rings and seals. Lightly
lubricate all O-rings with clean petroleum jelly before as-
sembly. All gasket sealing surfaces must be cleaned be-
fore installing new gaskets.
1. Clean and lightly oil parts before assembly. Tighten
all threaded parts to recommended torque value.
IMPORTANT: Most parts have critical, high toler-
ance surfaces. Use caution to prevent damage to
these surfaces during assembly. Protect exposed
surfaces, openings and ports from damage and for-
eign material.
2. Install swashplate into housing. Make sure swash-
plate control shaft is located on correct side of housing
(note marks made during disassembly) (Fig. 59).
Figure 58
Figure 59

 Loading...


