Page 105 of 110 Pages
16. TROUBLESHOOTING
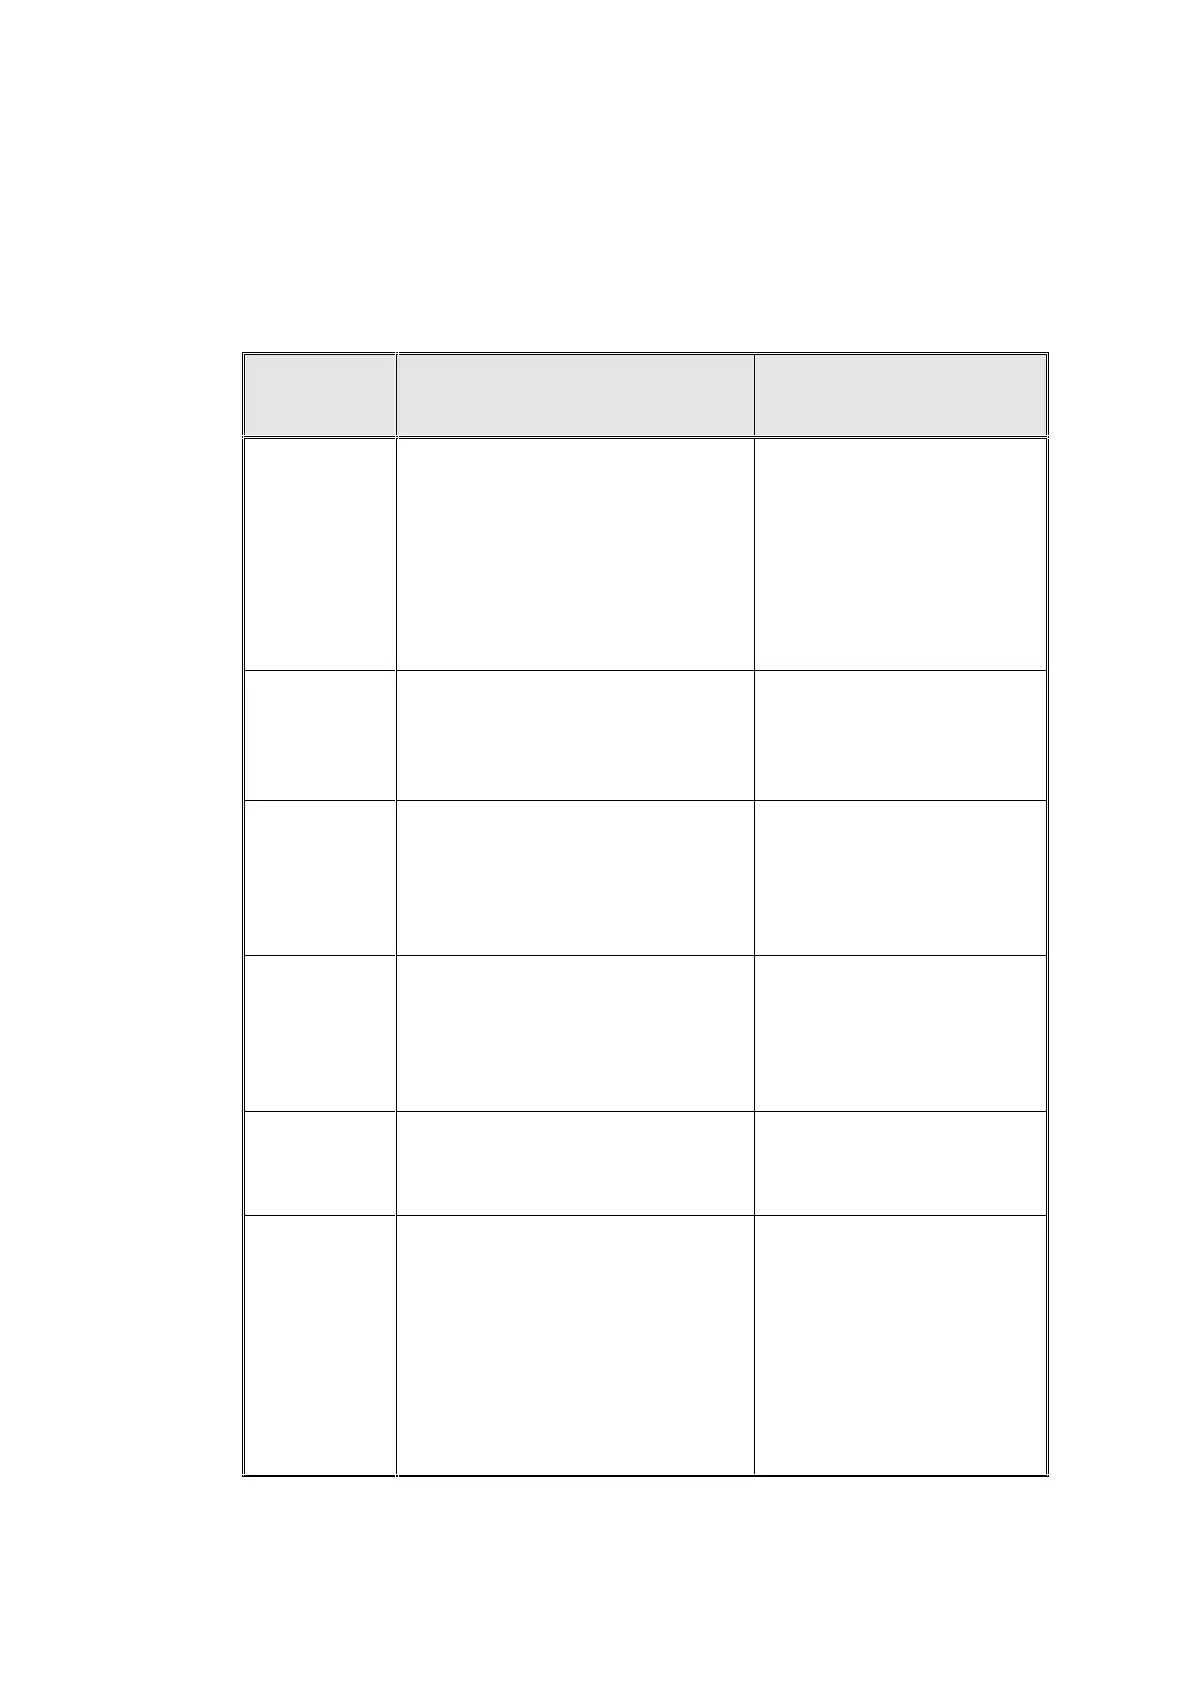
This troubleshooting chart enables the user to solve minor malfunctions,
prior to contacting our service department.
Only technical personnel having proper qualifications and holding technical
documentation (including a technician manual) and adequate information
are authorized to service the apparatus.
The machine is
not responding
1 The main switch is in ‘OFF’
position.
2 The power cord is disconnected
from the machine or the mains.
3 The circuit breaker has tripped.
1 Turn the main switch to
the ‘On’ position.
(see front view drawing).
2 Make sure the power cord
is connected properly to
the machine and the mains.
(see rear view drawing)
3 Lift the circuit breaker
lever.
The printer
prints, but
nothing is
printed on the
paper.
1 The Paper roll is not installed in
the right way.
(see sec. 8.2, Printer handling)
1 Install the paper roll in the
right way. Only one side of
the paper is printable.
(see sec. 8.2, Printer
handling)
The printer
does not print.
1 No paper is inserted in the printer.
(see sec. 8.2, Printer handling)
2 No obvious reason.
1 Make sure the paper roll
is inserted in the printer.
(see sec. 8.2, Printer
handling)
2 Switch off the machine and
switch it back on for restart
Message is displayed and FAIL
indicator lights if in the air
removal stage a vacuum level of
25kPa is not reached during 20
minutes after the cycle is started.
Perform a new cycle.
Call for service.
The machine is
leaking at the
door
1 The door gasket is dirty.
(see sec. 12.1.1, daily
maintenance)
2 The door gasket is damaged.
1 Clean the door gasket.
(see sec. 12.1.1, daily
maintenance).
2 Call for service.
Message is displayed and FAIL
indicator lights if in the air
removal stage a vacuum level of
15kPa is not reached during
20minutes after the cycle is
started
1 Perform a new cycle.
2 Call the technician.
3 The bio-hazard filter may
be clogged. Since the door
cannot be opened until a
complete successful cycle
is completed – call for
technical service.