41
OPERATING CONTROLS AND FUNCTIONS
METERS, INDICATORS AND LAMPS (cont’d)
mODE SELECTION bUTTONS
Adjusting the Display Brightness
From the basic screen, press
the mode selection
button
(releasing it within 3 seconds) to
display the time/hour-meter display
selection screen.
Press the
button again to
display the display brightness
adjustment screen.
After adjusting the brightness, press
the
button once to return to
the basic screen.
NOTE:
BRIGHT (display brightness) can be
set in 8 stages from 0 (dimmest) to
7 (brightest).
F
E
AM 10:00
F
E
METER
TIME/HR/
PDL/LIFT
Basic screen
Clock and hour meter
display selection screen
F
E
BRIGHT
0
Display brightness adjustment screen
Pressing the button Brightness increases.
The screen returns to the basic screen.
Press the button.
(Release it within
3 seconds.)
Press the button.
Press the button.
Pressing the button Brightness decreases.
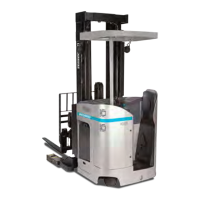
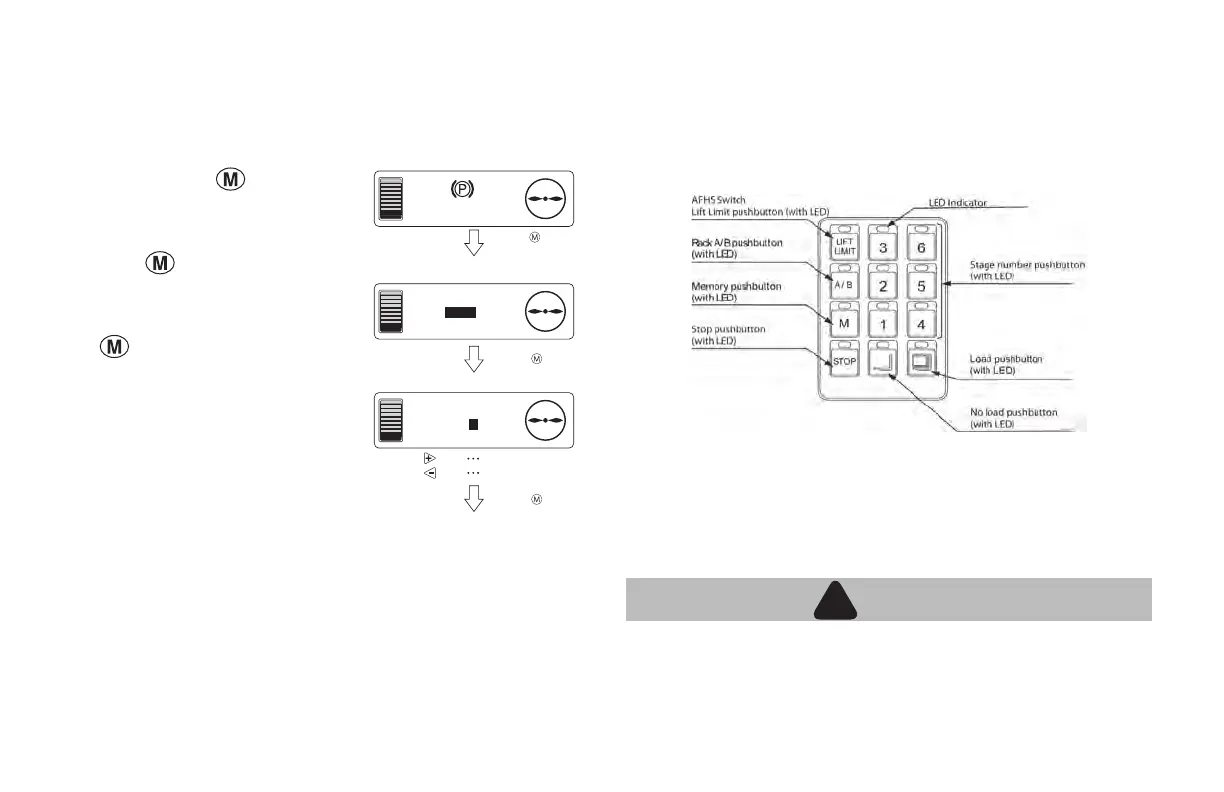
AUTOMATIC FORK HEIGHT SELECT (OPTION): AFHS
Two Maximum Lift Heights can be set up using the A/rack B/rack
buttons. Six (6) preset lift heights for picking/depositing loads may
be programmed using the A/rack button and 6 presets on the B/rack
button, for a total of 12 presets.
Programming AFHS Buttons
NOTE: PB (Push button) 1 thru 6 must be set sequentially, with 1
being the lowest rack level, 2 the next etc. If the racking is changed by
adding a lower rack level the stops will need to reset. Trying to program
a higher PB, i.e. setting PB6 at a lower level than PB 1 will cause the
following warning screen on the meter panel display.
WARNING
!
!
• When using the loaded automatic fork stop feature, make
sure there is adequate clearance between the load and the
rack immediately above where the load is being placed.