3.2 Wall Mounting
To mount the transmitter on a wall:
1. Remove the transmitter cover.
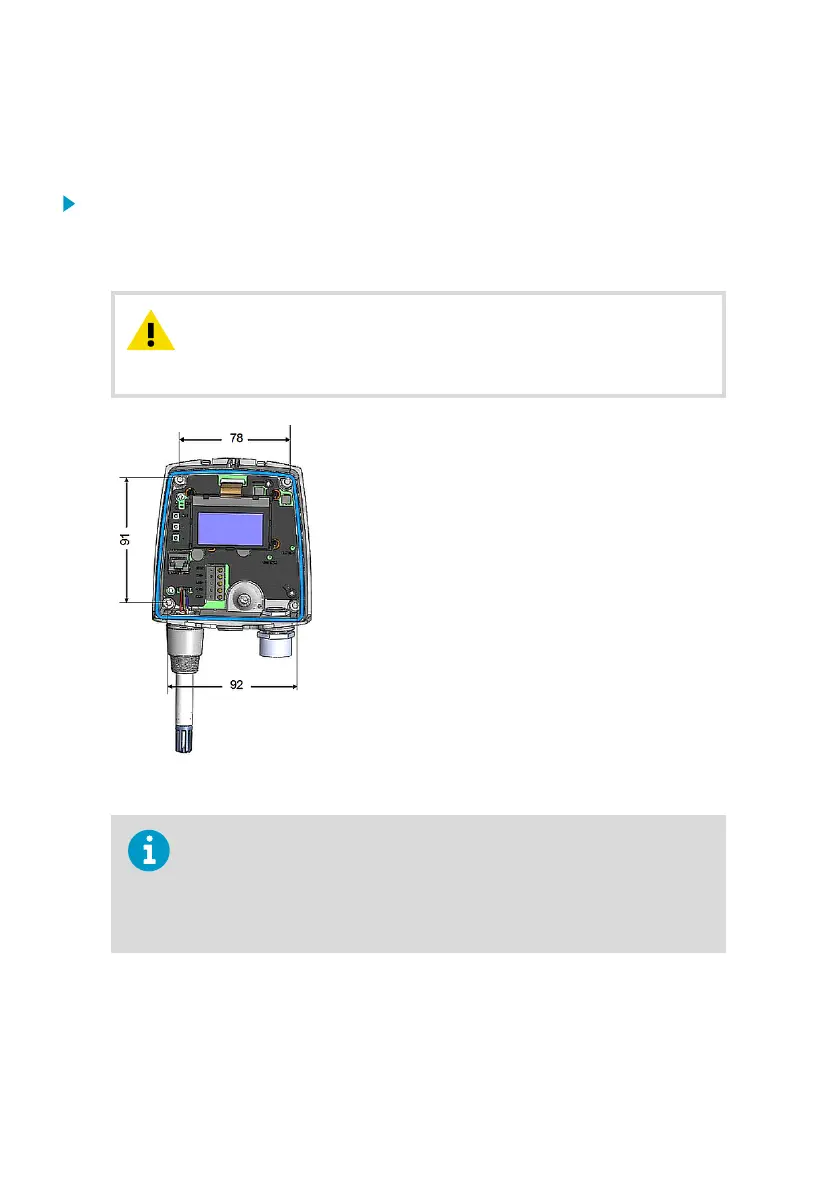
2. Make sure that the transmitter is correctly aligned and attach it directly to the wall with up
to four screws (not included in the package). Figure 3 (page 14) shows the distances
between attachment points.
It is possible to damage the display when tightening the
screws, as there is not much room between the upper fastening holes and
the exposed display component. Be particularly careful when using a
cordless drill.
CAUTION!
Figure 3 Wall Mounting Measurements
Select the size and type of the fastening screws according to the wall
material (for example, wood or stone). Even though using all four screws is
strongly recommended, the transmitter enclosure fastening holes are initially
covered with a thin plastic membrane, so less than four screws could be also
be used without sacrificing the ingress protection (IP) class of the enclosure.
The diameter of the fastening screws is typically between 3.5 and 4 mm.
More Information
‣
Opening the Transmitter Cover (page 13)
HMT120 User Guide M211244EN-C
14

 Loading...