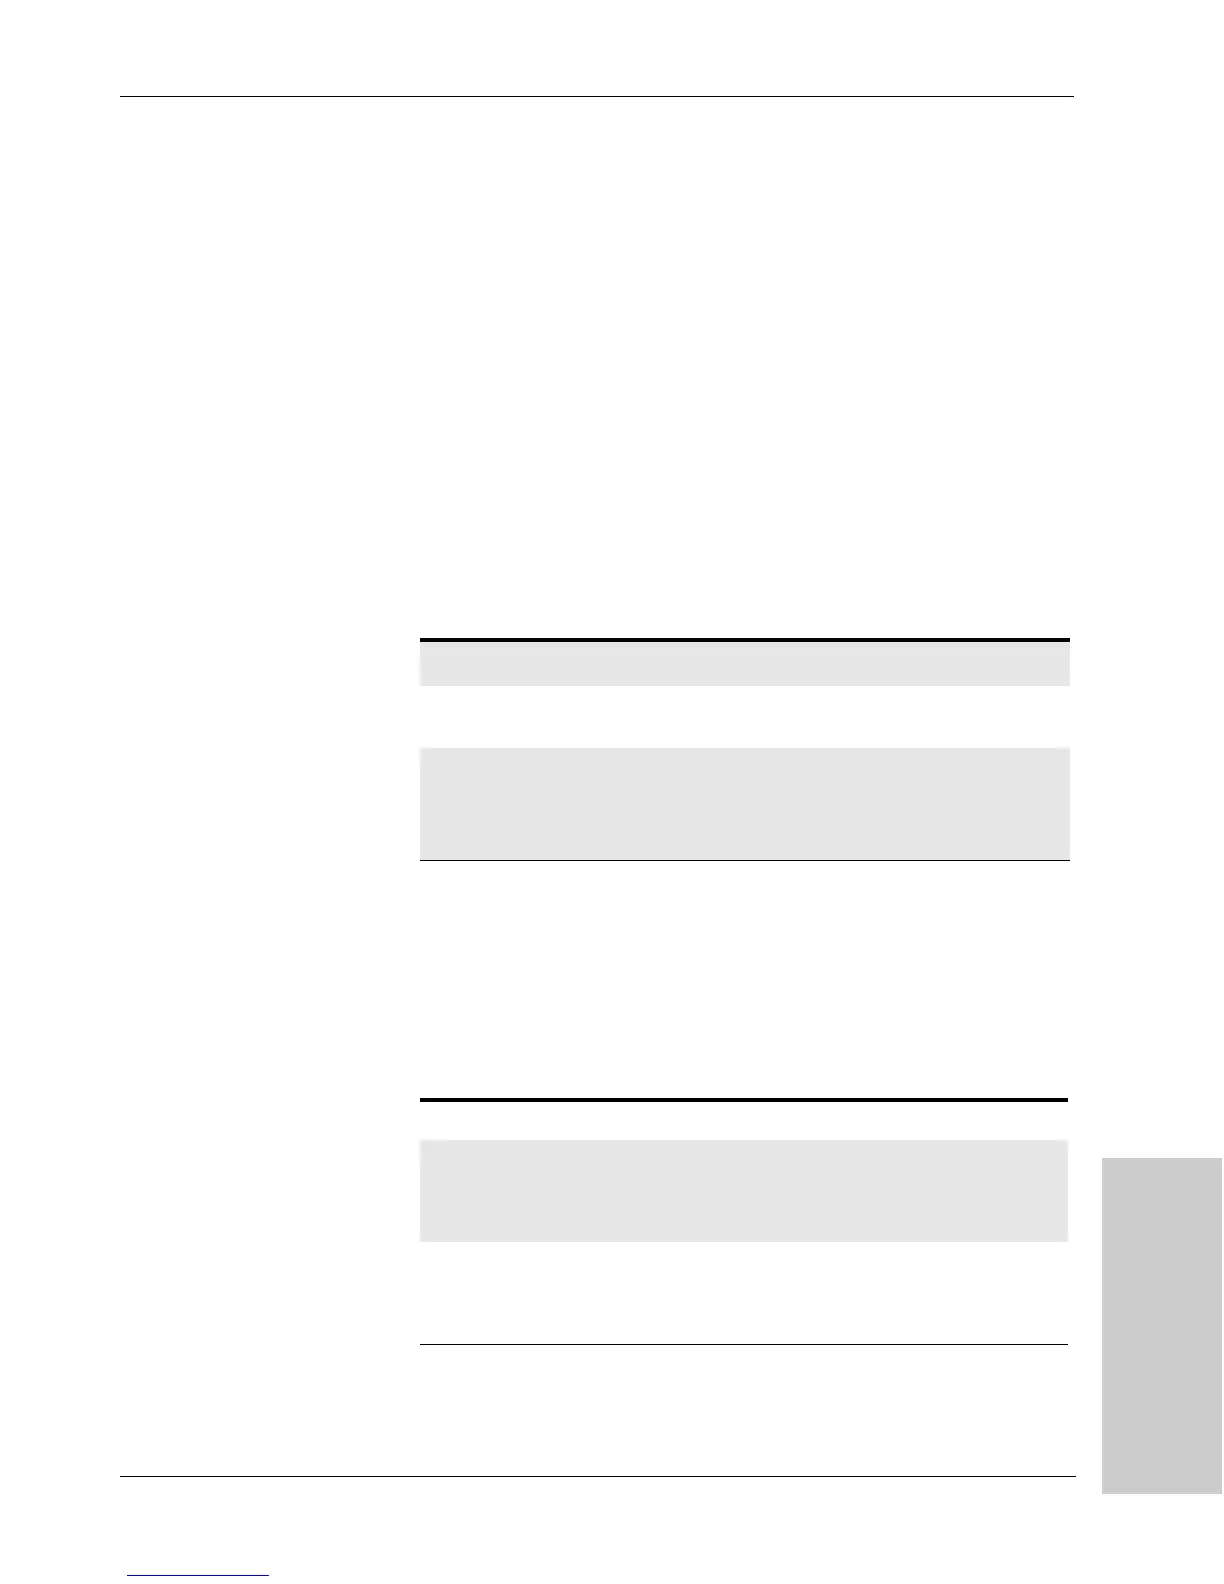
Front Panel and Display Board
Replacement Procedures
LigaSure Vessel Sealing Generator Service Manual 8-17
Front Panel and Display Board
You may need to replace either the display board or the entire front panel. Both
replacements begin with disconnecting and removing the front panel. Display
board replacement then continues with disconnecting and removing the board
from the front panel. Installing the display board and front panel reverses the
process.
Tools Needed
• Phillips head screwdriver
Remove the front panel
1. Turn off the generator. Disconnect the power cord from the wall receptacle.
Disconnect any footswitches or handsets currently connected to the generator.
2. Remove the cover.
3. Disconnect three cables:
4. Remove four screws (M4 x .7 x 8):
• Two screws, with washers – one each on the left and right upper corners
formed at the front and sides of the unit.
• Two screws on the underside of the front panel, one under each handset
receptacle.
5. Pull the front panel away from the chassis until you gain easy access to the
power switch wires. Disconnect the wires:
Name Ref Location Wires Colors
Control board
ribbon cable
Control board
RF out cables
(2)
J10 &
J11 on
RF
board
Near front edge of
RF board
4 (per
cable)
brown, blue,
yellow, and white
Name Location Pin No. Wires Color From
AC
switch 2
Top of switch
module
1
2
1
1
brown
blue
Input power
module
AC
switch 1
Bottom of
switch module
1A
2A
1
1
brown
blue
HV power
supply board
Artisan Technology Group - Quality Instrumentation ... Guaranteed | (888) 88-SOURCE | www.artisantg.com