Vertiv | NetSure 7100 Series -48V DC Power System Installation Manual (IM582127000) | Rev. BB
Procedures when the System is Installed in an Enclosure
Removing the Enclosure Rear Panels
Procedure
1. Loosen the fasteners on the rear panel, then remove the panel. Refer to Figure 1.
2. For reassembly, note the location of the large holes in two corners of the panels. Orient the panels as
shown in Figure 1.
Removing the Enclosure Side Panels
Procedure
1. Loosen the fasteners on the side panel including panel frame grounding wire hardware, then remove the
panel. Refer to Figure 1.
AC Input Conduit Options
Two types of conduit plates are available. Select and install the conduit plate appropriate for your application.
Refer to Figure 2.
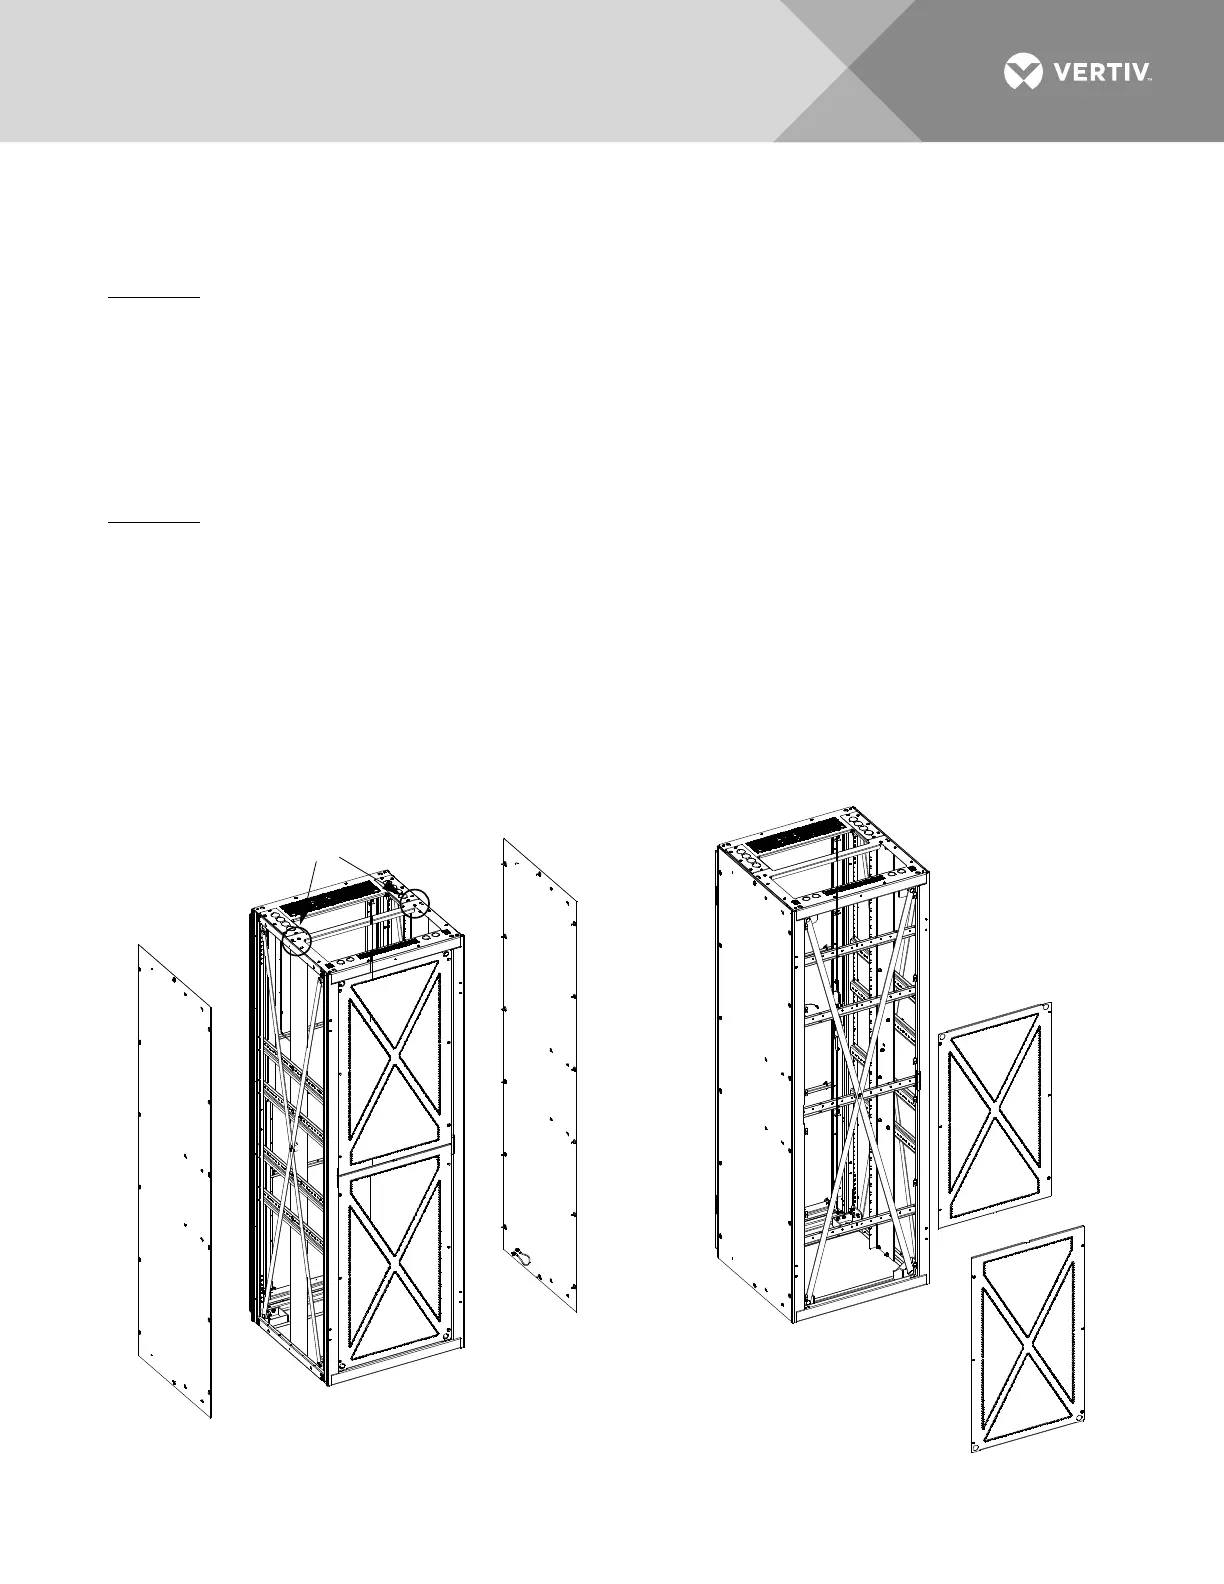
Figure 1:
Removing System Enclosure Side and Rear Panels
Removing Side Panels Removing Rear Panels
Loosen top screws to
remove side panels.

 Loading...


