Vertiv | NetSure 7100 Series -48V DC Power System Installation Manual (IM582127000) | Rev. BB
INSTALLING THE MODULES
Installing Rectifier or Converter Modules into Spec. No. 588705000 Module Mounting
Assemblies
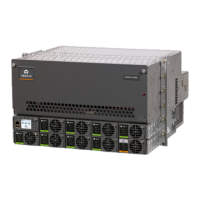
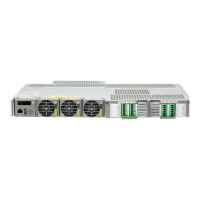
Rectifier or converter modules are installed in a 588705000 module mounting assembly, depending on the
shelf ordered.
• Rectifiers are installed in 588705000 List 21, List 22, 31, and 32 shelves.
• Converters are installed in 588705000 List 40, List 41, and 42 shelves.
Rectifier or converter modules can be inserted or removed with power applied (hot swappable).
NOTE!
The rectifier or converter module locks into the module mounting assembly through a latch
located on the underside of the module. The latch and module handle are interactive. Push the handle
into the module’s front panel, and the latch will pop out from the module bottom. Click the handle to
pop it out from the module’s front panel, and the latch will retract back into the module. The latch
mechanism is shown in
Figure 117
.
WARNING! To prevent damage to the latching mechanism, ensure the handle is in the open position
when installing or removing a module. NEVER hold the handle in the closed position when installing a
module into a shelf.
NOTE! 588705000 List 32 and List 33 Rectifier Mounting Assemblies Only (3-Phase Input):
One
three-phase input feeds the three rectifier modules on the left-hand side of the shelf. The second three-
phase input feeds the modules on the right-hand side. To maintain phase balance, install rectifier
modules in groups of three; that is, fill all three mounting positions on the left and/or all three on the
right.
Procedure
1. Unpack the rectifier or converter modules.
2. If present, remove blank cover panels from the module mounting positions into which modules are to be
installed.
3. Place the module into an unoccupied mounting slot without sliding it in completely.
4. Click the module handle in order to pop it forwards out of the module’s front panel (this will also retract
the latch mechanism located on the underside of the module).
5. Push the module completely into the shelf.
6. Push the handle into the front panel of the module. This will make the latch lock the module securely to
the shelf.
7. Repeat the above steps for each module being installed in the system.
8. After the modules are physically installed in the mounting shelf(s), they are ready for operation
immediately after power is supplied to them.

 Loading...


