Vertiv | NetSure 7100 Series -48V DC Power System Installation Manual (IM582127000) | Rev. BB
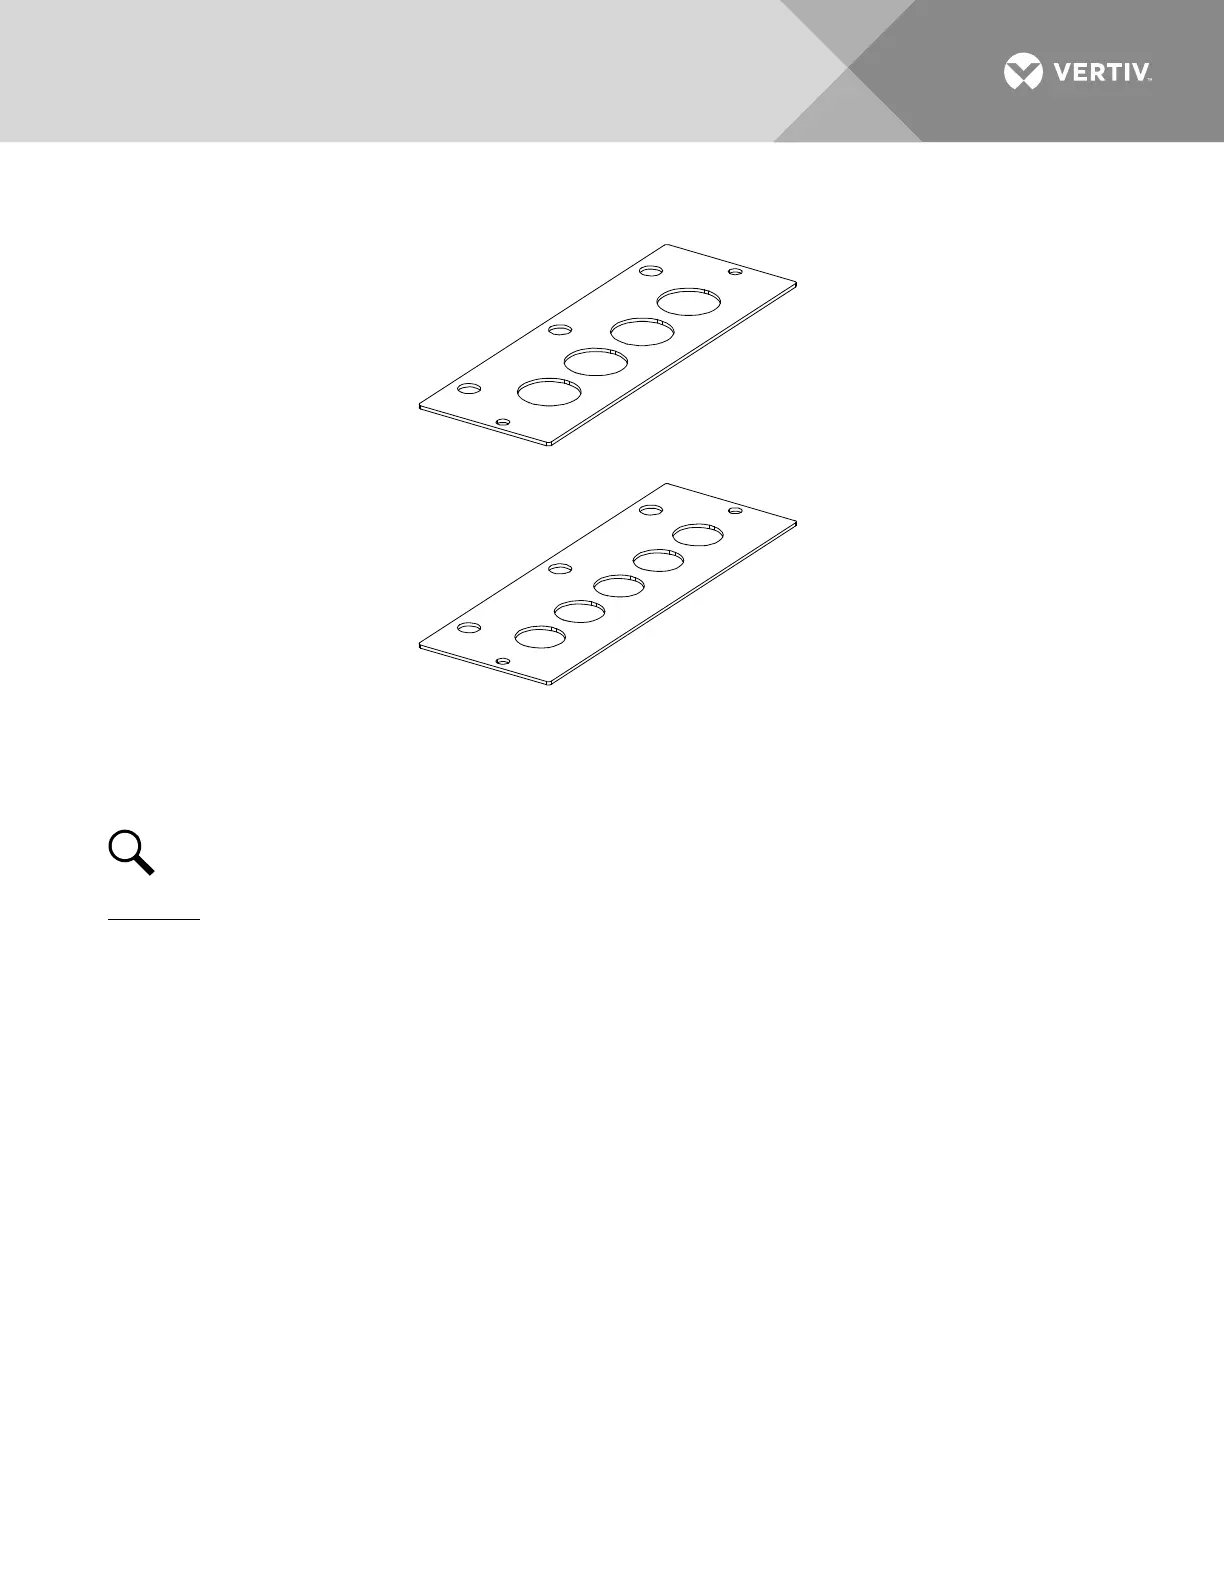
Figure 2:
AC Input Conduit Plates
Reversing the Enclosure Front Door
NOTE!
Refer to
Figure 3
as this procedure is performed.
Procedure
1. Open the front door.
2. Remove the ground strap from the front door, saving the hardware.
3. Unbolt the front door hinges from the enclosure.
4. Remove the front door.
5. Reverse the front door.
6. Re-bolt the front door hinges to the other side of the enclosure.
7. Re-attach the ground strap to the front door, using the saved hardware.
8. Carefully remove the clips from inside the door securing the door badging emblems.
9. Remove the door badging emblems and relocate them to the opposite corners at the top of the door.
Secure with the clips removed above.
Trade 1.00”
Conduit Openings
P/N 563714
(factory installed)
P/N 563877
(field installed)
Trade 0.75”
Conduit Openings

 Loading...


