Vertiv | NetSure 7100 Series -48V DC Power System Installation Manual (IM582127000) | Rev. BB
Installing Optional Lug Adapter Busbar Kits, Part Nos. 534449 and 514714
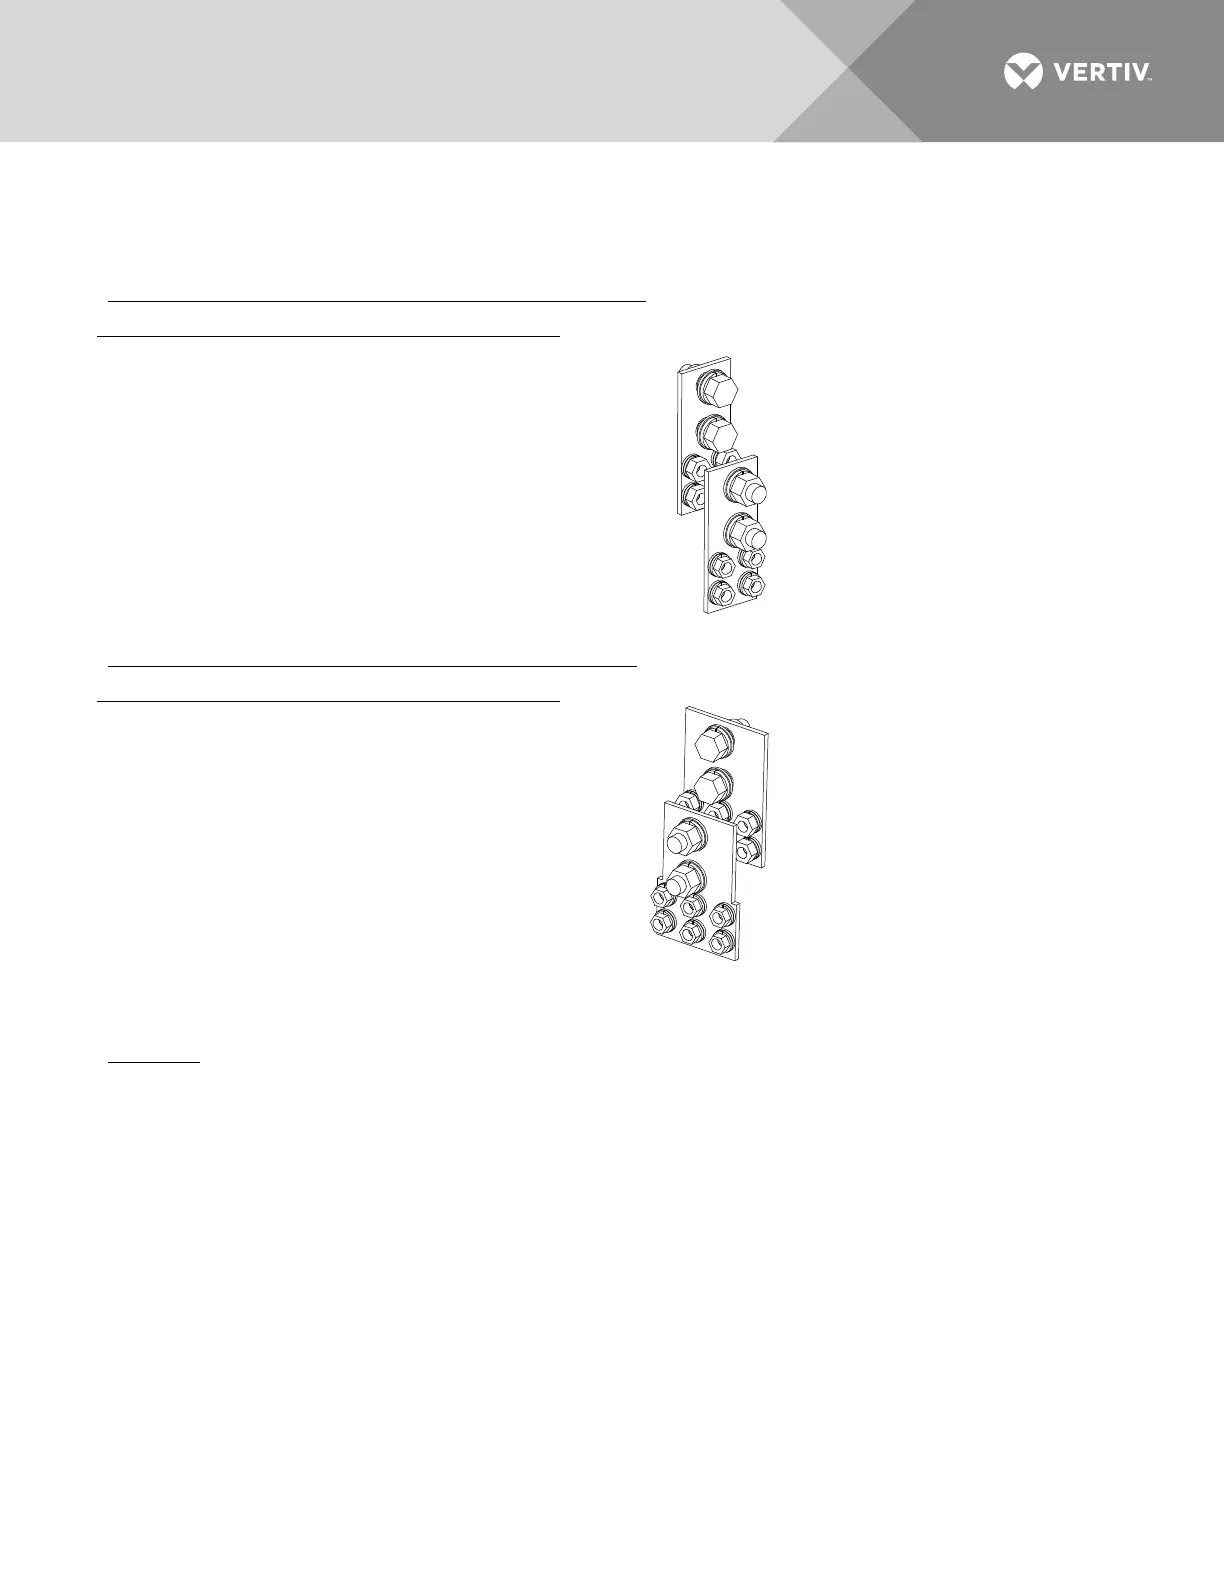
These kits provide lug adapter busbars plus hardware for use with 2-pole and 3-pole bullet circuit breakers.
Contents of Kit P/N 534449 (for 2-pole circuit breakers)
Hex Head Bolt, 1/4-20 x 3/4”
(not used)
Hex Head Bolt, 3/8-16 x 1”
Contents of Kit P/N 514714 (for 3-pole circuit breakers)
Hex Head Bolt, 1/4-20 x 3/4”
(not used)
Hex Head Bolt, 3/8-16 x 1”
Perform the following steps to install the lug adapter busbars.
Procedure
Refer to Figure 22 as the procedure is performed. Note also the restrictions on location in Figure 22.
1. Open the distribution cabinet’s front door by turning the latch in the counterclockwise position
(system’s in a relay rack), or open the system’s enclosure door.
2. Install the lug adapter busbars as shown in Figure 22. Apply anti-oxidizing compound to busbar mating
surfaces before assembling. Recommended torque is 72 in-lbs using the supplied 1/4” bolts and
hardware.
3. Orient the load lug hardware as shown in Figure 22. Recommended torque is 300 in-lbs using the
supplied 3/8” bolts and hardware.
4. Close the distribution cabinet’s front door and turn the latch clockwise to secure the door (system’s in a
relay rack), or close the system’s enclosure door.

 Loading...


