S
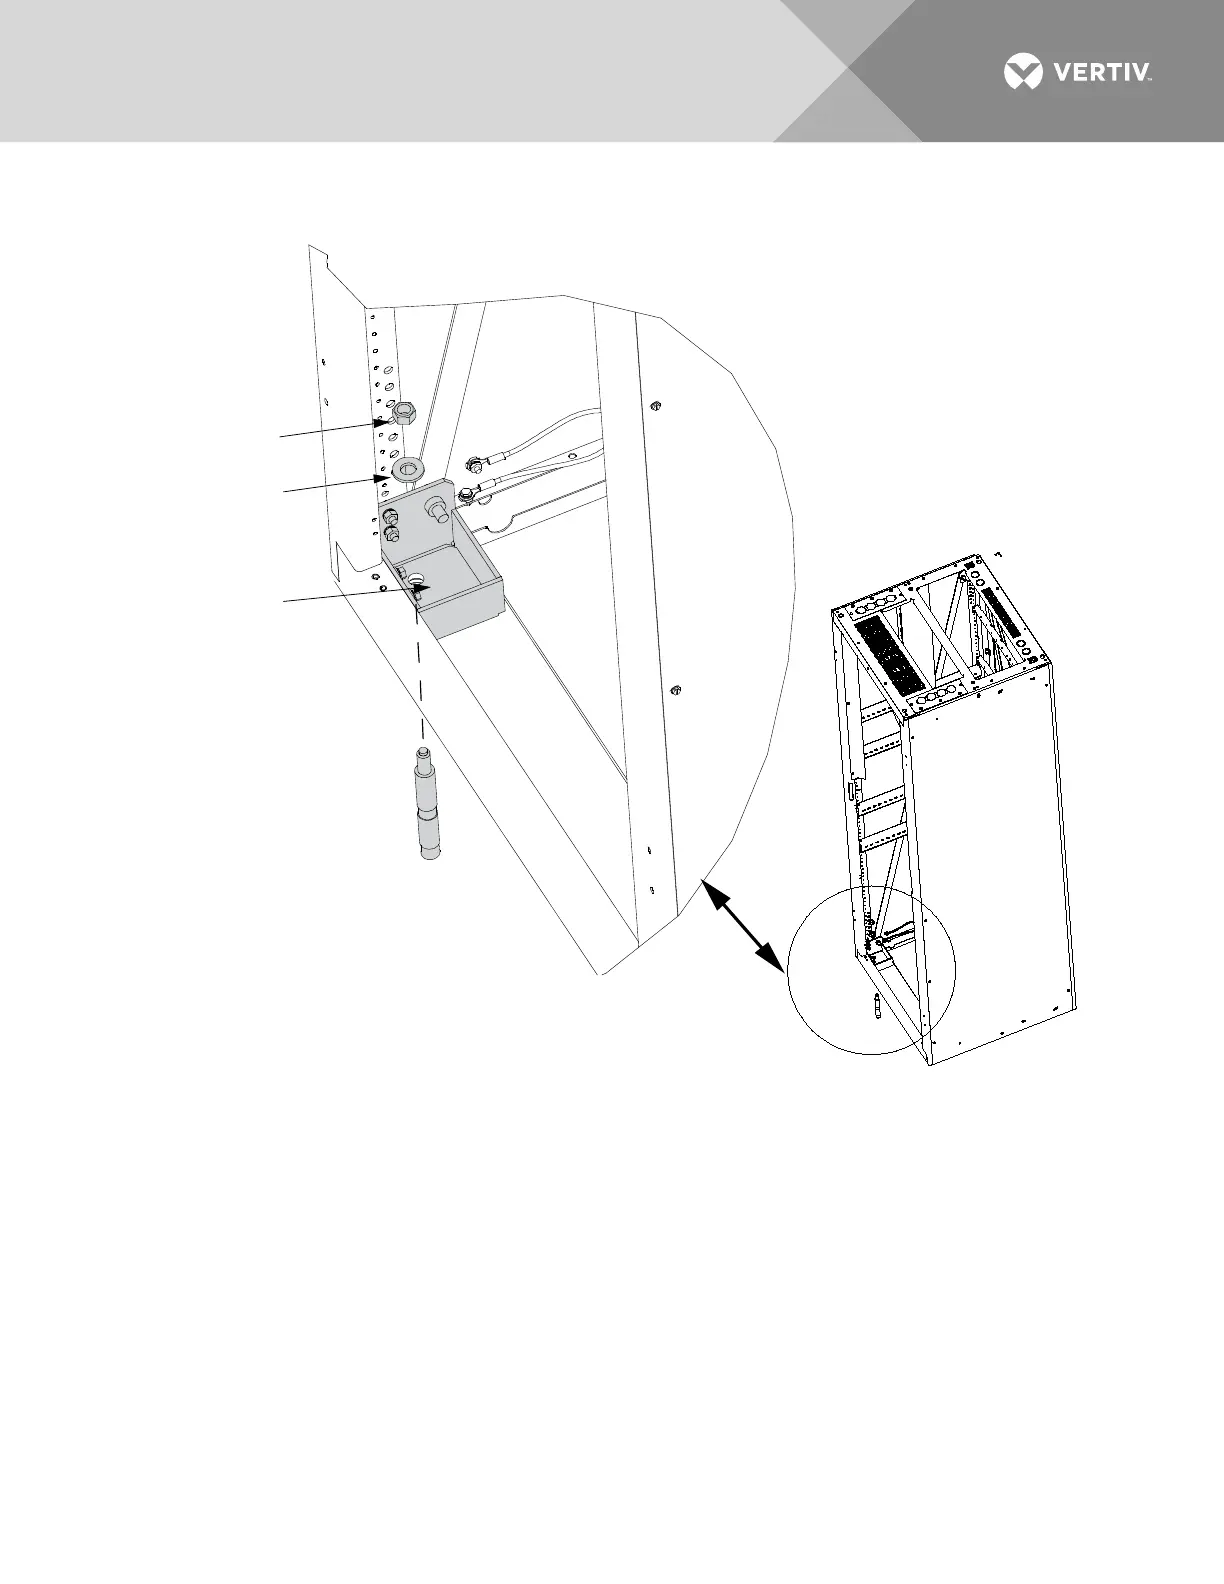
tud Type Anchor
Anchor Nut
Anchor Washer
Enclosure
1-Hole Washer
Setting the Anchors
1. Before setting the anchor, review manufacturer’s instructions.
2. A loose, ¼” [6.4 mm] thick seismic, 1-hole washer is provided at each
corner. Since the 1-hole washer’s hole diameter is 0.563” [14.3 mm],
a stud type anchor is recommended.
3. The total height of the enclosure metal surrounding each mounting hole,
including 1-hole washer, is 0.74” [18.8 mm].
4. Remove the nut and washer from the anchor.
5. For eac
h anchor, drop the anchor into the drilled hole. Insert the anchor setting tool and
hit it with a hammer to expand the anchor.
Placing and Securing the Enclosure to the Floor
1. Place the enclosure into position over the anchoring holes.
2. Install the anchor washer and anchor nut FINGER TIGHT for each anchor.
3. Check the enclosure is level front-to-back and side-to-side. Install shims if necessary.
4. When the enclosure is level, tighten all nuts to the appropriate torque.

 Loading...


