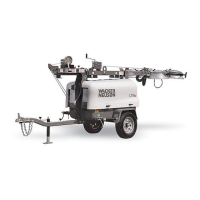
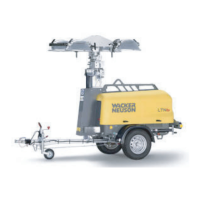
Appendix V—Standard Racked Assembly LTN
86 wc_tx001216gb.fm
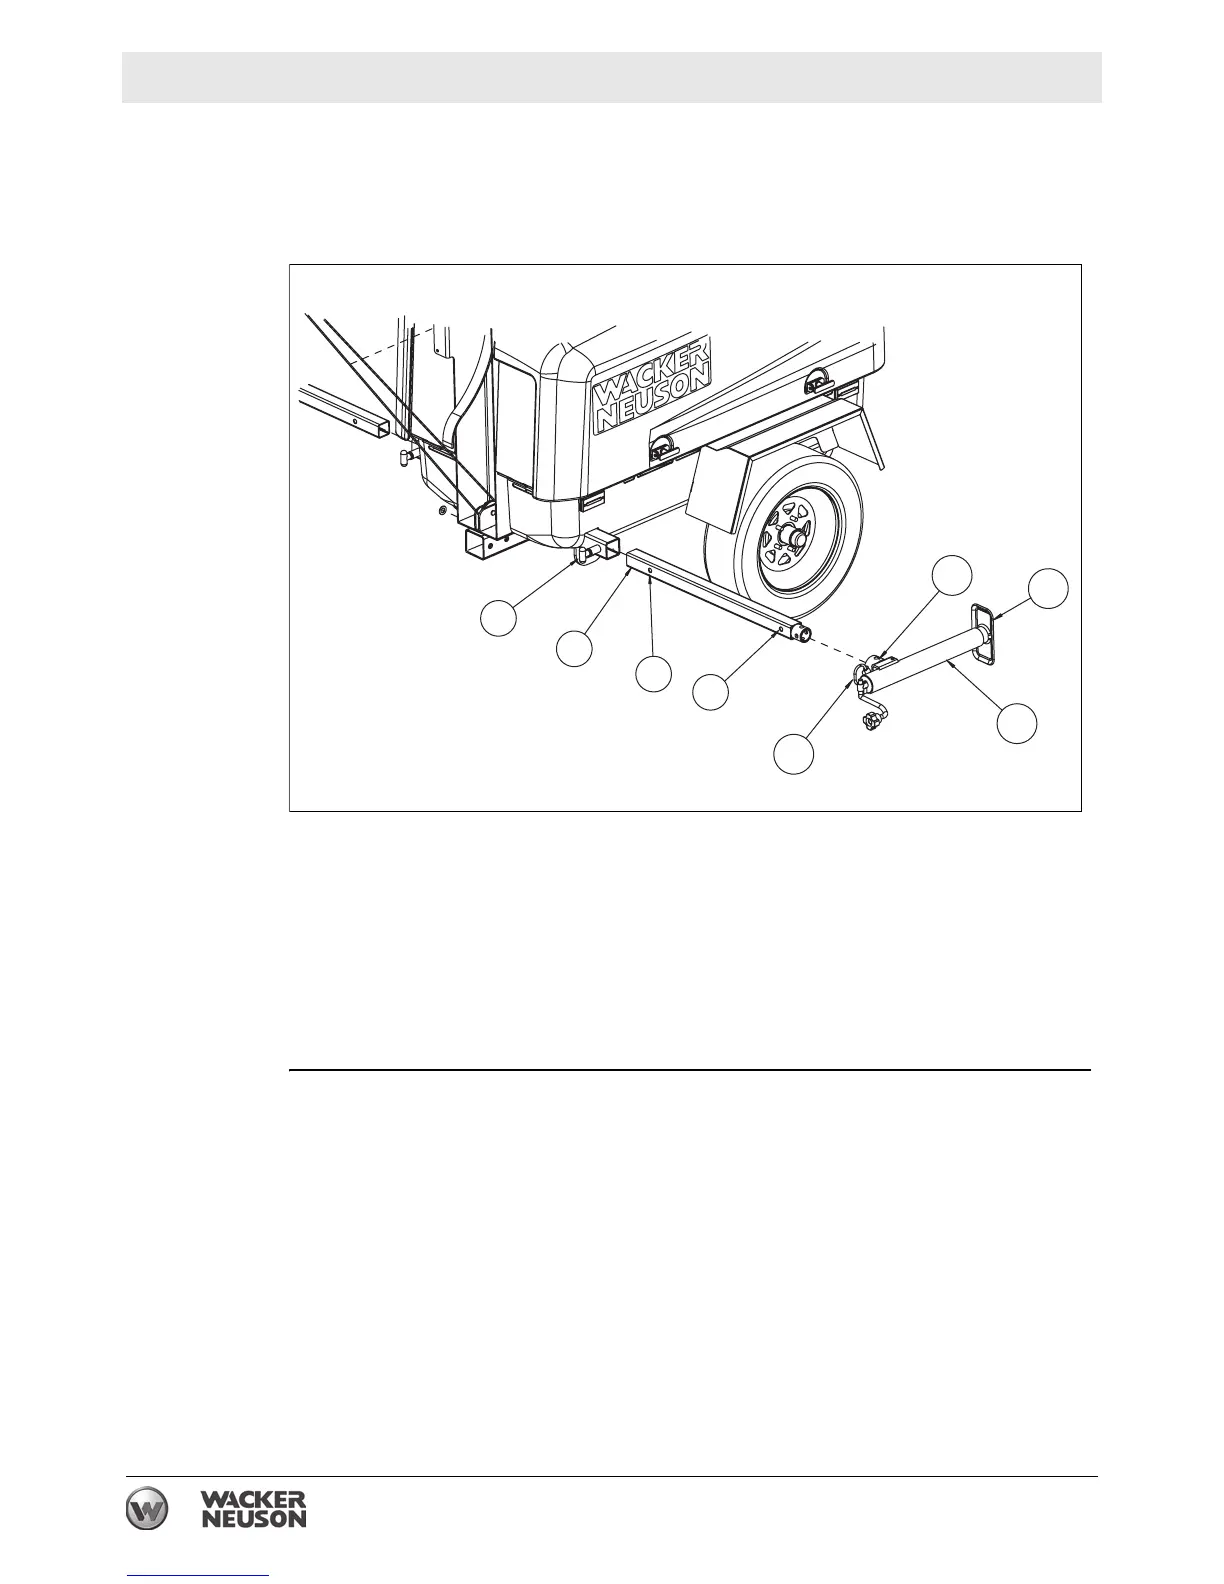
13.4 Installing the Outriggers and Outrigger Jacks
Installing the
outriggers
Follow the procedure below to Install the two outriggers. (Use the same procedure
for each side of the Light Tower.)
1. Locate the locking pin (A) at the outrigger socket.
2. Position the outrigger (B) so that the holes (B1 and B2) face the same direction
as the locking pin.
3. Pull the locking pin and insert the square end of the outrigger into the outrigger
socket.
4. Align hole (B1) in the outrigger with the locking pin. When hole (B1) is aligned,
release the locking pin to fasten the outrigger in place.
Installing the
outrigger
jacks
Follow the procedure below to Install the two outrigger jacks. (Use the same
procedure for each outrigger jack.)
1. Locate the two 15-inch travel jacks (“outrigger jacks”) (C).
2. If necessary, remove the locking pin (C3) from the holes in the outrigger jack.
3. Fit the socket (C1) on the outrigger jack over the circular end of the outrigger
(B).
4. Rotate the outrigger jack so that the foot (C2) rests on the ground.
5. Align the top hole in the outrigger jack socket with the top hole on the outrigger.
6. Insert the locking pin into the holes. Push the locking pin through both sets of
holes (top and bottom) to fasten the outrigger jack in place.
A
B
B1
B2
wc_gr006520
C
C1
C3
C2