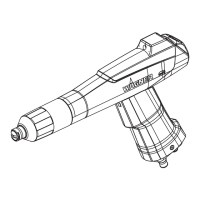
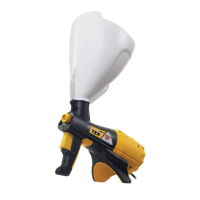
Operating manual Manual powder spray gun PEM-X1
8 Cleaning and Maintenance
38 Order number 2326020 | Edition 10/2022
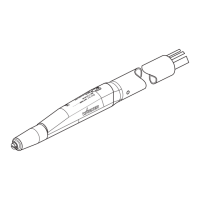
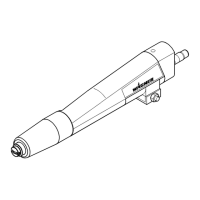
1 Wedge tool
2 Electrode holder (shown with a cut-away view to improve comprehension)
3 Protective wedge (when positioned)
1. Guide wedge tool 1 into electrode holder 2 up to stop.
2. Pull protective wedge 3 out of electrode holder 2 using wedge tool 1.
3. Press protective wedge 3 sideways out of wedge tool 1 manually (without tool).
8.6.2 Installing the Protective Wedge
Note:
The same wedge tool is used to insert the protective wedge.

 Loading...