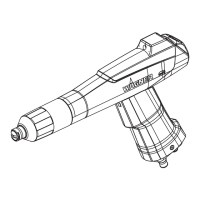
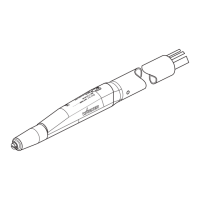
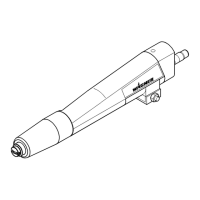
EasyManuals Logo

WAGNER PEM-X1 Translation Of The Original Operating Manual

WAGNER PEM-X1
64 pages
To Next Page IconTo Next Page
To Previous Page IconTo Previous Page
Page #40 background imageLoading...
Page #40 background image
Operating manual Powder Cup Gun PEM-X1 CG
8 Cleaning and Maintenance
40 Order number 2326960 | Edition 10/2022
5. Before inserting the electrode holder, the spring contact of the gun body and contact
surface of the electrode holder should be checked.
The spring contact must be clean and move easily, the gun body must also be clean
and free of powder deposits.
6. Insert electrode holder into gun housing.
7. Slide union nut onto gun housing.
8. Screw union nut onto gun housing (hand-tight).
9. Slide deflector cone over deflector cone sleeve.
8.8 ASSEMBLY OF THE CORONASTAR
The CoronaStar is a retrofit set for the manual gun, which helps to achieve a better surface
quality (e.g., reduction of "orange peel").
WARNING
Danger from electric current!
Risk of injury and damage to the device.
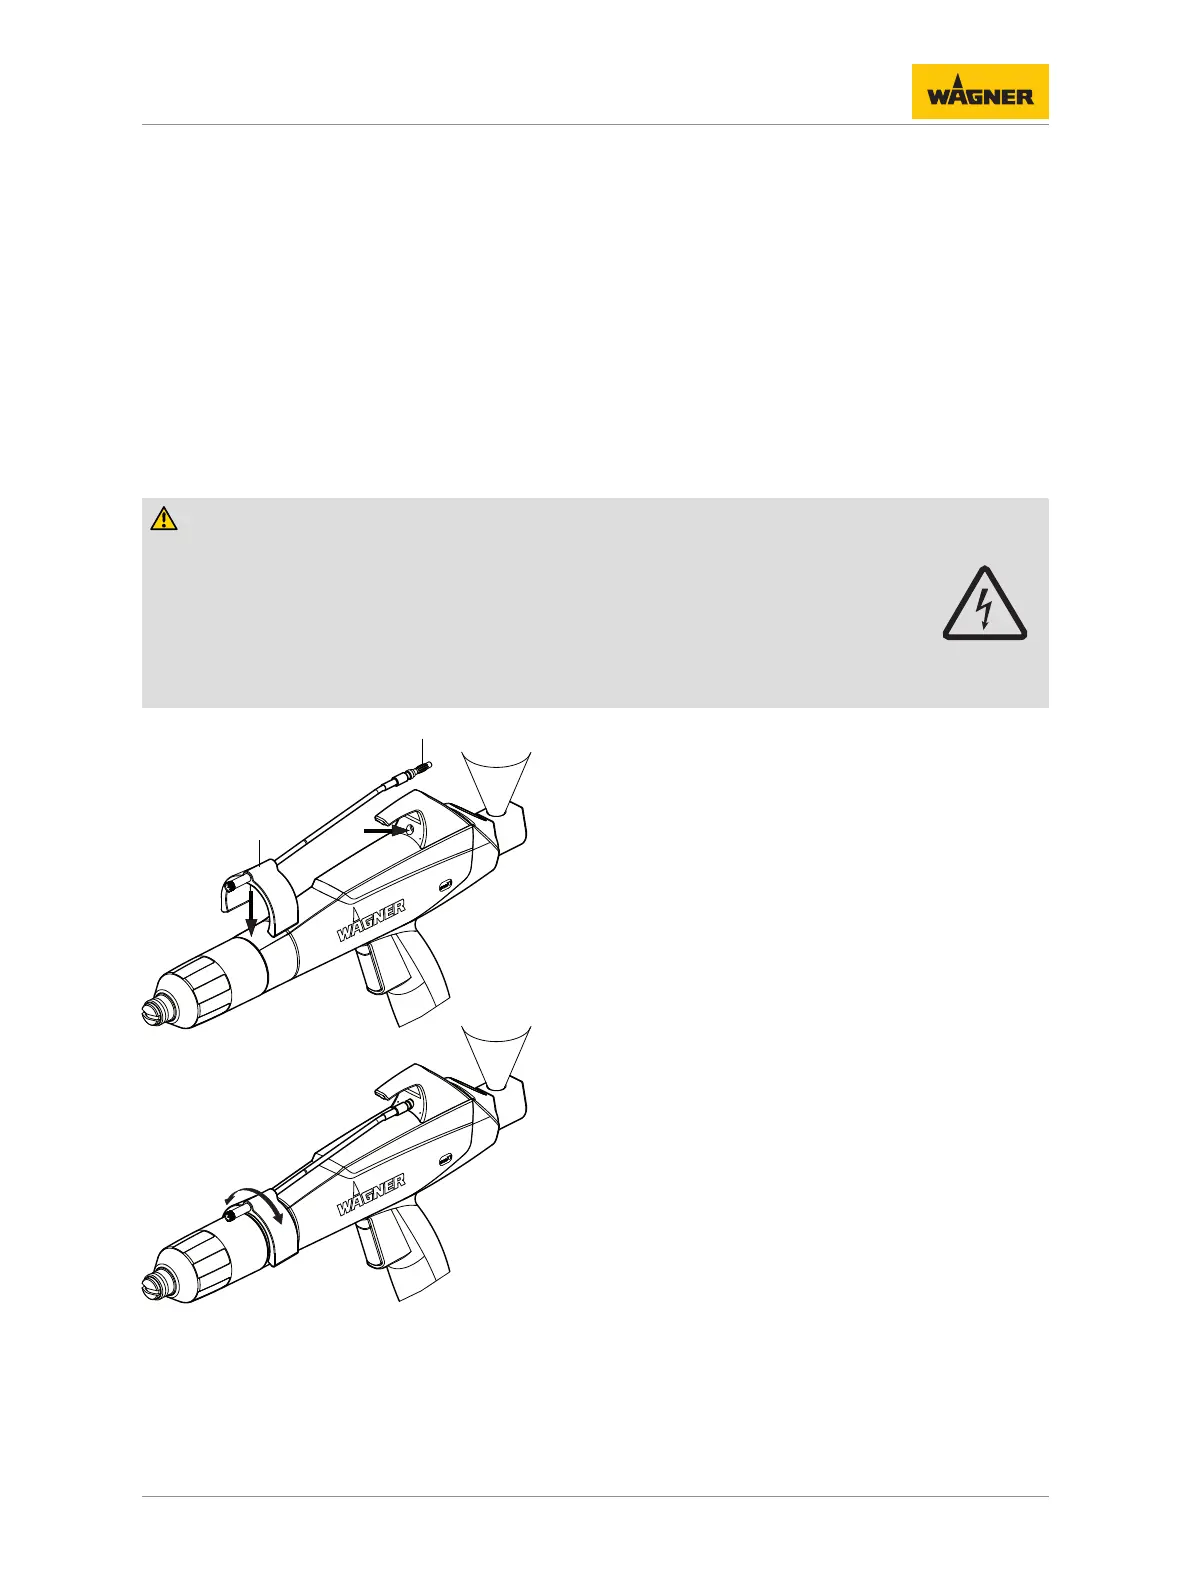
4 The conversion on the CoronaStar may only be carried out by trained personnel.
4 Prior to assembling the CoronaStar, the high voltage and powder feed must be
switched off and secured against being inadvertently switched on.
1
2
B
±90°
P_01729
1. Guide plug-in contact 1 of CoronaStar into drilled hole B on hook.
2. Attach clip 2 of the CoronaStar onto the housing.
Flexible positioning in a range of ± 90° is possible.

Table of Contents

Other manuals for WAGNER PEM-X1

Questions and Answers:

Question and Answer IconNeed help?

Do you have a question about the WAGNER PEM-X1 and is the answer not in the manual?

WAGNER PEM-X1 Specifications

General IconGeneral
BrandWAGNER
ModelPEM-X1
CategoryPaint Sprayer
LanguageEnglish

Related product manuals