Extrusion
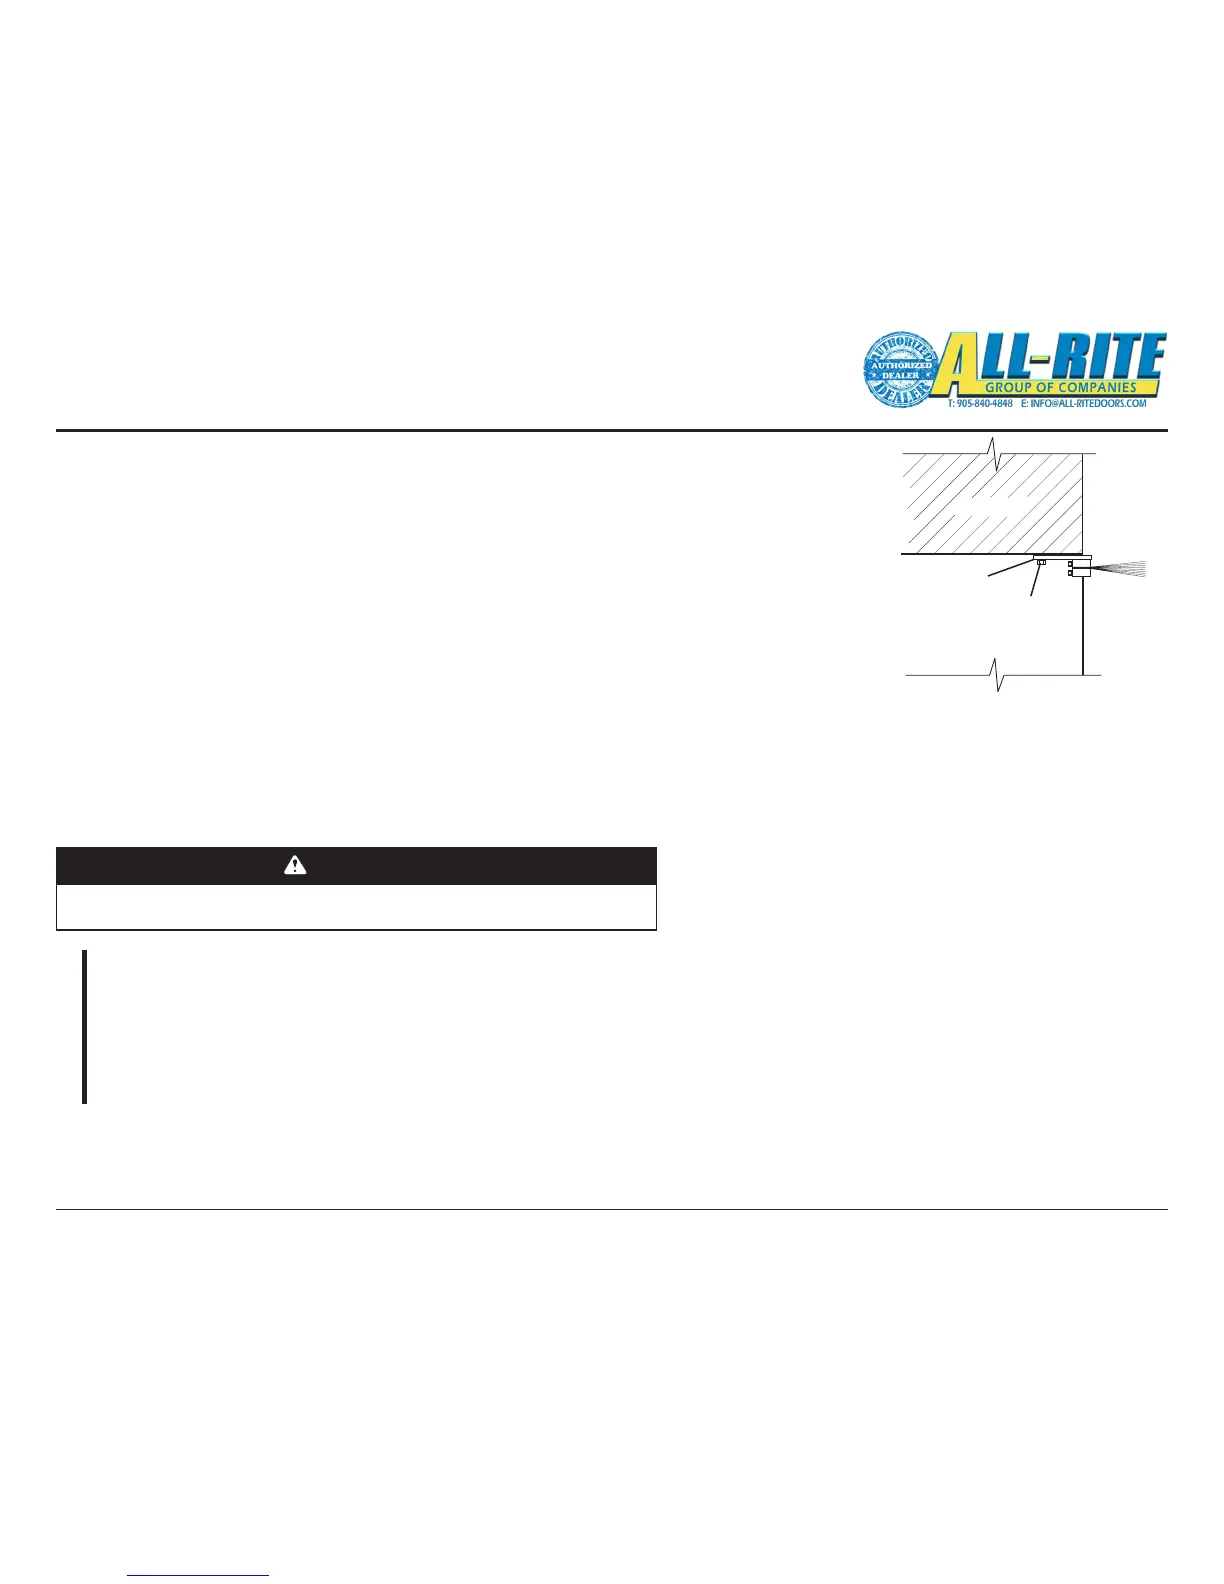
20. INSTALL BRUSH SEAL (optionally purchased)
Brush Seal is an optional component purchased separately and does not come with door.
A. Place curtain in fully closed position.
B. Position brush seal against door lintel as shown, Fig. 4–X.
C. Using appropriate fasteners (not provided) for your type lintel and with the holes drilled in the extrusion as a guide,
fasten brush seal to lintel.
21. INSTALL MOTION SENSOR (optionally purchased)
Motion Sensor is an optional component purchased separately and does not come with door.
A. Follow the installation instructions accompanying the Motion Sensor.
B. Install wiring per wiring diagram FIG 5-OD page 31.
CAUTION
Making the checks outlined below will help to ensure that the door and operator
are installed properly.
CHECK LIST
– Is the door level, square and plumb?
– Are all the bolts tightened?
– Are limit switch sprockets properly aligned?
– Is the Drop Stop Device installed with the correct rotation?
– ARE ALL BEARING AND SET COLLARS POSITIONED, ARE SET COLLARS AND BEARING SET
SCREWS TIGHTENED?
– Has all the rigging equipment, ropes, straps, locking pliers, etc. been removed?
– Are all safety labels and tags in place?
– Are all cable connections in the proper locations?
22. INSTALL LOOP DETECTOR (optionally purchased)
Loop Detector is an optional component purchased separately and does not come with door.
A. Follow the installation instructions accompanying the Loop Detector.
B. Install wiring per wiring diagram FIG 5-OE page 31.
22. INSTALL RADIO CONTROLS (optionally purchased)
Radio Controls are an optional component purchased separately and does not come with door.
A. Follow the installation instructions accompanying the Radio Controls.
B. Install wiring per wiring diagram FIG 5-OC page 31.
22. INSTALL WALL MOUNTED PUSH BUTTON (optionally purchased)
Wall Mounted Push Buttons are an optional component purchased separately and does not come with door.
A. Install wiring per wiring diagram FIG 8-J page 51.