Peugeot 307 Thermo Top C, E
17
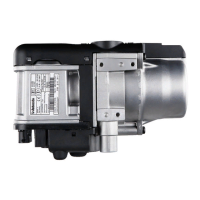
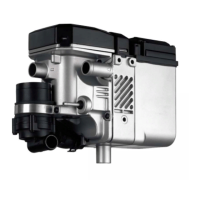
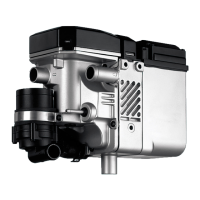
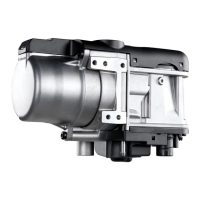
Pre-assemble the Heater Unit
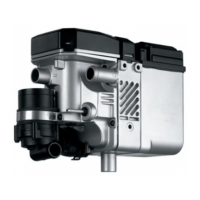
Cut the supplied water hose into a section, as shown
in the figure:
1 x 80 mm + 90° bend (1)
(from the heater unit water outlet to the 1,200mm long
water hose).
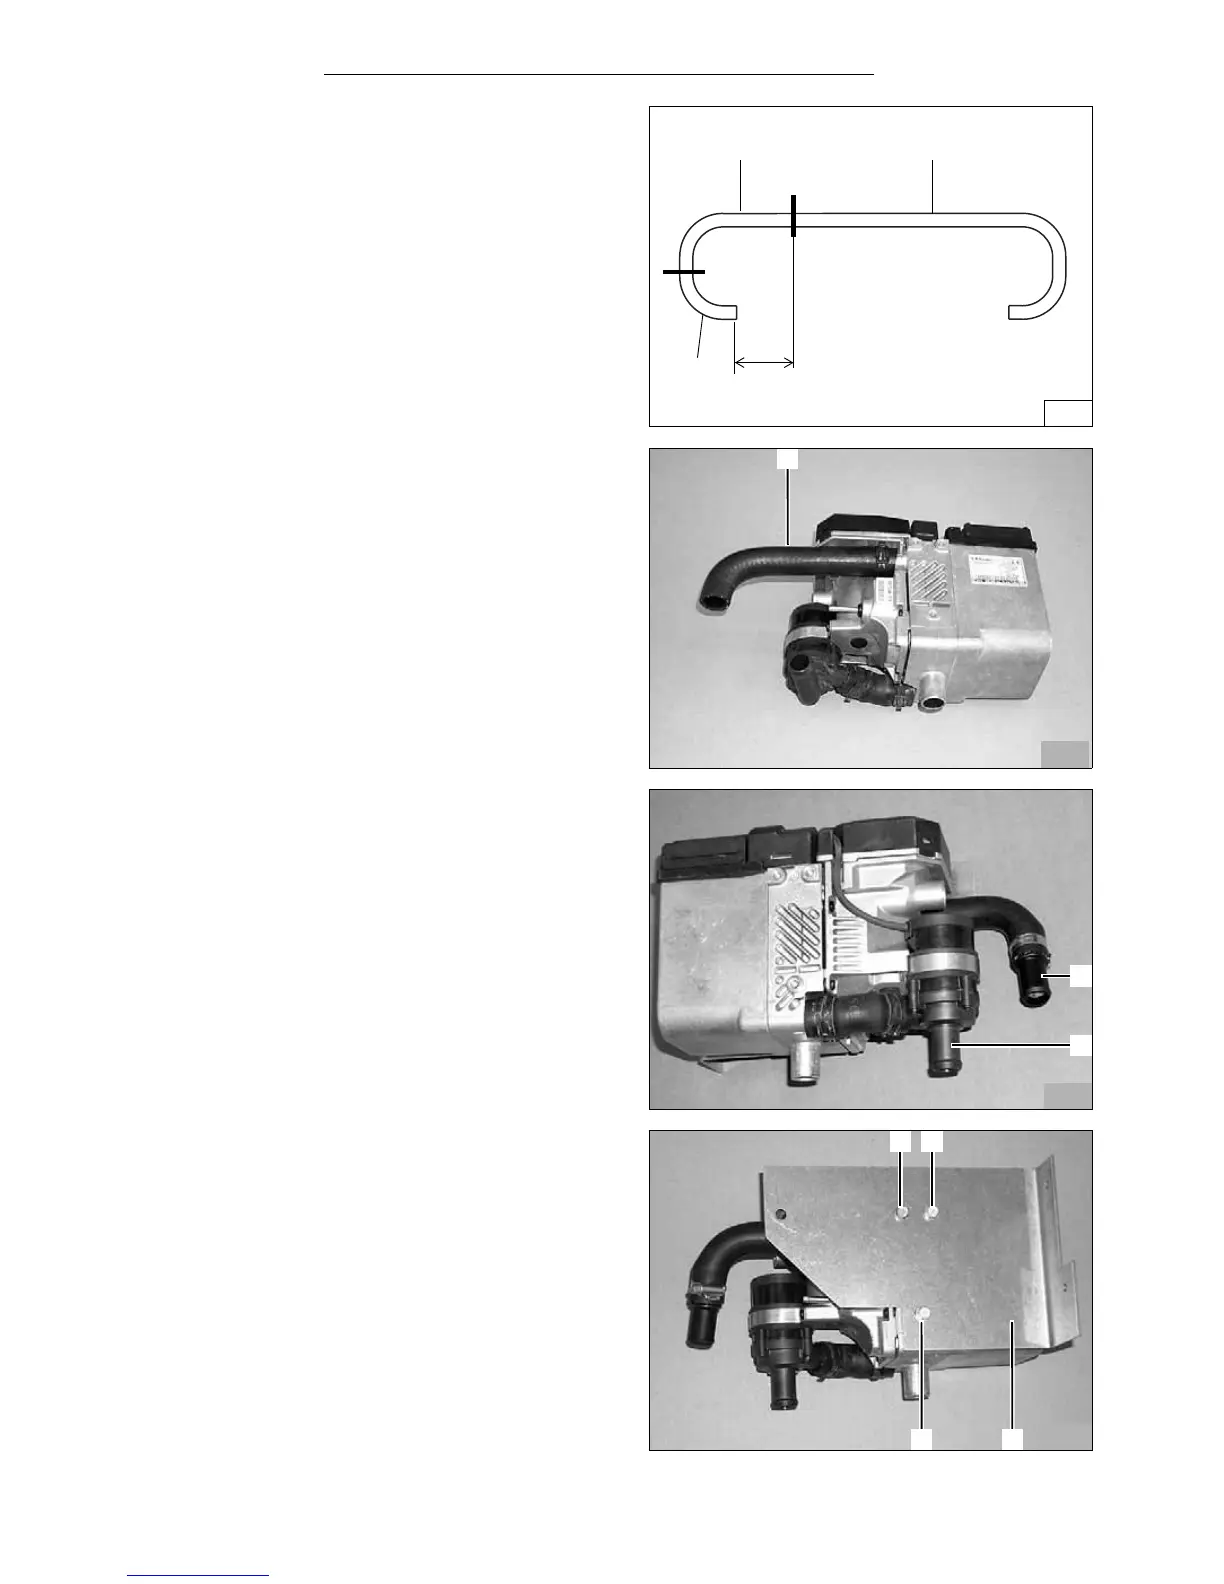
- Slide the 80mm long water hose (1) with the straight
end onto the heater unit water outlet, align as shown
in the figure and fasten with spring band clamp.
- Insert the 20x20 (1) connecting pipe in the 80 mm
long water hose (27/1) and secure with hose
clamps.
- Replace the circulation pump cover with the
enclosed cover (2) with axial water inlet.
WARNING:
Only use the special EJOT PT screws included in the
delivery to fasten the heater unit. (Tightening torque
10 Nm)
NOTE:
Insert two washers at position (4) between the heater
unit and the bracket.
- Fasten the pre-assembled heater unit on the
bracket (3) with Ejot screw bolts (2, 3, 4), also add
two washers between the heater unit and the
bracket at position (4) (tightening torque 10 Nm).
29
4
1 2
3
28
2
1
1
80
Section
26
Section
(Will be used again)
27
1
 Loading...