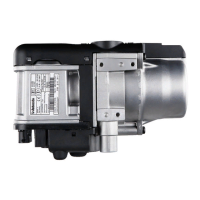
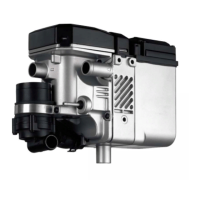
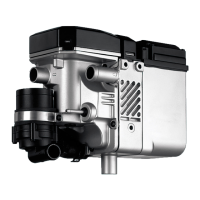
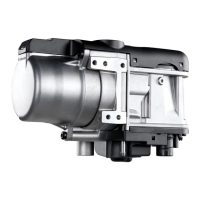
Peugeot 307 Thermo Top C, E
19
Connection to the water circuit.
NOTE:
Tighten all hose clamps to 2.0 + 0.5 Nm. Any fuel
running off should be collected using an appropriate
container!
Install hoses so that they are kink-free!
The following sections describe the installation of the
heater unit “inline” in the cooling water circulation of
the vehicle.
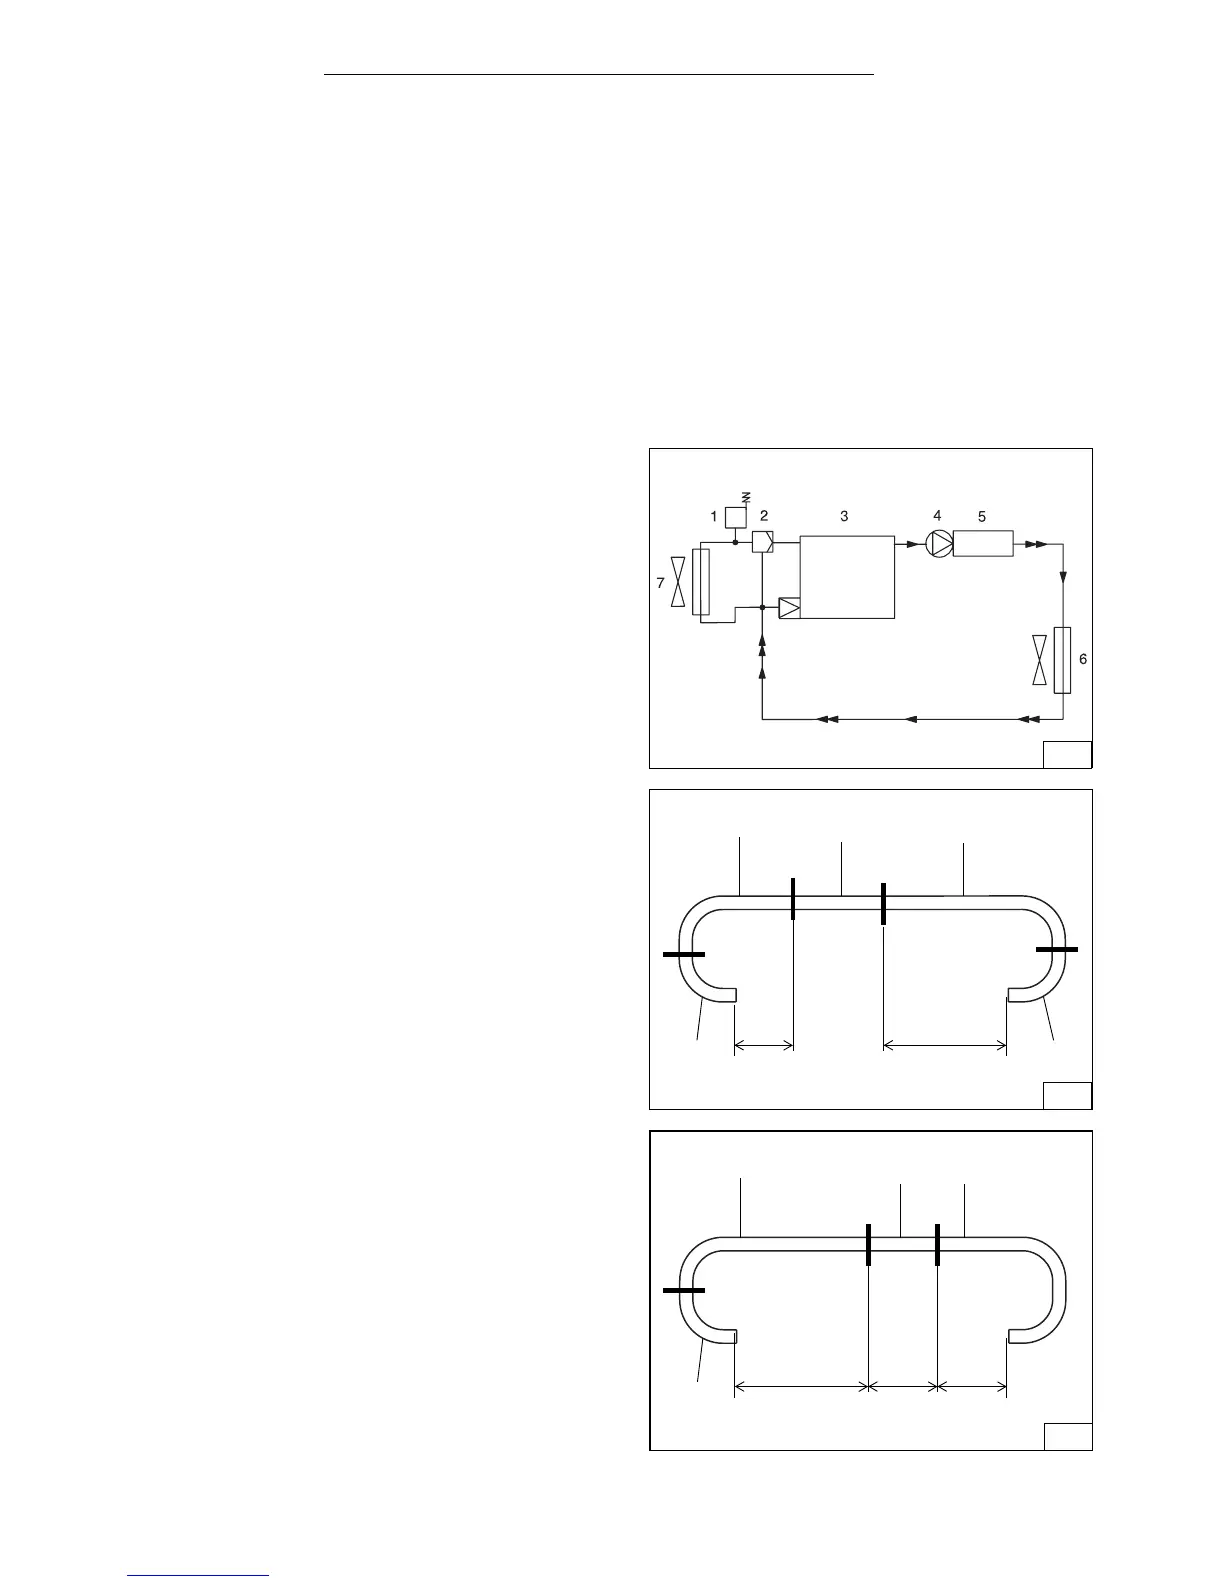
Legend:
1 Expansion reservoir
2 Coolant thermostat
3 Vehicle engine
4 Circulation pump (heater unit)
5 Heater unit
6 Heat exchanger (vehicle)
7 Cooler
Preparing the water hoses
KFW 1.4 l gasoline and
NFU 1.6 l gasoline with shift gears
- Cut the supplied water hose into two sections, as
shown:
1 x 80 mm + 90° bend (31)
(preassembled on the heater unit)
1 x 1,200 mm + 90° bend (2)
(from the 80mm long water hose (34/1) to the
380mm long water hose (35/2)).
- Cut the water hose supplied in the kit into three
sections, as shown:
1 x 1,150 mm + 90° bend (1)
(from the heater unit water inlet to the 400mm long
water hose (3)).
1 x 380 mm straight (2)
(from the 1200 mm long water hose (34/2) to the
original vehicle water hose / heat exchanger water
inlet).
1 x 400 mm + 180° bend (3)
(from the 1,150mm long water hose (1) to the
original vehicle water hose / engine exhaust).
ϑ
33
80
34
Section
1200
Section
Section
21
400
31
1150
35
Section
380
2
 Loading...