RJ-901C/RJ-900C Maintenance Manual 4 Parts Replacement
4-25
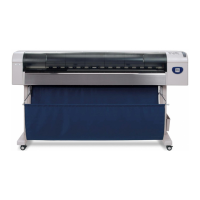
TIP
• When reassembling the cooling fan, spread the fan seal (shown in the diagram below) under the
fan, then screw the fan on it
• Installation direction of the cooling fan assembly (sealing surface and cable pulling direction) is
specified. Install it with the sealing surface facing up.
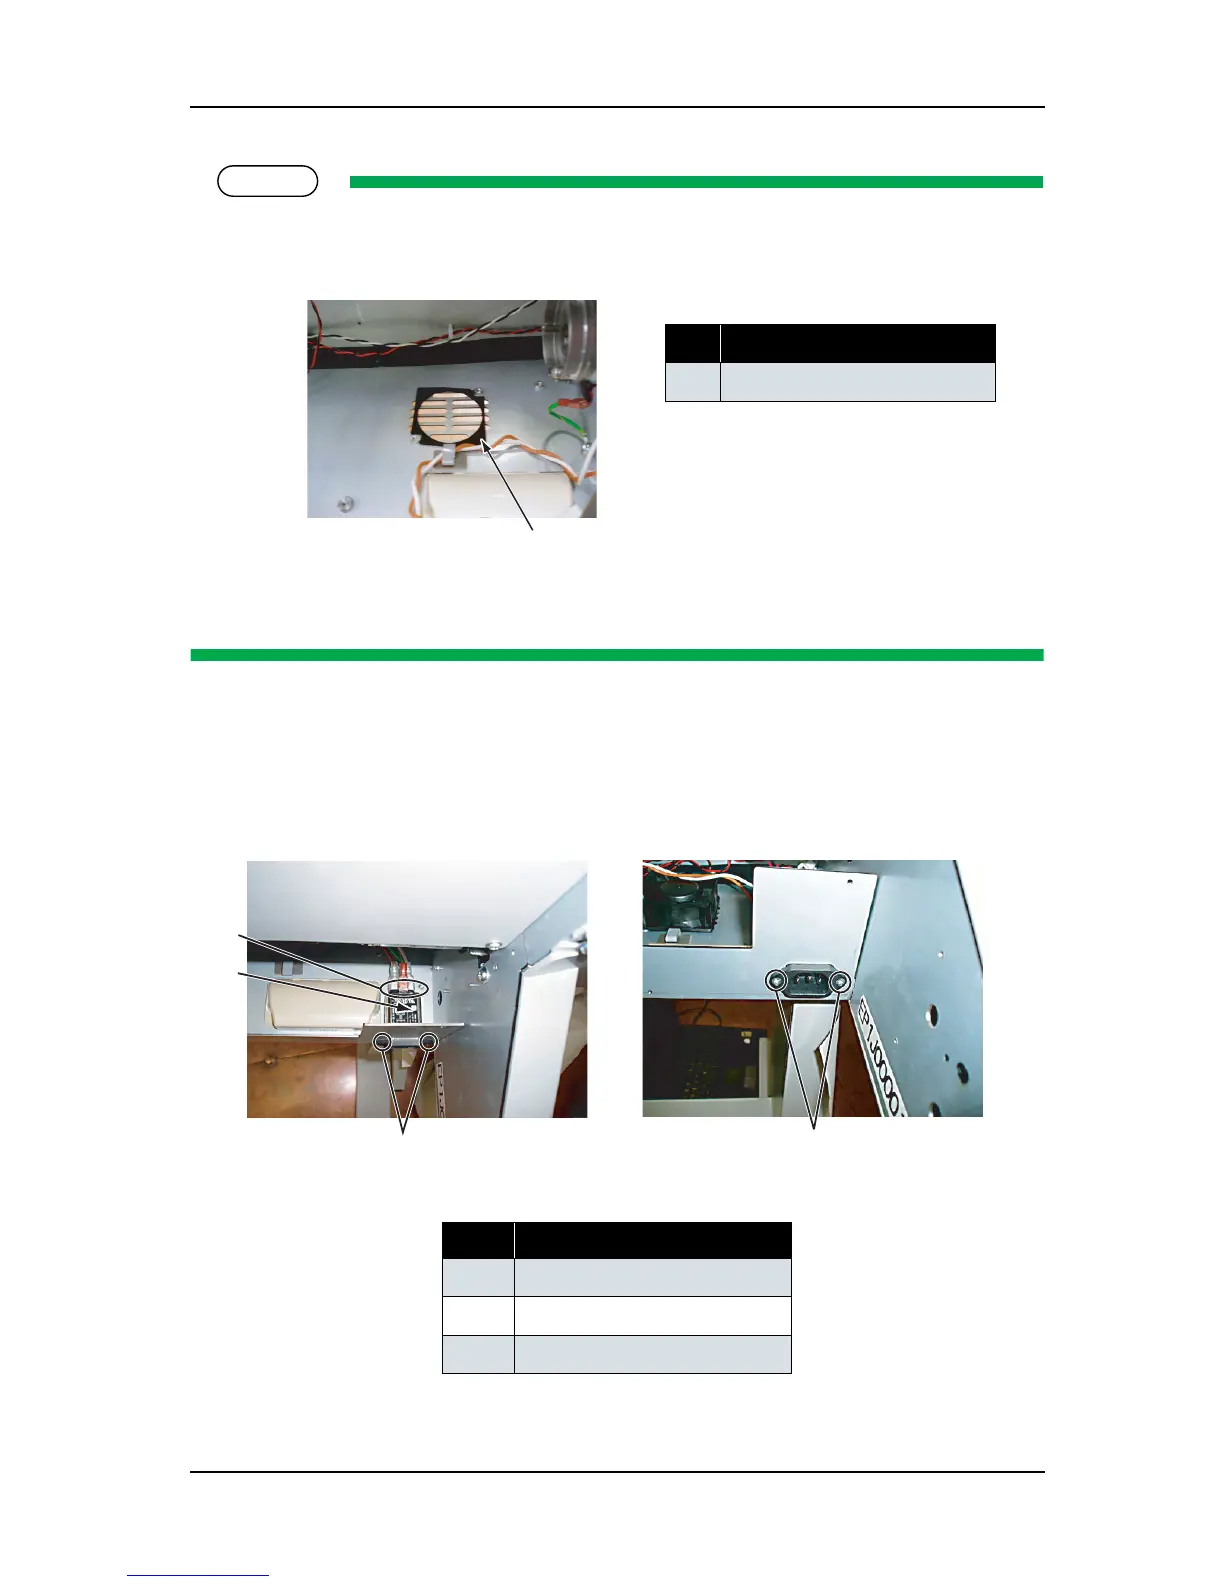
(2) Replacing Inlet Assembly
1. Remove the connectors from the inlet assembly.
2. Remove the inlet assembly-retaining screw (countersunk head screw M3
× 6 white: 2pcs).
3. Replace the inlet assembly
No. Part name
1 Fan seal
No. Part name
1 Inlet assembly connector
2 Inlet assembly
3 Inlet assembly screw
1
1
2
3
3