Scan Procedure
Xerox WorkCentre 3315DN/3325DN/3325DNI
User Guide
51
2. The following features are available through the Menu button for Scan to USB, Scan to FTP and
Scan to SMB.
Press the up/down arrows until the feature you want highlights and press OK. Select the setting
required and press OK.
For information about each of the options refer to Scan Options on page 53.
Start the Job
1. Press the Start button.
2. If using the document glass to scan 2 sided originals, the machine displays a message when ready
to scan side 2. Continue scanning until all sides have been scanned.
3. Your machine begins scanning the original, and then asks if you want to scan another page.
4. To scan another page, press the left/right arrows to highlight Yes and press OK. Load an original
and press Start. Otherwise, press the left/right arrows to highlight No and press OK.
The images are scanned and sent to the destination selected.
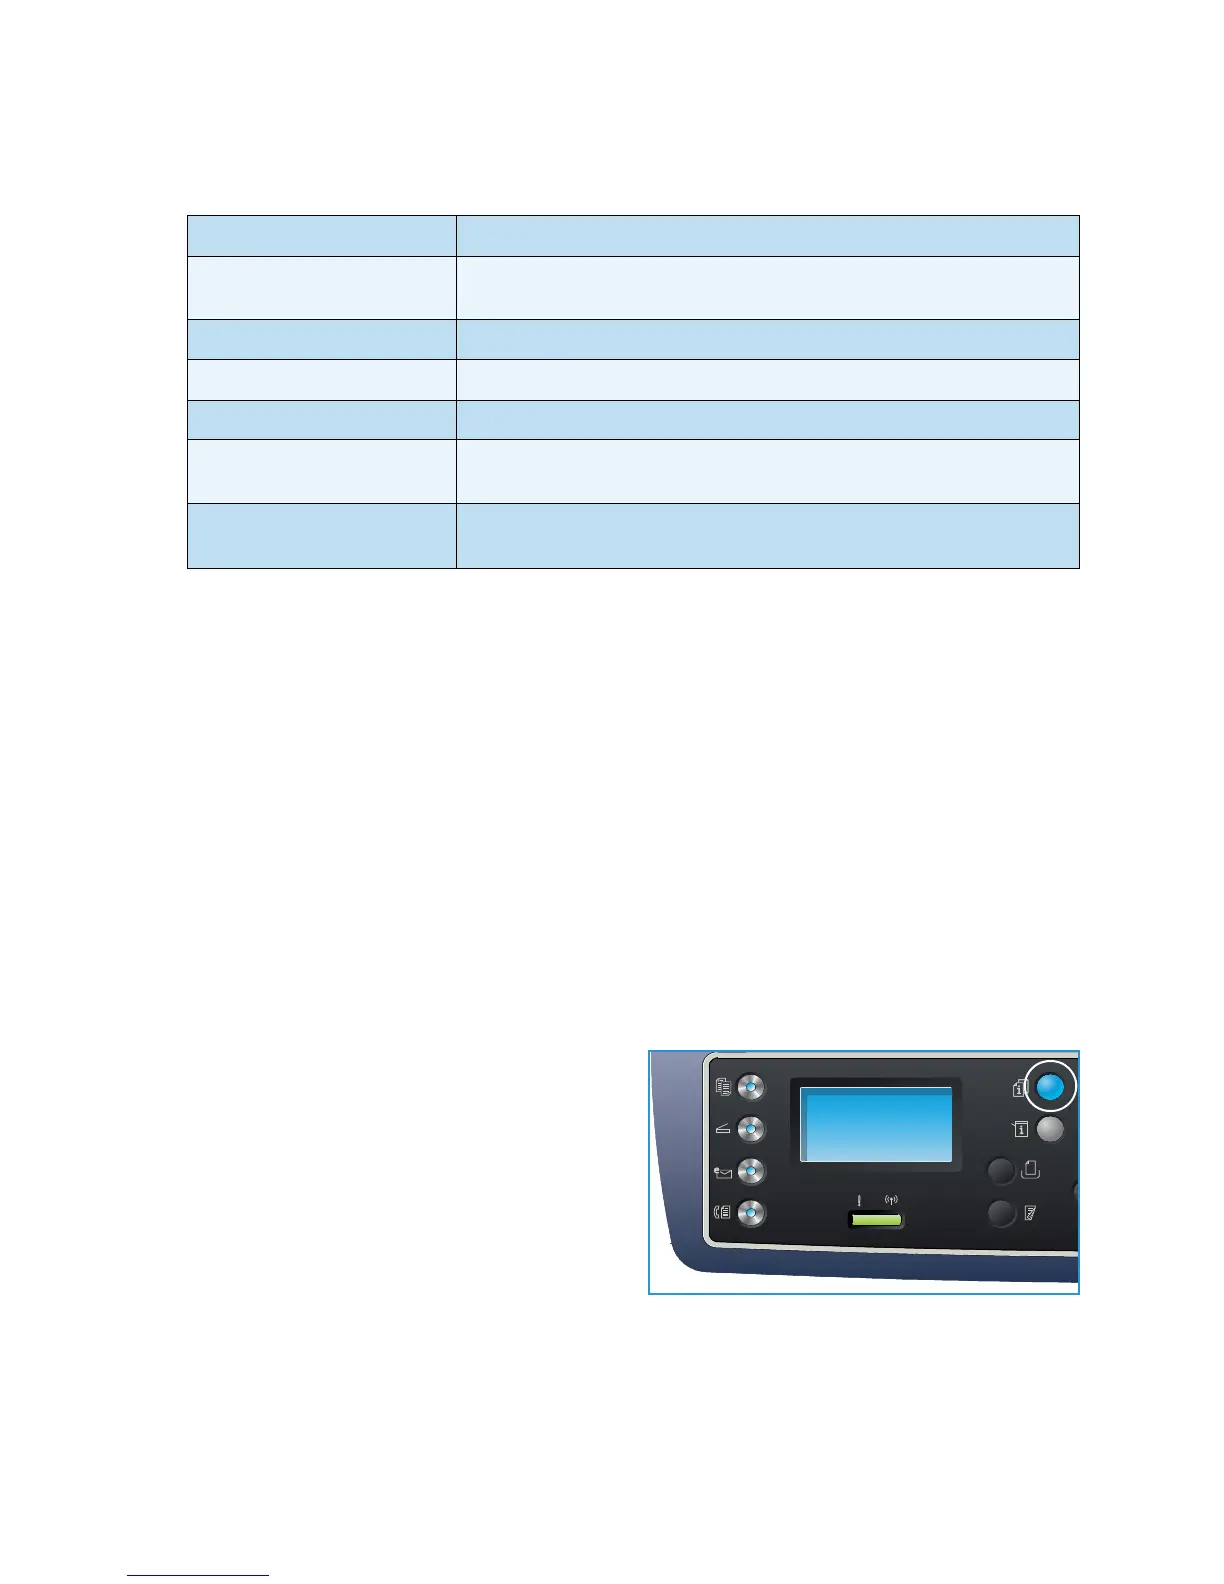
Check the Job Status
1. Press the Job Status button on the control panel
to display job status information.
2. A list of Active Jobs or Saved Jobs is displayed.
Select your job using the up/down arrows and
press OK.
3. The following Job Options are available:
For active jobs:
• Release
•Cancel
For saved jobs:
•Print
• Delete
Original Size Use to set the size of the image being scanned.
Original Type Used to improve the image quality by selecting the document type for
the originals.
Resolution Sets the image resolution. A higher resolution increases the file size.
Output Color Sets the color mode of the scanned image.
File Format Sets the file format of the saved image.
Lighten/Darken Provides manual control to adjust the lightness or darkness of the
scanned images.
Contrast Use to increase or decrease the contrast between black and white
images.
 Loading...


