3-42
1
2
3
4
5
6
7
8
9
10
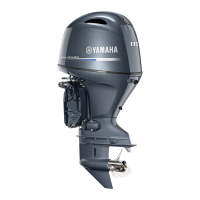
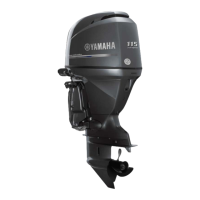
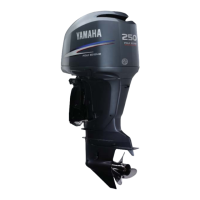
ENGINE
PISTON, CAMSHAFT, CRANKCASE, AND CRANKSHAFT
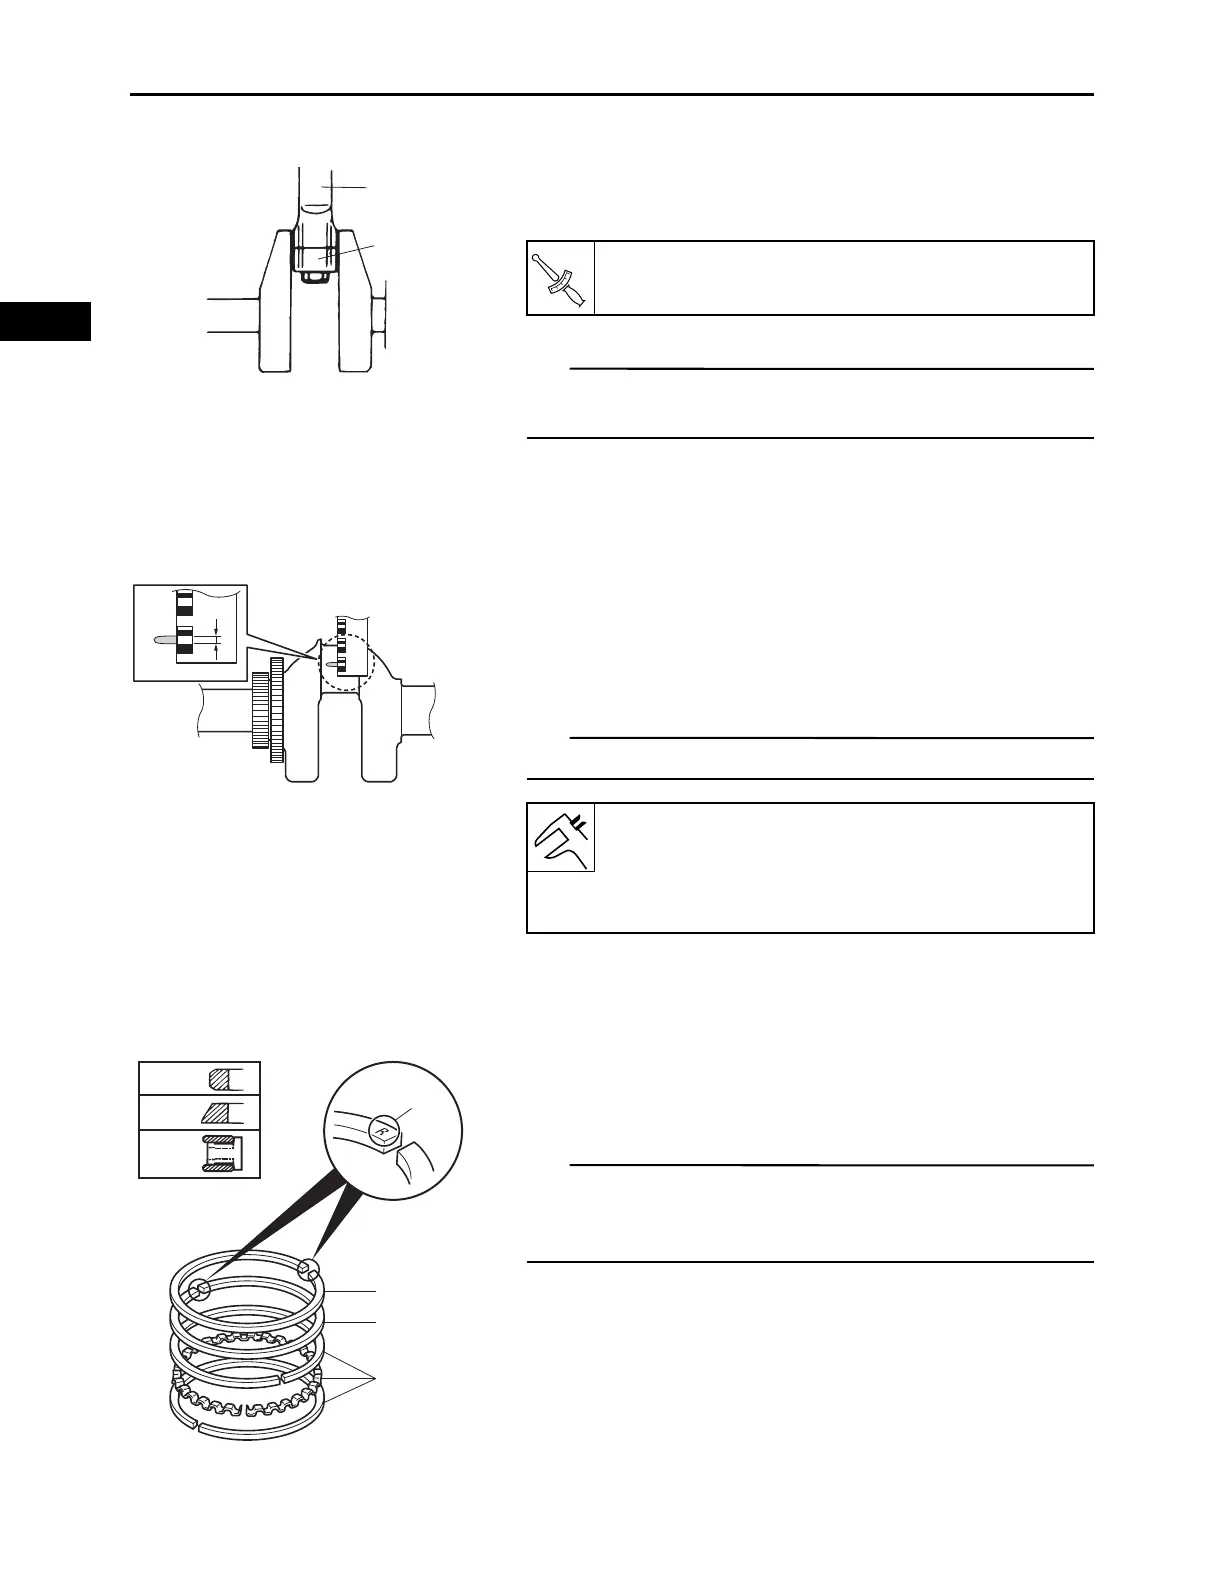
2.
Install:
• Connecting rod “1”
• Connecting rod cap “2”
Tighten the cap bolts so that the crankshaft does not move
while the oil clearance is being measured.
3.
Remove:
• Connecting rod cap
• Connecting rod
4.
Measure:
• Connecting rod big end oil clearance
Out of specification Replace crankshaft or con-
necting rod assembly, and then measure the clear-
ance again.
Measure the widest portion of the pressed Plastigauge®.
INSTALLING THE PISTON AND PISTON RING
1.
Install:
• Top ring “1”
• 2nd ring “2”
• Oil ring “3”
• Be sure to install the top ring and 2nd ring so that the
“R” mark “a” faces toward the piston head.
• Make sure that the piston rings move smoothly.
1
2
Connecting rod cap bolt:
20 N·m (2.0 kgf·m, 15 lb·ft)
Connecting rod big end oil clearance:
0.016–0.046 mm (0.0006–0.0018 in)
Limit:
0.09 mm (0.0035 in)