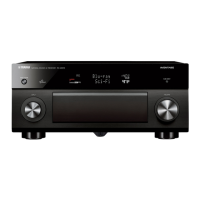
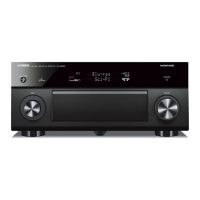
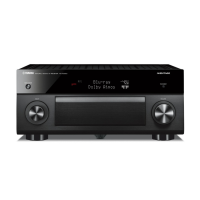
SETUP
Setting various functions (Setup menu)
En 122
Aspect
Specifies the method used to convert video signal with a
4:3 aspect ratio (480i/576i/480p/576p) to the 16:9 aspect
ratio (720p/1080i/1080p).
Adjustment
Adjusts video quality. The preset feature can also be
used to save up to six preferred video quality settings.
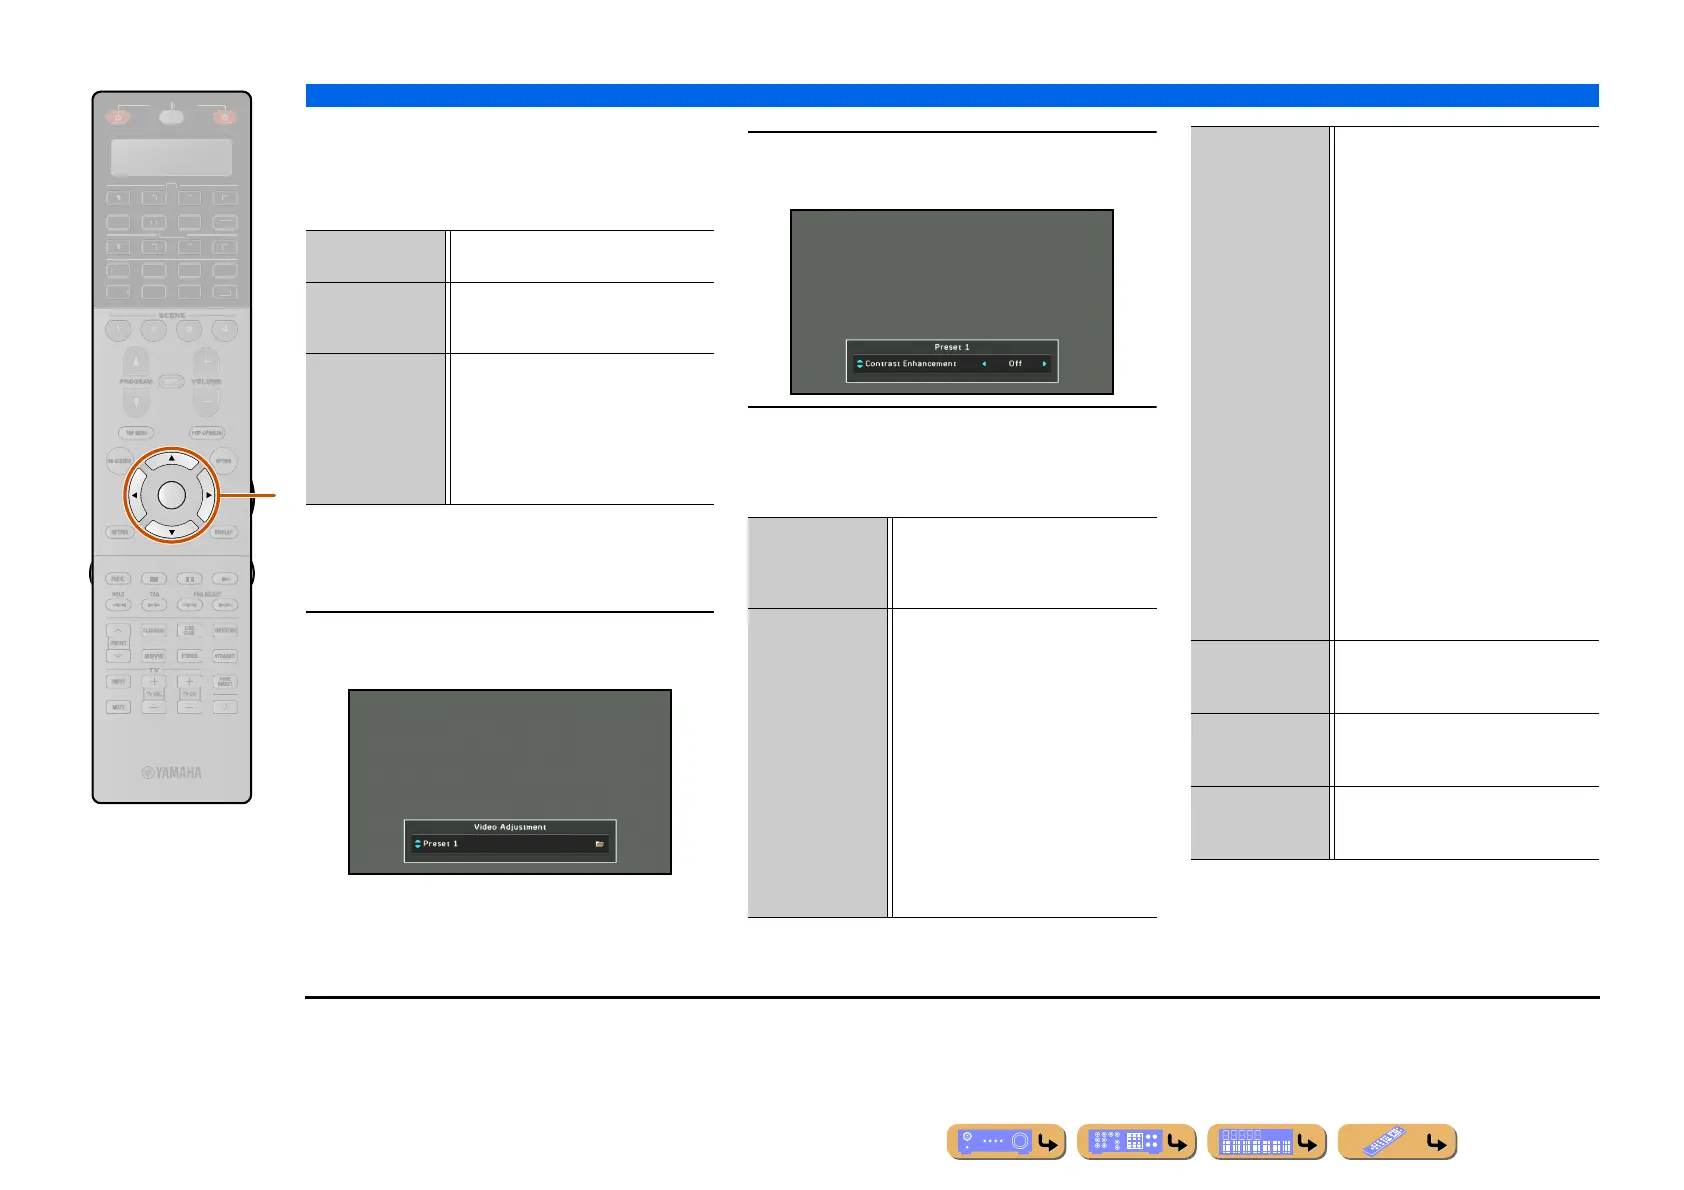
1
Press iCursor B / C to select the preset
and press iENTER.
2
Press iCursor B / C to select the item you
want to adjust.
3
Press iCursor D / E to adjust the following
parameters and press iENTER.
The settings are applied to the selected preset.
ENTER
R
E
ECEIVE
DI
-A
B
LTI
ET
H
N
D
K
IRI
A
i
Through (Default) Does not adjust the aspect ratio of video
signal sources.
16:9 Normal Transmits 4:3 aspect ratio video signals to
a 16:9 TV with black bands on either side
of the screen.
Smart Zoom Adjusts video images with an aspect ratio
of 4:3 to fit video monitors with an aspect
ratio of 16:9.
When “Aspect” is set to “Smart Zoom,”
the edges of video images may be
distorted with display on the video
monitor.
1
1
Contrast
Enhancement
When this item is set to “Auto,” image
contrast is automatically enhanced. “Off”
(Default) disables the contrast
enhancement function.
Resolution
Enhancement
When this item is set to “Auto,” image
resolution is automatically enhanced.
“Off” (Default) disables the resolution
enhancement function. When this item is
set to “Manual,” the control range for the
following items can be adjusted
manually.
The setting of this item interlocks with
the settings of the following items.
– Detail Enhancement
Enhances the detail of images.
Control range: 0 (default) to 50
– Edge Enhancement
Enhances the edges of images.
Control range: 0 (default) to 50
Noise Reduction When this item is set to “Auto,” image
noise is automatically reduced. “Manual”
allows you to enhance image noise
manually. “Off” (Default) disables the
noise reduction function.
The setting of this item interlock with the
settings of the following items. When this
item is set to “Manual,” the setting levels
of the following items can be selected.
– Mosquito NR
Reduces the flicker noise come out at
the edges of image (mosquito noise).
Settings: Low/Medium/High
– Block NR
Reduces the block noises of image.
Block noise comes out frequently
when playing back the low bit-rate
video.
Settings: Low/Medium/High
– Temporal NR
Reduces the temporal noise of image
such as film-grain noise or random
noise of analog video signals.
Settings: Low/Medium/High
Brightness Adjusts image brightness.
Control range: -100 to +100
Initial setting: 0
Contrast Adjusts image contrast.
Control range: -100 to +100
Initial setting: 0
Saturation Adjusts image saturation.
Control range: -100 to +100
Initial setting: 0
J
1 : This item can be set when set “Processing” to “On.”

 Loading...