SETUP
Controlling the remote control to operate various functions
En 141
5
Press the buttons for the functions you
want to include in the macro operation in
sequence.
Press mSOURCE/RECEIVER to switch the
controlled component.
Example
Set the input source to AV2 → Turn on the DVD player
→ Turn on the video monitor
Step 1 (“MACRO1”): Press
dAV2.
Step 2 (“MACRO2”): Press
mSOURCE/RECEIVER
repeatedly to select the controlled component until
MACRO2 and AV2 alternately appear in the display.
And then, press
bSOURCE A.
Step 3 (“MACRO3”): Press
kA.
6
Press iENTER for 3 seconds or longer to
confirm the program.
You can set up to 10 steps (10 functions). After you
have set 10 steps, “FULL” appears.
7
Press CSETUP again to exit from the setup
menu.
Clearing configurations
Clear all changes made in each function set, such as
learned functions, macros, renamed control area names
and setup remote control ID.
■
Clearing function sets
1
Press CSETUP.
“SETUP” appears in the display window.
2
Press iCursor B / C repeatedly to select
“CLEAR” and press iENTER.
3
Press iCursor B / C repeatedly to select
the operations that you want to and press
iENTER.
Operations assigned to the following modes can be
cleared.
4
Press dInput selector, lRECEIVER A or
kA to select the desired clear mode. J1
5
Press and hold iENTER for about
3 seconds.
When the clearing is successful, “OK” appears in the
display window.
6
Press CSETUP again to exit from the setup
mode.
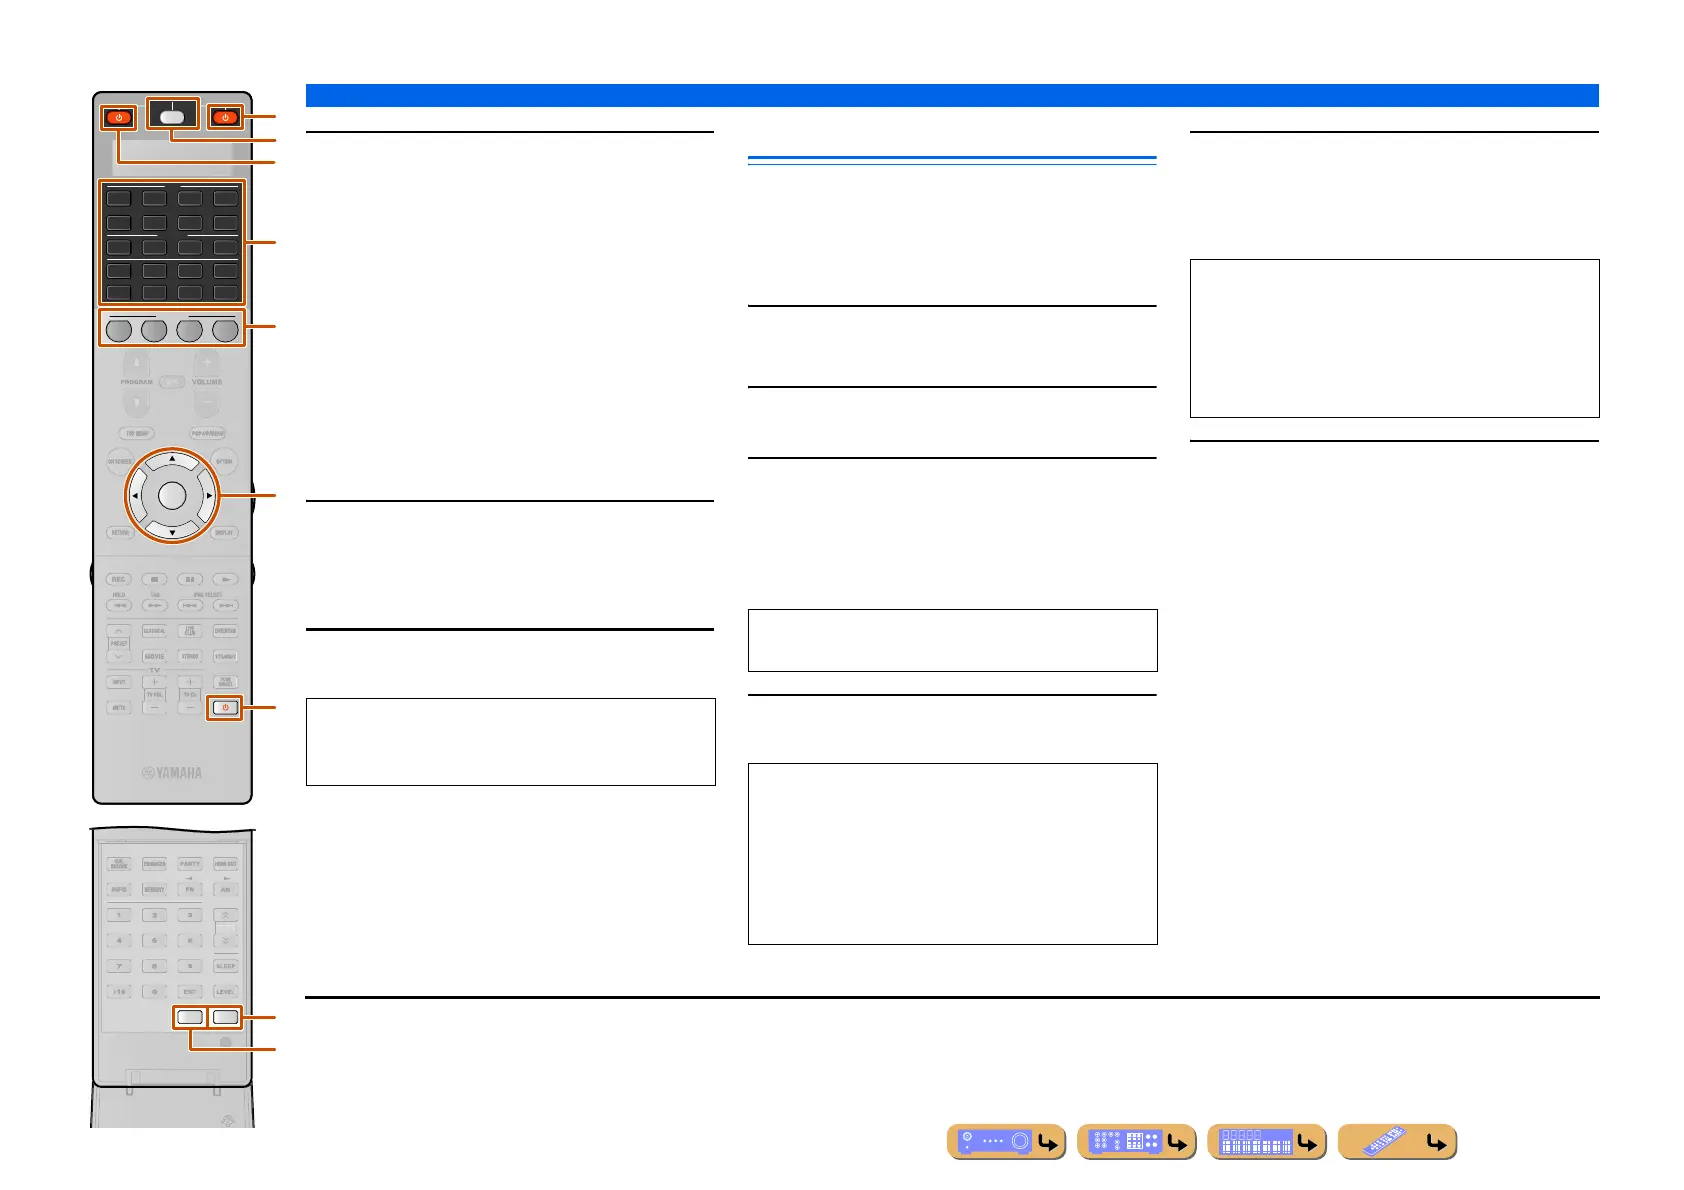
ZONE
SETUP
2
3
SOURCE
RECEIVER
AV
AUDIO
SCENE
1
4
4
31
2
75
6
V-AUX
4
31
2
USB
MULTI
NET
PHONO
TUNER
DOCK
4
ENTER
SIRIUS
[ A ]
T
N.
H
ATE
R
d
l
i
k
e
b
m
C
D
NOTE
“ERROR” appears in the display window if you press
more than one button simultaneously.
Operation modes
LEARN, PRESET, RENAME, MACRO, RESET
• “ALL” mode is set at first. When no mode is selected
in this step, the settings of all modes are cleared.
• The other keys are used for the following operation
modes.
– “RENAME”:
eSCENE key J2
– “MACRO”: Macro button (
lRECEIVER A or
dInput selector)
NOTES
• “NG” appears in the display window if clearing was
unsuccessful.
• “ERROR” appears in the display window if you press
a button not indicated in the respective step, or if you
press more than one button simultaneously.
J
1 : “RESET” initializes the settings of all modes. When selecting
“RESET” in step 2, you cannot select the clear mode in step 4.
J
2 : To clear the rename of each zone, press DZONE to select the
desired zone before step 1.

 Loading...