SETUP
Extended functionality that can be configured as needed (Advanced Setup menu)
En 145
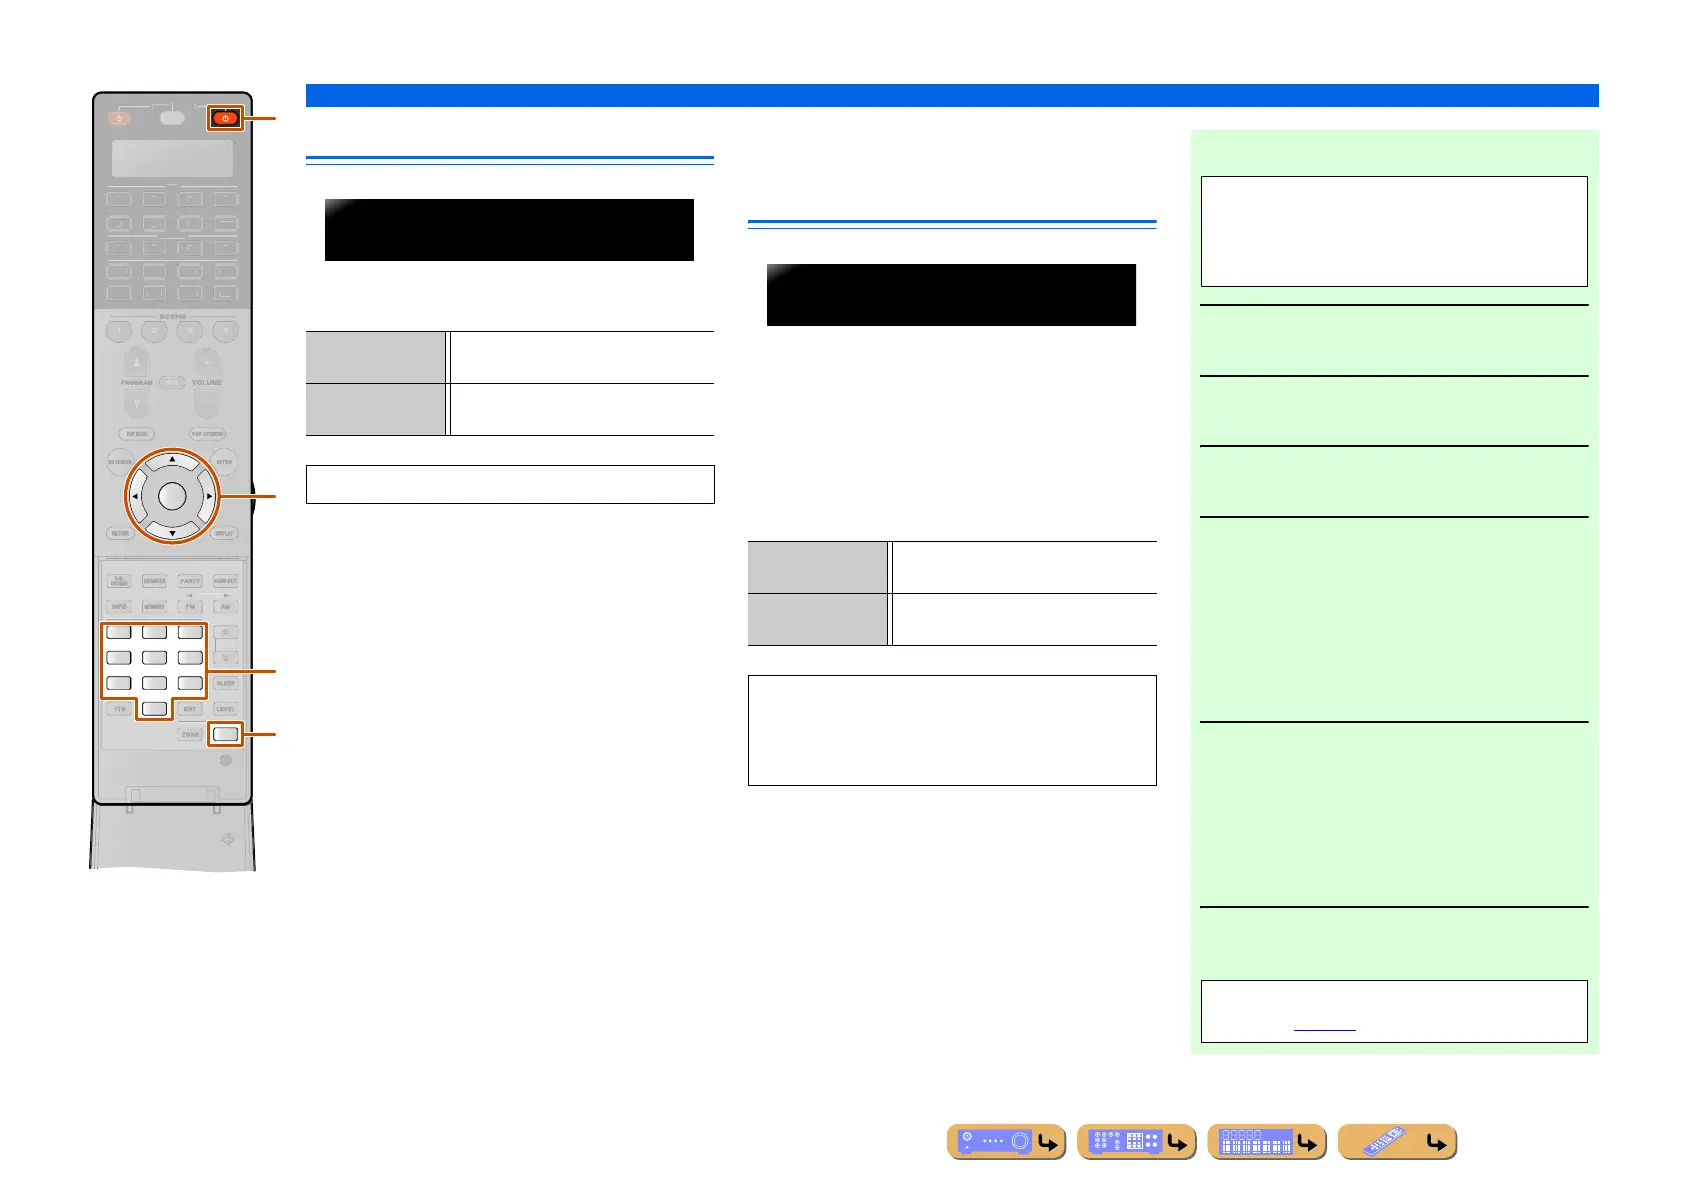
Remote sensor
Activate or deactivate the signal-receiving capability of
the remote control sensor on the front panel of this unit.
Avoiding crossing remote control
signals when using multiple
Yamaha receivers
The remote control of the unit can only receive signals
from a receiver which has an identical ID (remote
control ID). When using multiple Yamaha AV receivers,
you can set each remote control with a unique remote
control ID for its corresponding receiver.
On the contrary, if you are setting the same remote
control ID for all receivers, you can use one remote
control to operate 2 receivers.
ENTER
3
21
6
9
87
0
SETUP
4
5
SOURC
RECEIVER
AUDIO
4
1
V-AUX
4
1
PH
N
T
N.
H
IRI
ATE
R
A
w
i
l
C
ON (Default) Activate the signal-receiving capability of
the remote control sensor
OFF Deactivate the signal-receiving capability
of the remote control sensor
“ON” is recommended in most cases.
REMOTESENSOR
ON
ID1 (Default) Receives the remote control signals set in
ID1.
ID2 Receives the remote control signals set in
ID2.
ID1 is set for both remote control and receiver by
default. To avoid crossing remote control, change the
remote control ID for both remote control and
receiver.
REMOTECONAMP
ID1
■ To change the remote control ID
1
Press CSETUP.
2
Press iCursor B / C repeatedly to select
“PRESET” and press iENTER.
3
Press lRECEIVER A and press
iENTER.
4
Enter the desired remote control ID code.
To switch to ID1:
Enter “5019” using
wNumeric keys or
iCursor B / C / D / E.
To switch to ID2:
Enter “5020” using
wNumeric keys or
iCursor B / C / D / E.
5
Press iENTER to set the number.
“OK” appears in the display window if setting was
successful.
“NG” appears in the display window if the setting
was unsuccessful. In this case, start over from
step 4.
6
Press CSETUP again to exit from the
setup menu.
Perform each of the following steps within
30 seconds. Settings will be automatically stopped
if more than 30 seconds passes since the last
operation. To reset, repeat from step 1.
Returns to ID1 after the remote control code is
initialized (☞
p. 141).

 Loading...