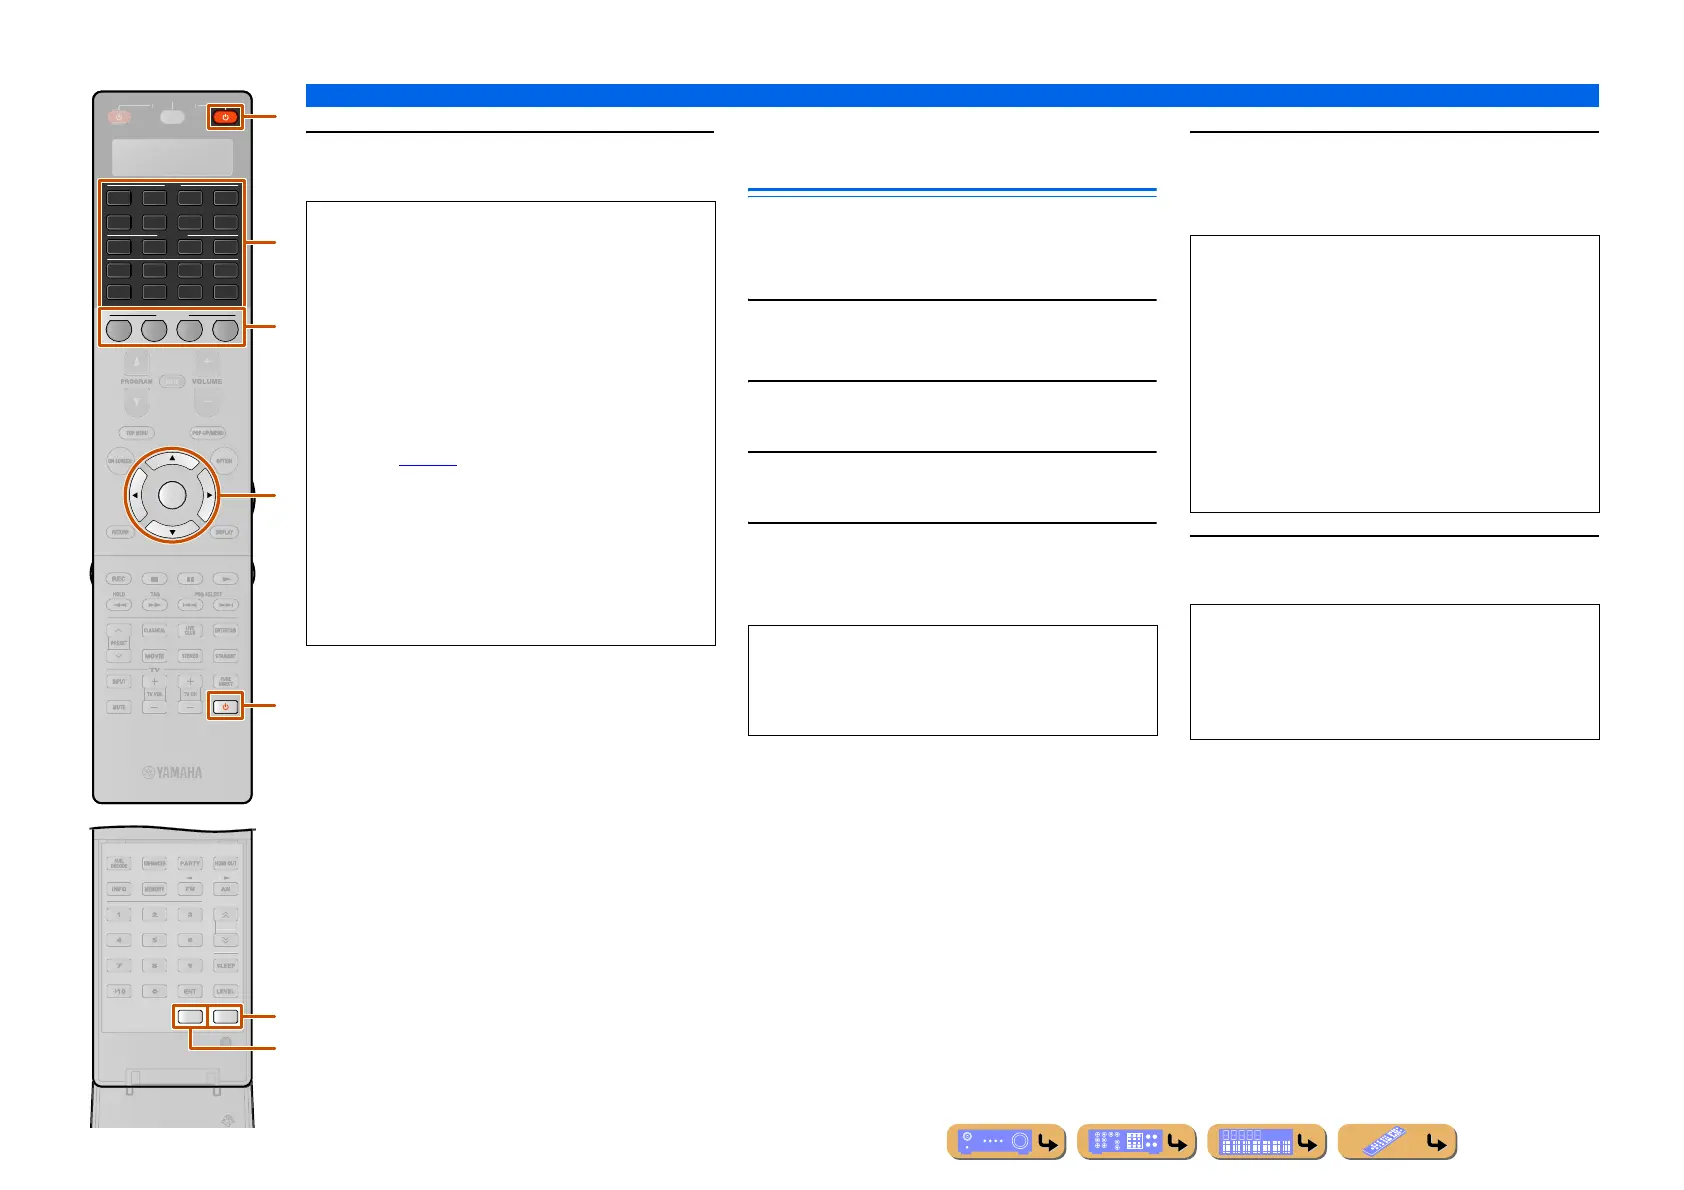
SETUP
Controlling the remote control to operate various functions
En 139
7
Press CSETUP again to exit from the setup
menu.
Changing source names in the
display window
The name of the control area (input source) that appears
in the display window on the remote control can be
changed.
1
Press CSETUP.
“SETUP” appears in the display window.
2
Press iCursor B / C repeatedly to select
“RENAME” and press iENTER.
3
Press dInput selector or eSCENE to select
the desired control area.
4
Edit the name of the control area.
To locate the position to edit, press iCursor D / E.
To select a character, press
iCursor B / C.
5
Press iENTER to set the new name.
“OK” appears in the display window on the remote
control if renaming was successful.
6
Press CSETUP again to exit from the setup
menu.
ZONE
SETUP
2
3
AV
AUDIO
SCENE
1
4
4
31
2
75
6
V-AUX
4
31
2
USB
MULTI
NET
PHONO
TUNER
DOCK
4
ENTER
SIRIUS
[ A ]
T
N.
ATE
R
R
E
ECEIVE
d
k
i
e
C
D
l
NOTES
• “ERROR” appears in the display window on the
remote control if you press a button not indicated in
the respective step, or when you press more than one
button simultaneously.
• This remote control can learn approximately 200
functions. However, depending on the signals learned,
“FULL” may appear in the display before you
program 200 functions. In this case, clear unnecessary
programmed functions to make room for further
learning (☞
p. 142).
• Learning may not be possible in the following cases:
– when the batteries in the remote control for this unit
or other components are weak.
– when the remote control is exposed to direct
sunlight.
– when the function to be programmed is continuous
or uncommon.
Press iCursor B to change the character in the
following order, or press iCursor C to go in the
reverse order: A to Z, a to z, 0 to 9, space, symbols (-,
+, /, :).
• When you want to rename the another control area,
press
dInput selector to select the desired control
area and then press
iENTER and then carry out the
operations of steps 4 to 5.
• Press
lRECEIVER A to rename the control area for
the receiver.
• Press
kA to rename the control area for TV monitor.
• Press
eSCENE key to rename the control area for the
scenes. When rename the control area for the scenes of
each zone, press
DZONE to select a zone before
step 1.
NOTE
“ERROR” appears in the display window on the
remote control if you press a button not indicated in
the respective step, or when you press more than one
button simultaneously.

 Loading...