SWINGARM
4-67
EAM30071
REMOVING THE SWINGARM
1. Use a maintenance stand to raise the rear
wheel off the ground.
EWA13120
Securely support the vehicle so that there is
no danger of it falling over.
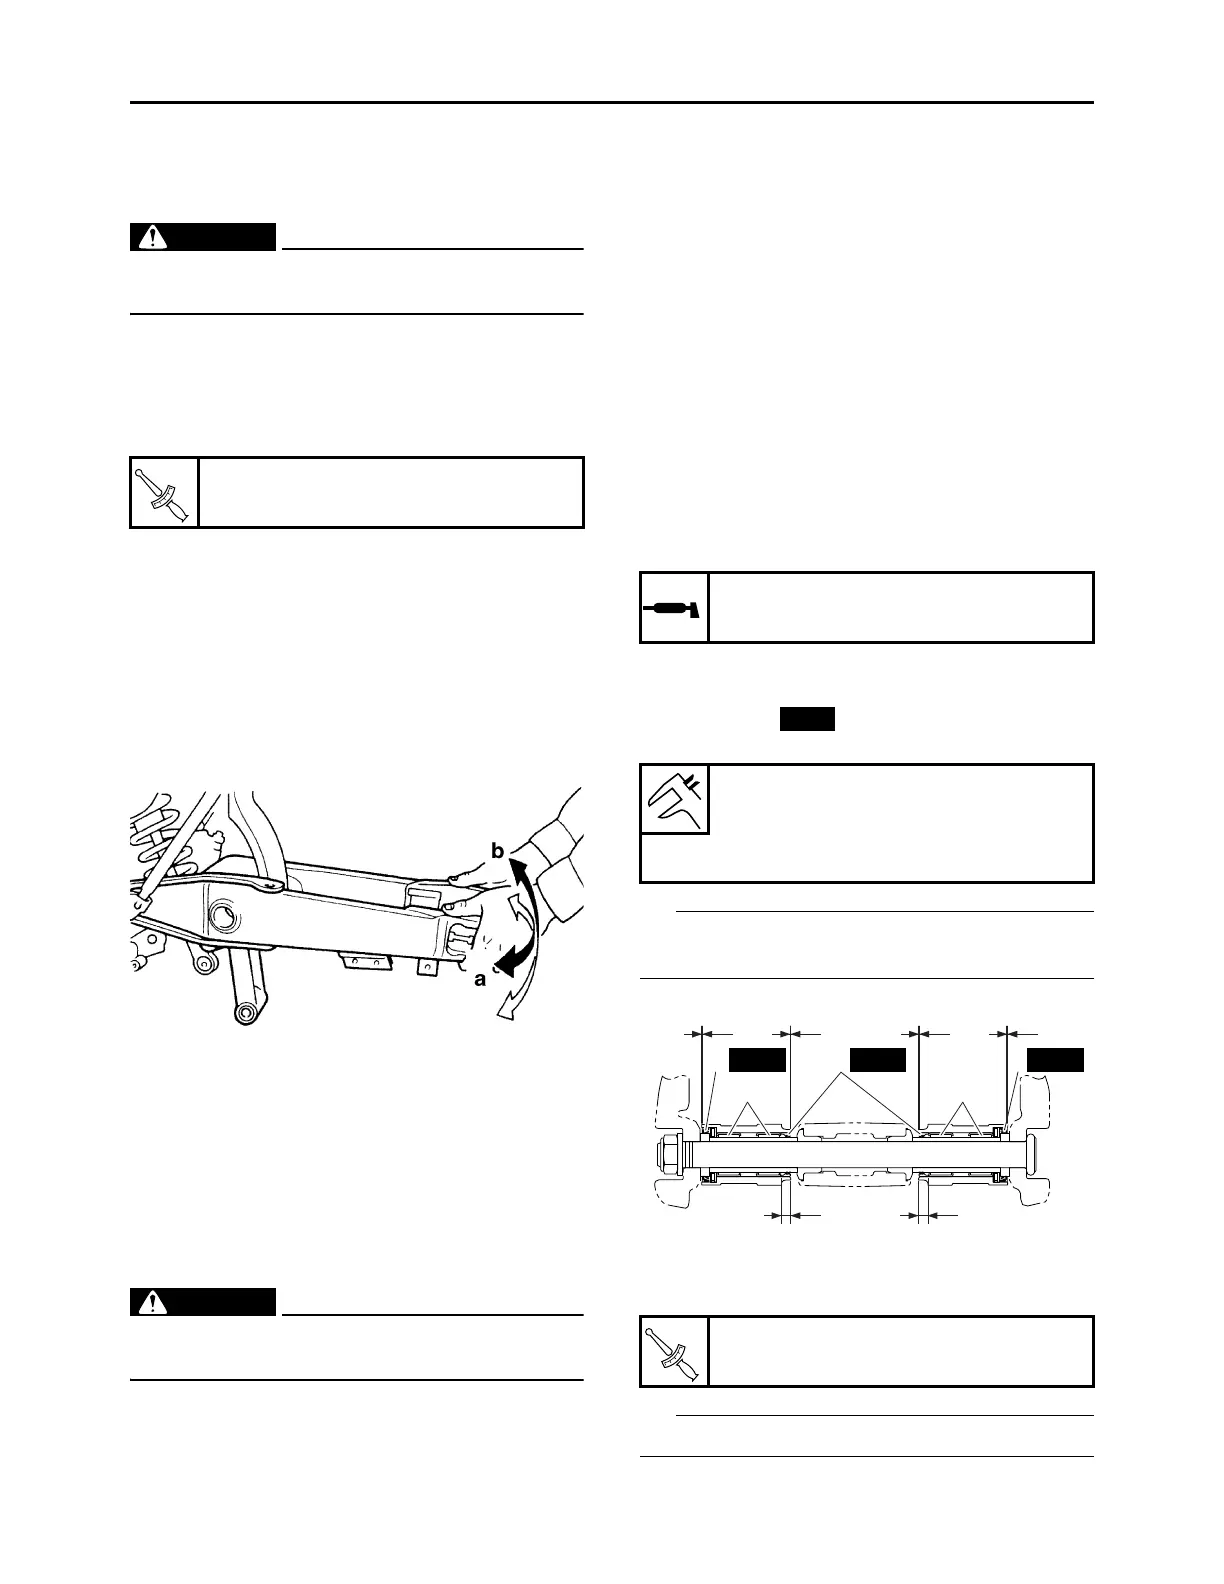
2. Measure:
• Swingarm side play
• Swingarm vertical movement
a. Measure the tightening torque of the pivot
shaft nut.
b. Check the swingarm side play “a” by mov-
ing the swingarm from side to side. If the
swingarm has side-to-side play, check the
bushings, the bearings, and the collars.
c. Check the swingarm vertical movement
“b” by moving the swingarm up and down.
If swingarm vertical movement is not
smooth or if there is binding, check the
bushings, the bearings, and the collars.
EAM30073
CHECKING THE SWINGARM
1. Check:
• Swingarm
Bends/cracks/damage Replace.
2. Check:
• Pivot shaft
Roll the pivot shaft on a flat surface.
Bends Replace.
EWA13770
Do not attempt to straighten a bent pivot
shaft.
3. Wash with kerosene:
• Pivot shaft
• Bushing
• Collar
• Bearing
4. Check:
• Oil seal
Damage Replace.
• Bearing
• Bushing
Free play exists/unsmooth revolution/rust
Replace bearing and bushing as a set.
EAM30074
INSTALLING THE SWINGARM
1. Lubricate:
• Bearing
• Thrust bearing
• Collar
• Bushing
• Oil seal
• Pivot shaft
2. Install:
• Bearing “1”
• Oil seal “2”
(to the swingarm)
First install the outer and then the inner bearings
to a specified depth from inside.
3. Install:
• Swingarm
Install the pivot shaft from the right.
Pivot shaft nut
85 N·m (8.5 kgf·m, 63 lb·ft)
Recommended lubricant
Molybdenum disulfide grease
Installed depth “a”
0–0.5 mm (0–0.02 in)
Installed depth “b”
6.5 mm (0.26 in)
Pivot shaft nut
85 N·m (8.5 kgf·m, 63 lb·ft)
 Loading...