Do you have a question about the YASKAWA Drive-V1000 and is the answer not in the manual?
Introduces the manual and its purpose for the LCD Operator Option.
Outlines Yaskawa's responsibility and essential safety controls for product integration.
Lists related manuals and defines key terms used in the document.
Lists registered trademarks and explains safety message conventions (DANGER, WARNING, CAUTION).
Provides general precautions, warnings, and guidelines for safe operation and maintenance.
Describes the function, features, and capabilities of the LCD Operator Option.
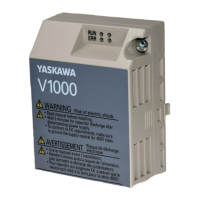
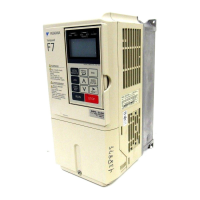
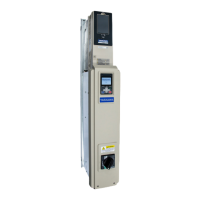
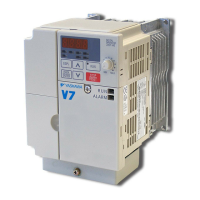
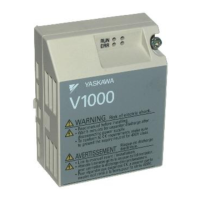
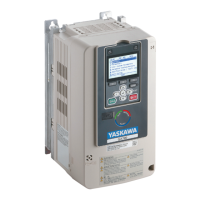
Lists compatible Yaskawa drive models and required software versions.
Details inspection steps, package contents, and separately sold accessories like cables.
Lists part numbers for accessories and necessary tools for installation.
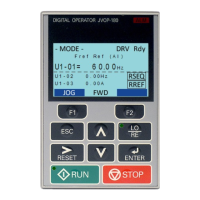
Identifies and illustrates the main components of the LCD Operator Option.
Details the names and functions of the operator keys (F1, F2, ESC, RESET, RUN, STOP).
Continues detailing key functions and describes RUN/LO/RE lights.
Explains the meaning of illuminated, flashing, and off states for LO/RE and RUN LEDs.
Illustrates the relationship between RUN LED status and drive output frequency.
Details the LCD display structure, modes, and data areas.
Describes frequency reference assignments and LO/RE display modes.
Explains Function Key 2 operations and ALARM LED states.
Warns about potential equipment damage due to improper installation practices.
Provides physical dimensions and outlines two methods for installing the LCD Operator.
Details the process for mounting the LCD Operator on the outside of an enclosure panel.
Details the process for mounting the LCD Operator flush with the inside of an enclosure panel.
Explains how to connect the communication cable between the LCD Operator and the drive.
Illustrates the menu flow and navigation within the LCD Operator interface.
Provides a step-by-step guide on how to start and stop the drive using the operator.
Demonstrates how to view drive status and monitor parameters.
Guides the user through changing the display language of the LCD Operator.
Shows an example of how to modify drive parameters, like deceleration time.
Explains the functions for reading, copying, and verifying drive parameter settings.
Details the procedure for reading parameter settings from the drive to the operator.
Continues the step-by-step procedure for reading drive parameters.
Lists and describes parameters related to language, frequency, and run command sources.
Details parameters for LOCAL/REMOTE control, STOP key, copy functions, and read allowances.
Explains error codes and connection messages displayed by the LCD Operator.
Details specific faults like communication errors and oPr, including causes and solutions.
Lists technical specifications such as model, connector, power supply, and operating conditions.
Provides information on the manual's revision dates and edition.
| Series | V1000 |
|---|---|
| Output Current | Varies by model (refer to specific model datasheet) |
| Operating Temperature | -10°C to +50°C (14°F to 122°F) |
| Humidity | 95% RH or less (non-condensing) |
| Overload Capacity | 150% for 60 seconds |
| Protection Functions | Overcurrent, Overvoltage, Undervoltage, Ground Fault, Short Circuit |
| Communication | Modbus RTU, PROFIBUS-DP, DeviceNet, EtherNet/IP |
| Braking Unit | Built-in or External (optional) |
| Input Voltage | 3-Phase 200-240 VAC ±10% 50/60 Hz, 3-Phase 380-480 VAC ±10% 50/60 Hz |
| Output Voltage | 0 to Input Voltage |
| Communication Interface | RS-485 |
| Storage Temperature | -20°C to +60°C (-4°F to +140°F) |