503D Systems, Inc.
4. Move the model into the preferred position on the stage.
NOTE: You can specify the distance you want to move the model by
inputing values in the Move X or Move Y elds and then selecting
Move X or Move Y.
NOTE: Auto Place allows the software to place the model in an
optimum position.
NOTE: Selecting Move Model allows you to click and drag the model
around the stage.
5. If necessary, scale and rotate the model by entering the values and selecting the
corresponding buttons.
6. Select the color you wish to use and then select the part.
NOTE: If working with an assembly, select a color and then the part
you wish to change.
NOTE: If you need to replace a cartridge for a different color or
material type, refer to the section Replacing A Material Cartridge.
Then, verify the material type and color by reviewing the Printer
Conguration settings under the Settings tab in the software.
7. Select the color again to deselect it.
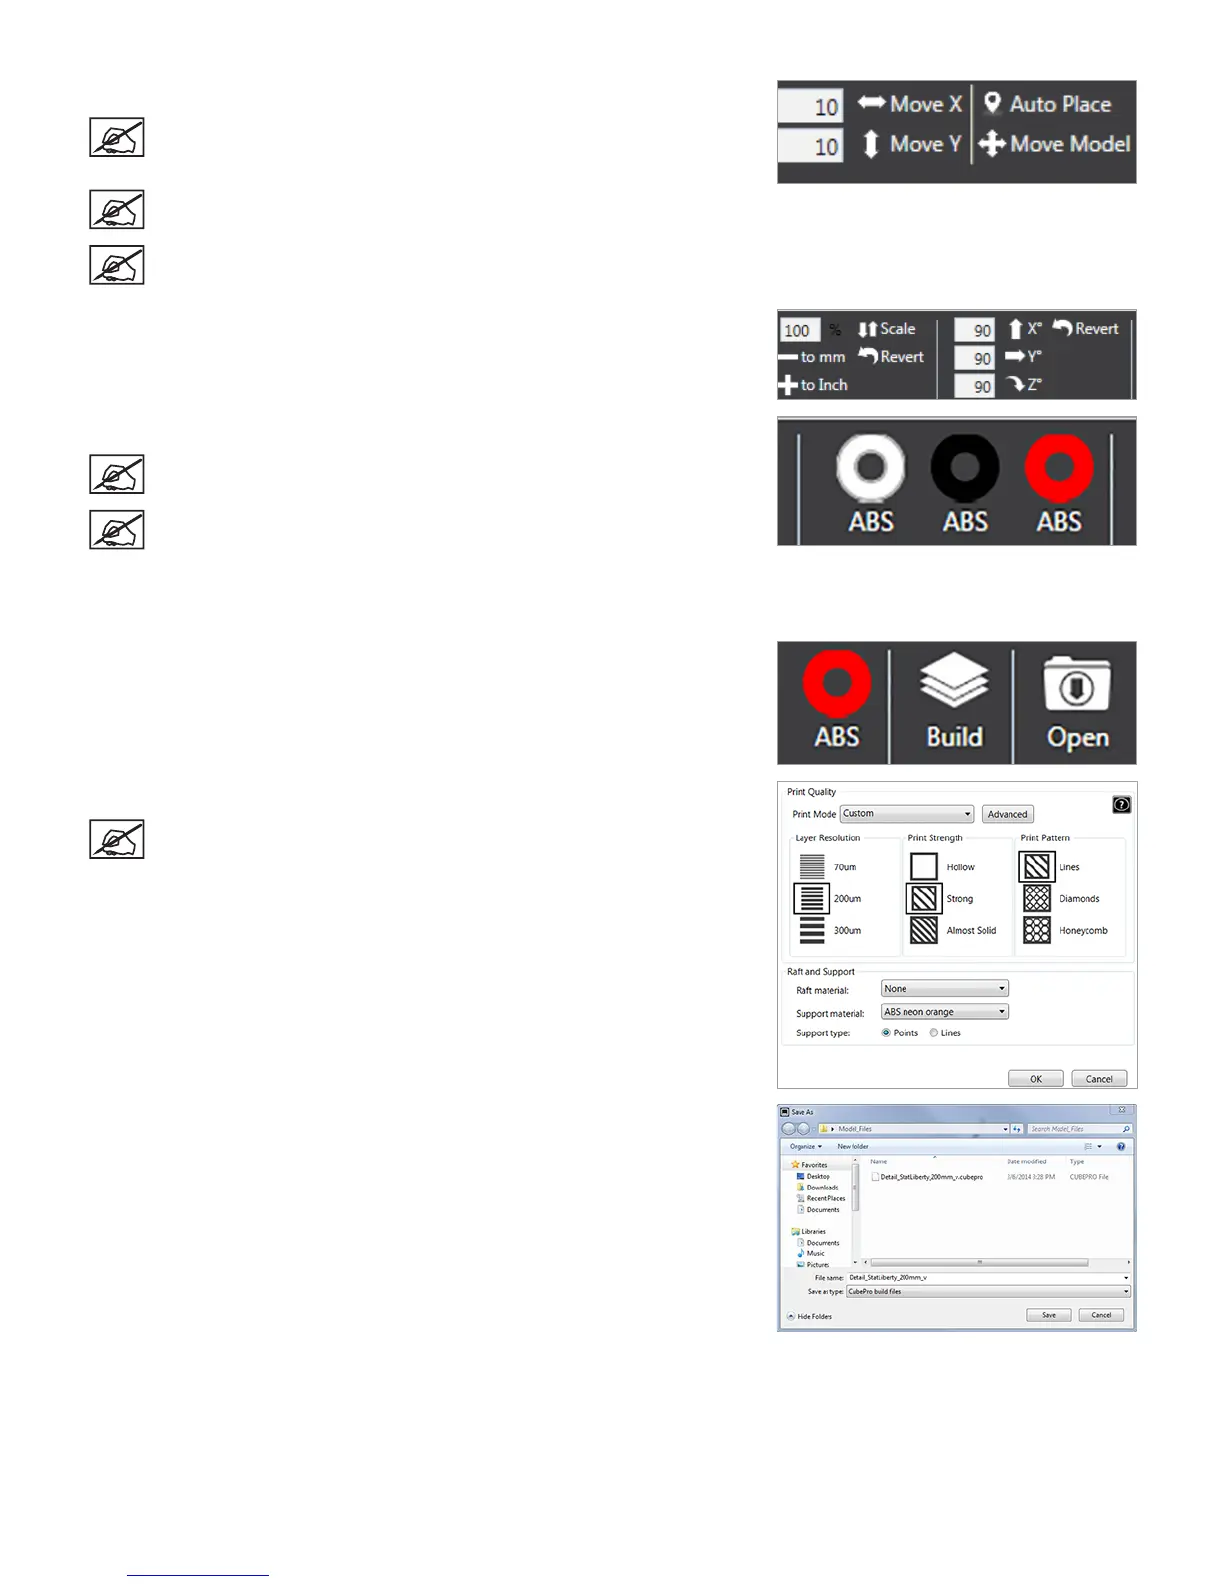
8. Select Build.
9. Enter the appropriate build settings and select Build.
NOTE: Refer to the section called Build Settings under the View Tab
for more information.
10. Browse to the location where the le will be saved and enter a le name. Select
CubePro Build Files as Save As Type. Select Save.