Chapter 3 Configuring settings
27
OsmoTECH® Single-Sample Micro-Osmometer User Guide
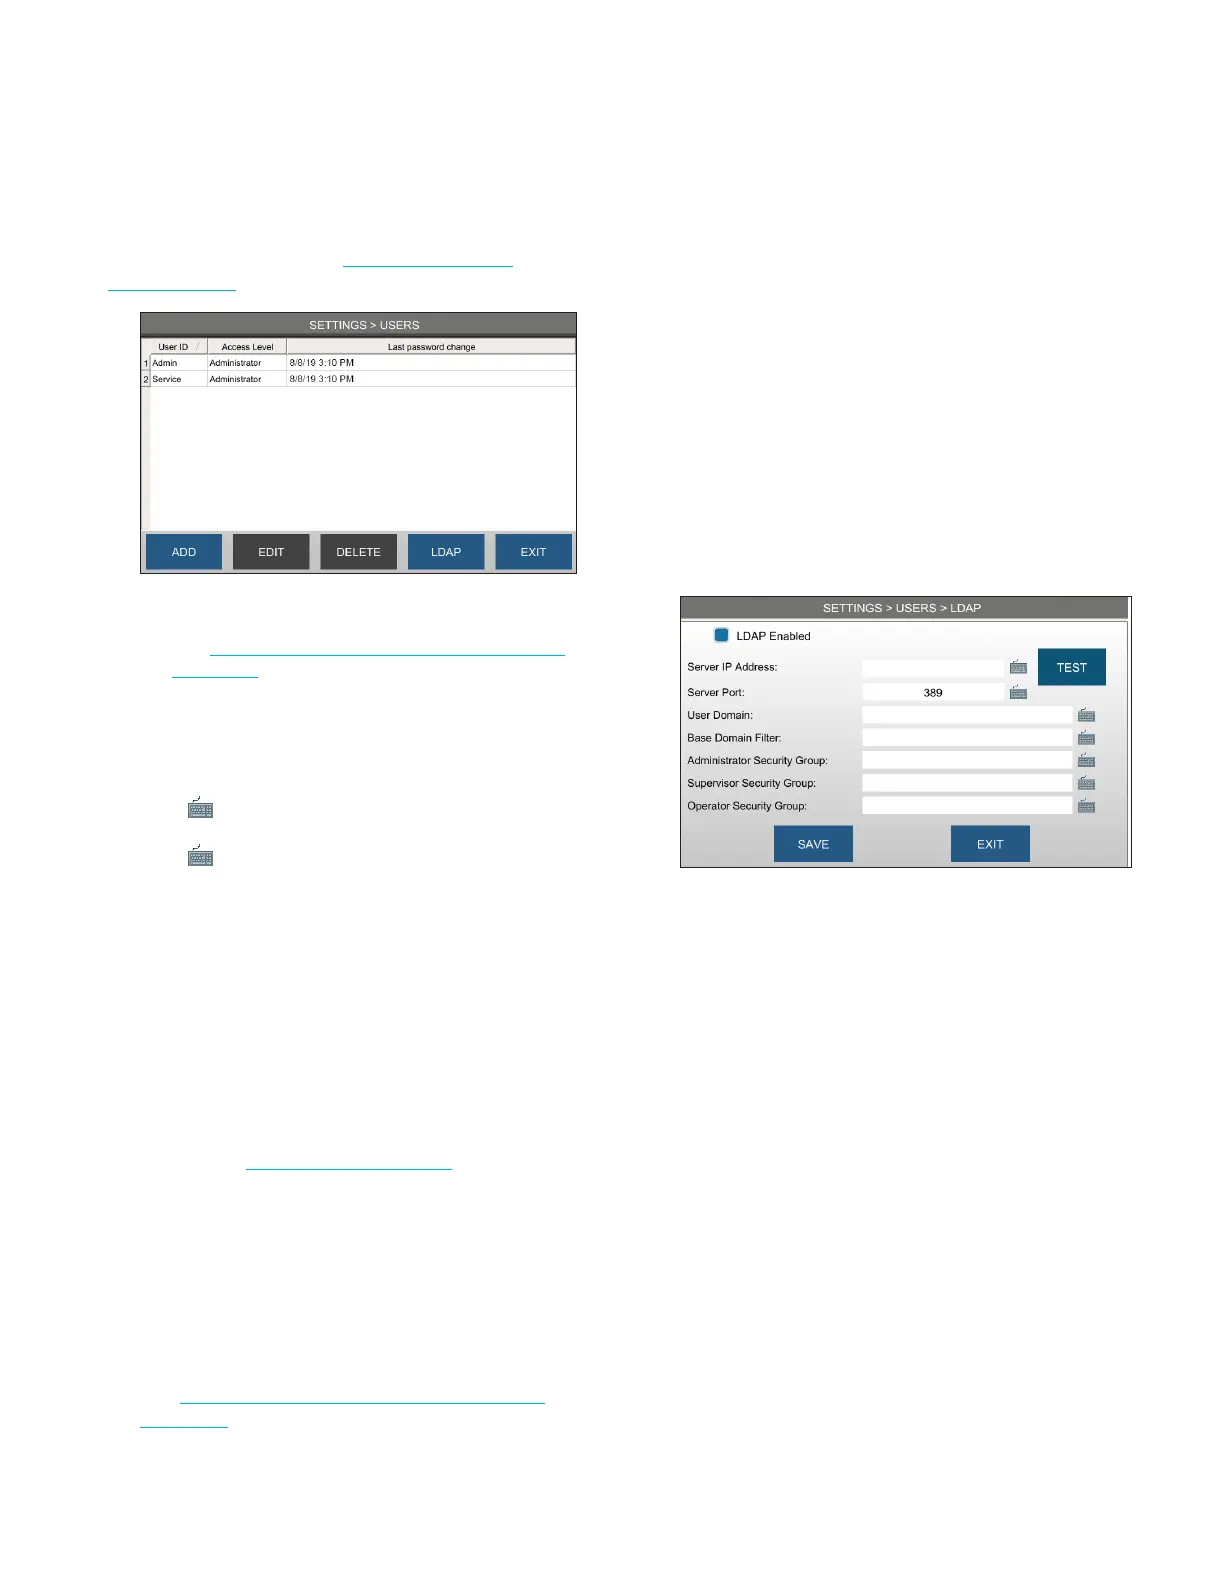
Press USERS and log in (see Logging in from the
Settings screen).
NOTE: A DISABLE button may appear in place of the
DELETE button depending on how a user is set up
(see Configuring calibration access and optional
calibration).
Adding a user
1. Press ADD.
2. Press next to the ID field, type the ID. Press Enter.
3. Press next to the Password field, type the
password and then retype to verify. Press Enter.
4. Select access level.
5. Press SAVE.
Editing a user
1. From the USERS screen, select a user.
2. Press EDIT.
3. Change the user password and access level as
needed (see Setting up user accounts).
You cannot edit the user ID.
4. Press SAVE.
Deleting a user
1. From the USERS screen, select a user.
2. Press DELETE or DISABLE to delete/disable a user
(see Configuring calibration access and optional
calibration).
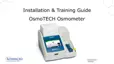
3.5 Connecting to an LDAP server
You can connect your instrument to an LDAP server to
enable users to log into any instrument on the network
with their Windows® credentials.
Your IT administrator can set up this feature for you.
NOTE: For more information on LDAP settings, refer to
the OsmoTECH Family Data Management Guide
(p/n CL00122).
1. Connect the OsmoTECH to the network with the
Ethernet connector on the rear of the device.
2. From SETTINGS, press USERS > LDAP.
3. Select LDAP Enabled.
4. Enter the information provided by your IT
administrator.
5. Enter the group names for the Administrator
Security Group, Supervisor Security Group, and/or
Operator Security Group.
6. Press TEST to log in to a Windows account in order
to verify the information entered.