Chapter 4 Testing samples
40
OsmoTECH® Single-Sample Micro-Osmometer User Guide
7. Wait while the OsmoTECH performs the test.
The OsmoTECH first cools the sample. After a
moment, you will hear the solenoid impact several
times during the last stages of testing. This is normal
operation.
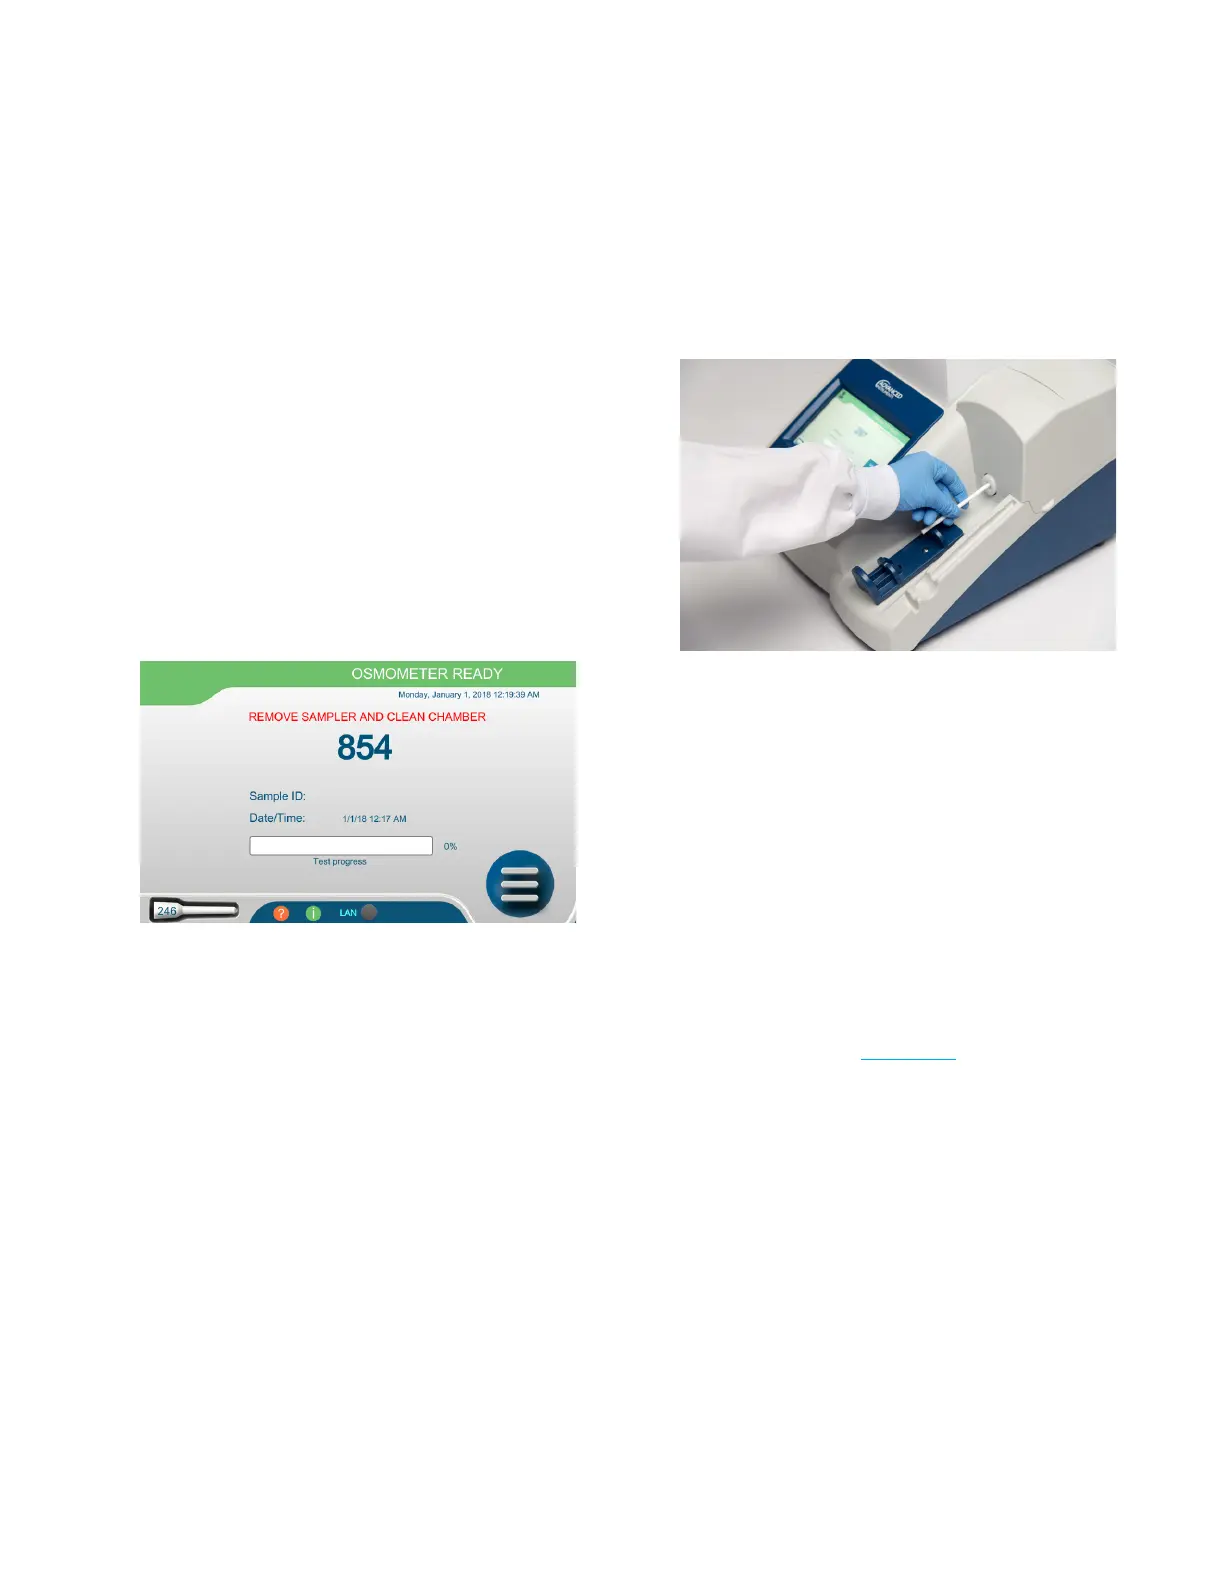
When the test completes, the resulting osmolality
displays in the middle of the screen. The software
provides the instruction to remove the sampler and
clean the chamber.
Test results are stored in the Results database.
NOTE: If you want to cancel a test, you can
withdraw the sample operating cradle at any
time. If an error occurs during a test, you will
hear a beep, and a message displays on the
screen.
Preparing the instrument for the next test
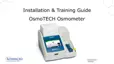
1. Withdraw the operating cradle and remove the
sampler from the cradle.
2. Grasp the sampler tip and depress the plunger to
help remove it. Discard the sampler tip.
3. Wipe the plunger tip with a soft, non-lint, non-ionic
paper, being careful not to dislodge the Teflon® tip.
4. Insert a clean, dry chamber cleaner into the sample
port until you feel a positive stop. Rotate four or five
times in one direction while applying forward
pressure.
5. Withdraw the cleaner and use the other end to clean
the probe again in the same manner.
Leave the cleaner in the sample port until the next
test.
NOTE: If you want to confirm that you cleaned the
instrument correctly, remove the cleaner and
inspect it. Each end of the cleaner should
have a small puncture hole, indicating proper
cleaning. If you have finished testing samples
for the time being, insert the cleaner back
into the port after inspecting it.
6. Test more samples or exit:
• To test additional samples, repeat this procedure
beginning with step 4 on pg. 38.
• If you have no more samples to test and if you are
logged into the instrument, press the Login button
to log out. Confirm that the Login button changes
from blue to gray or orange.