Chapter 4 Testing samples
39
OsmoTECH® Single-Sample Micro-Osmometer User Guide
2. With your thumb on the plunger top and fingers
grasping the barrel, depress the plunger; then insert
the tip into the liquid sample at least 1/4" (6 mm)
below the surface.
Gently release the plunger to load a 20-μL sample.
3. Look at the sample you have just drawn. If there are
voids or bubbles in the sample, discard it and load
another sample that does not contain voids.
4. Remove any sample on the outside of the tip using a
clean, lint-free, non-ionic paper. Quickly swipe the
end of the sampler tip to remove any excess sample
protruding beyond the tip.
NOTE: Be careful not to remove any of the sample below
the acceptable meniscus line (proper sample level
shown below).
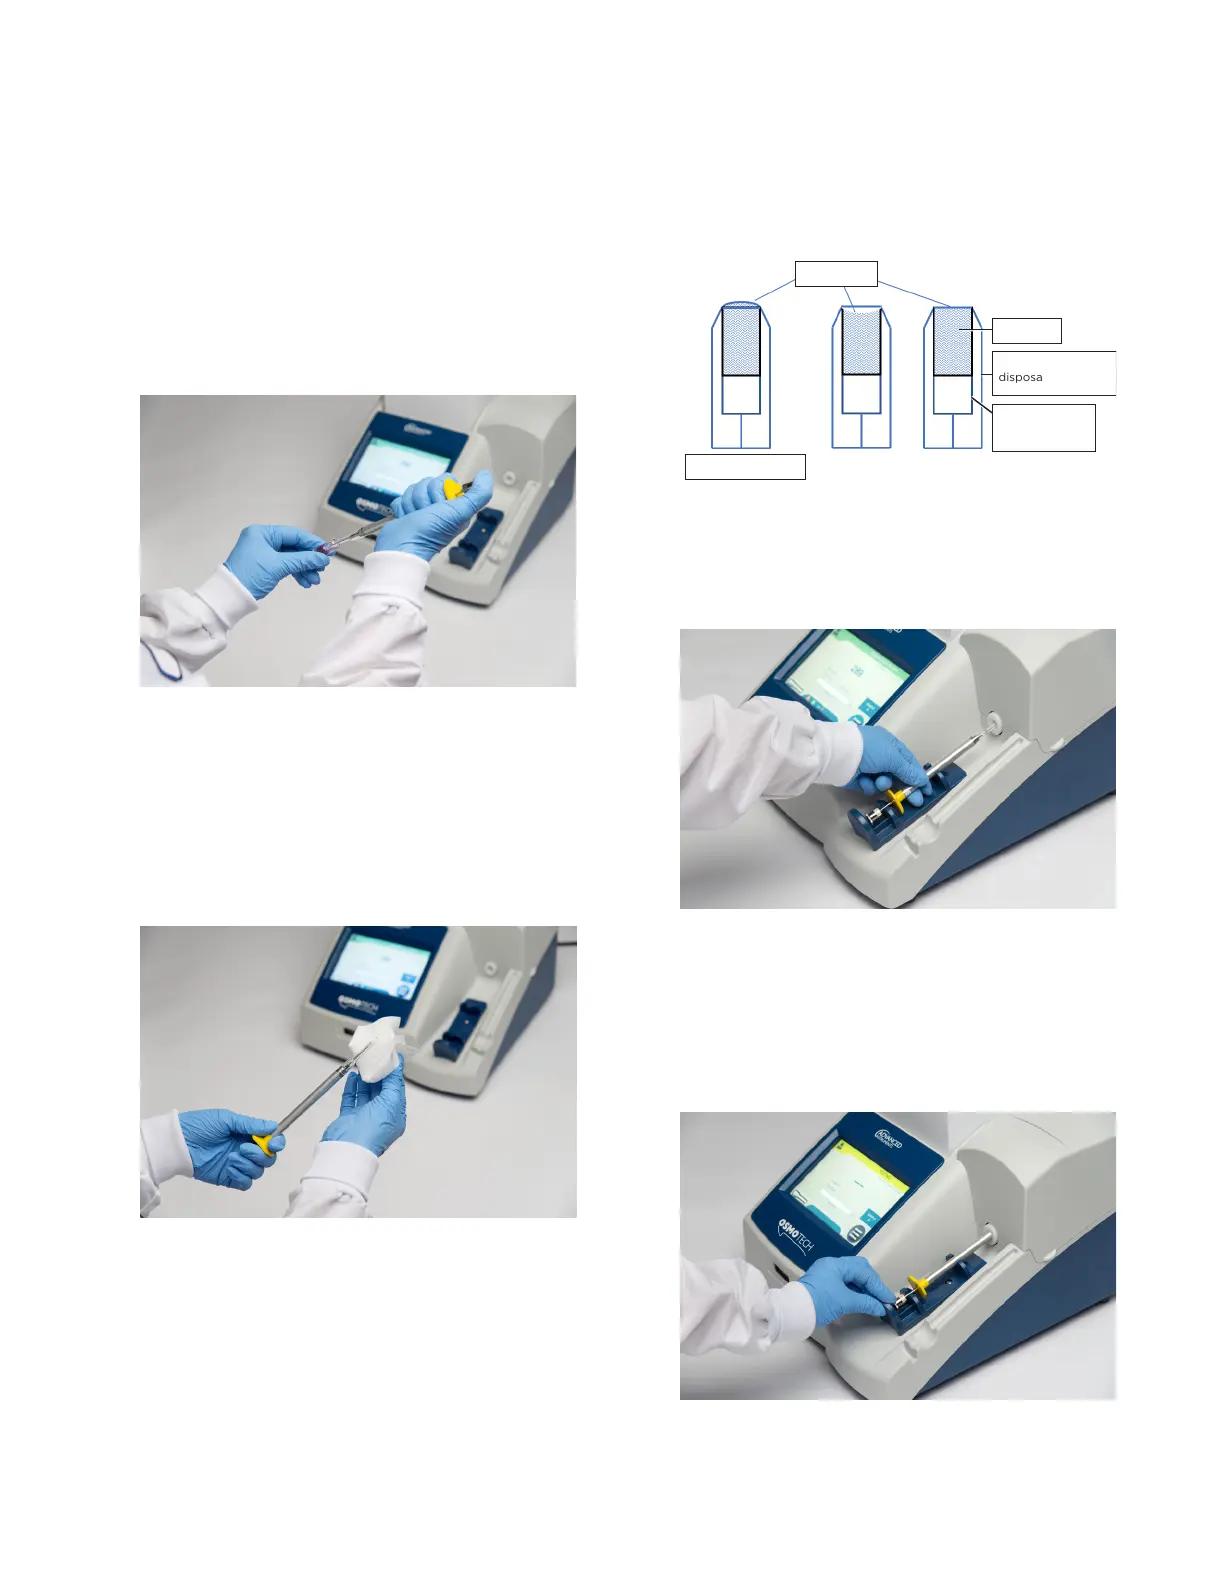
Meniscus
Acceptable
Before wiping
Unacceptable
Sample
Plastic
disposable tip
Teflon
plunger tip
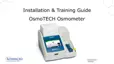
5. Holding the sampler by the barrel, carefully insert the
tip into the sample port; then rest the sampler body
in the operating cradle.
6. Grasp the operating cradle and push it slowly
forward until you feel a positive stop. The test starts
when the cradle reaches the forward position.
When the test begins, the progress bar on the screen
begins to fill. The status bar at the top of the display
is yellow, and the status is TESTING.