Agilent 5110/5100 ICP-OES Service Manual Agilent Restricted 127
4 Removal/ Installation, Replacement and Adjustment
Polychromator
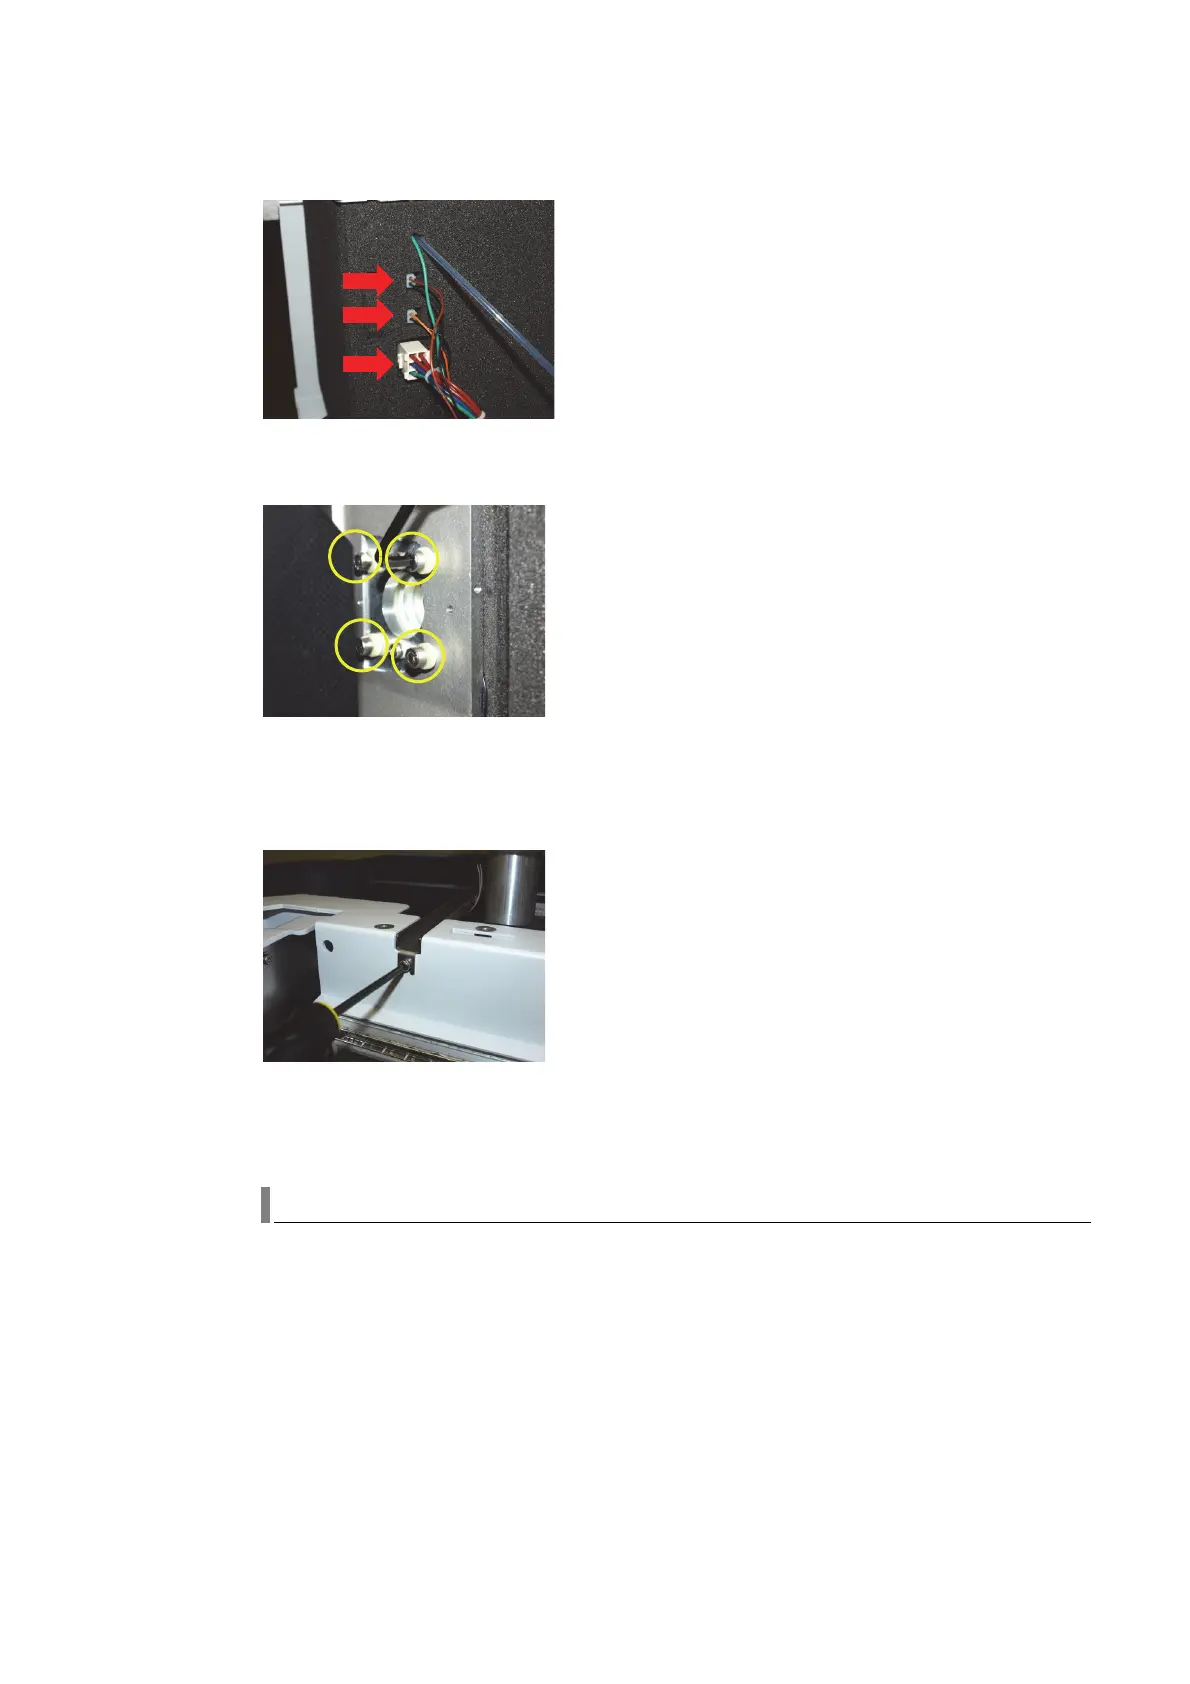
9 Disconnect the heater control plugs 8J1, 8P2, 8J4.
10 Disconnect the 2 Poly purge gas line from the casting.
11 Disconnect the pre optics from the polychromator (Refer to section on Thermal stabilizer
replacement, except only remove the 4 hex bolts as shown above).
12 Using 18 mm socket and wrench remove the 2 polychromator mounting bolts holding
polychromator outer box to the instrument base assembly.
13 Remove the top brace from the instrument after loosening securing screw from front cover.
14 Remove the polychromator assembly from the instrument base assembly.
15 Return the instrument to normal operating conditions by replacing all parts in reverse order.
Polychromator access
Access to the polychromator is through the insulated polychromator outer box. The appropriate
instrument covers must be removed to allow access to the outer box assembly.
The polychromator outer box has three access panels.
• Top cover
• Pilot mirror cover
• Camera cover
 Loading...


