33
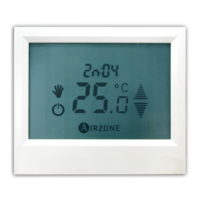
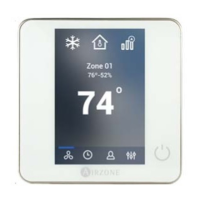
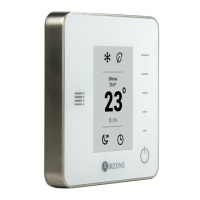
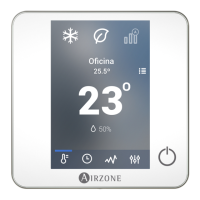
AIRZONE SUPERMASTER CONTROLLER (AZX6CSMASTER [S/E] [B/G])
Important: This device is not compatible with the Production Control Board (AZX6CCP).
Assembly
Supermaster controllers can be mounted on wall (AZX6CSMASTERS) (Fig. 60) or wall-embedded (AZX6CSMASTERE) (Fig. 61).
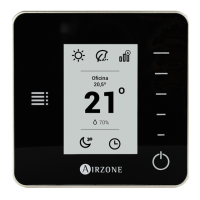
Wall mounting
• Separate the back part of the thermostat from the wall support.
• Fix the support directly to the wall or using a patters.
• Put the back part of the controller on the support (once it is fixed)
passing the cable through the hole. Make sure that the back part
is fixed by the tabs. Make all the connections.
• Place the display on back part.
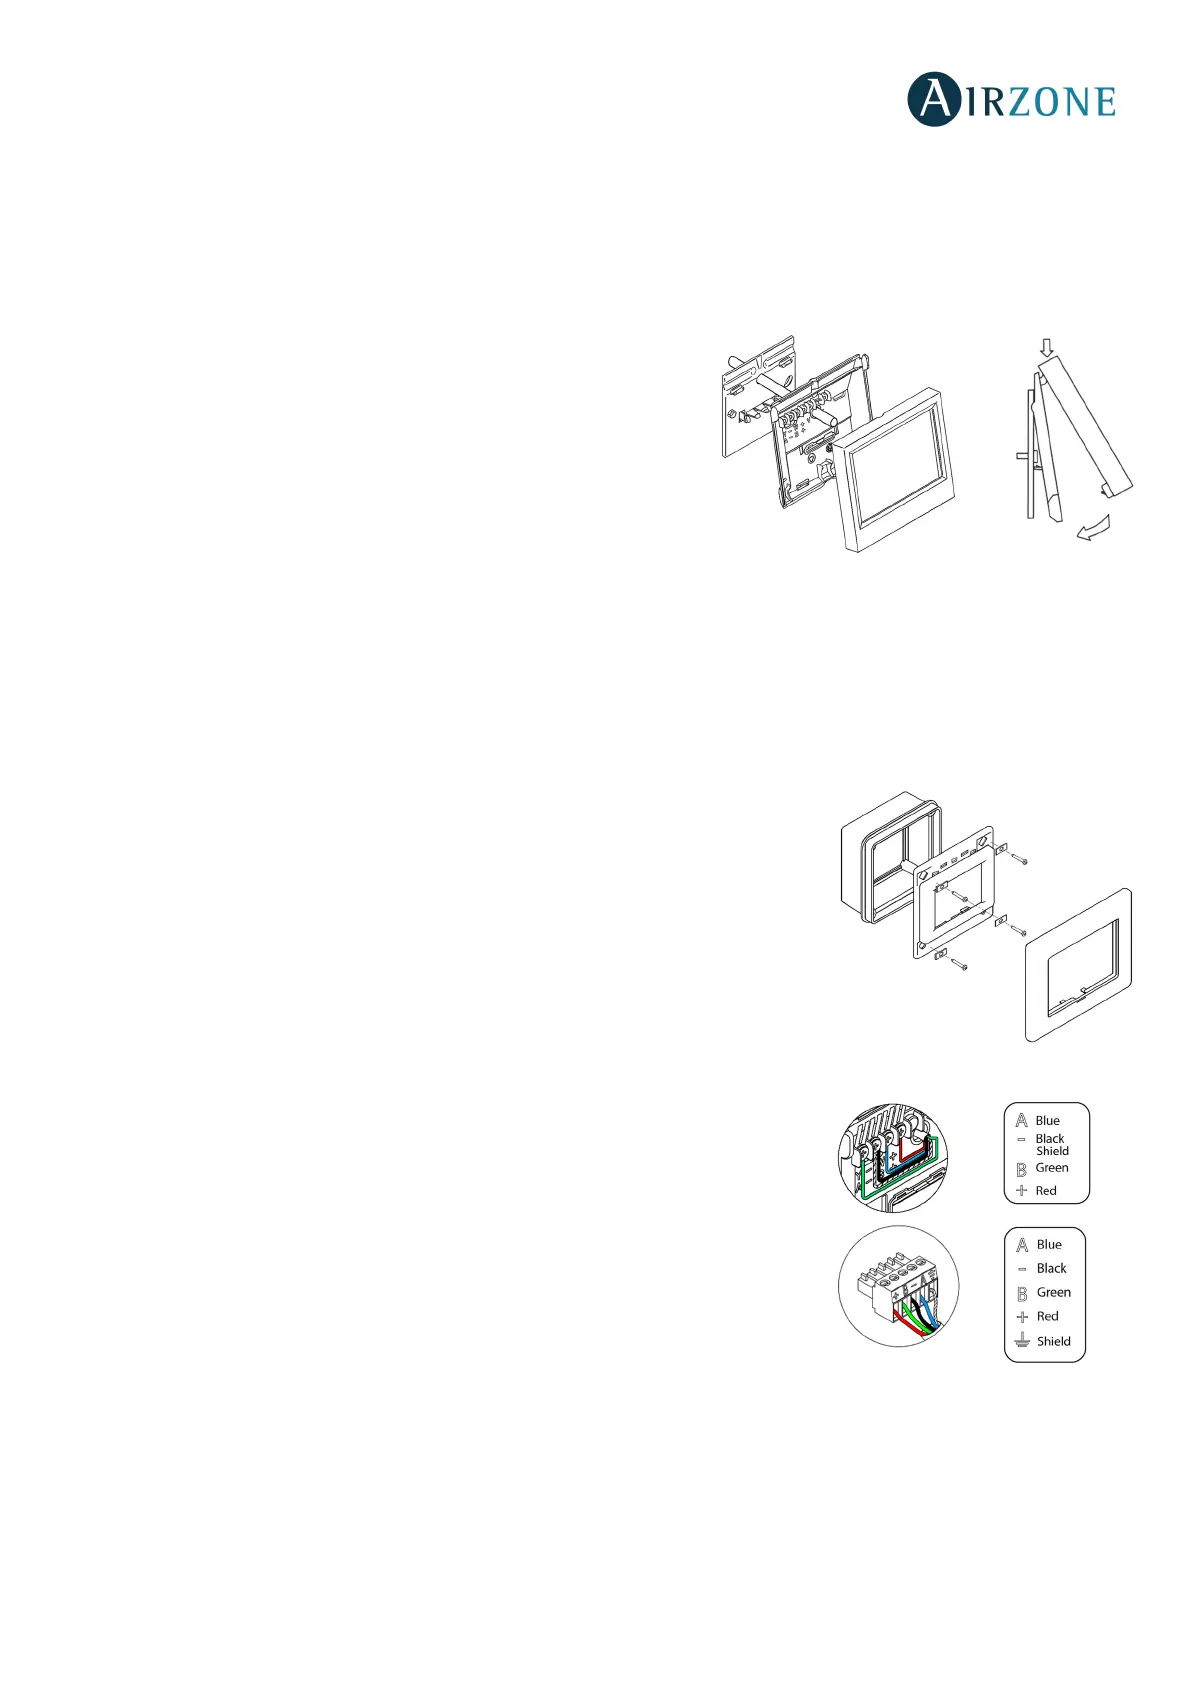
Embedded mounting
Embedded Supermaster thermostats are supplied in 100x100 junction boxes. Compatible junction boxes:
- Solera 362 (100x100 mm)
- Jangar 2174 (100x100 mm)
- IDE CT110 (100x100 mm)
- Fematel Ct35 (100x100 mm)
For a perfect mounting, follow these steps:
• Remove the sub-frame of the display from the rest of the assembly and make
the connections.
• Use the washers and screws to secure the display into the patters.
• Place the sub-frame again. Make sure it is fixed properly.
Connection
The Supermaster controller connects to the domotic bus of the main control board.
For wall-mounted thermostats, use the tabs located on the back of the thermostats.
Attach the wires with the tab screws following the color code (Fig. 62).
Wall-embedded Supermasters have a 5-pin terminal located on their back part. Attach
the wires with the terminal screws following the color code (Fig. 63).
Note: To configure it, follow the steps described in the user's manual, available at
myzone.airzone.es/productos.
(http://doc.airzone.es/producto/Gama_AZ6/Airzone/Comunes/Manuales/MU_AZ6_SMAESTRO_A4_MUL.pdf)
Note: For a proper operation of this module, all the main control boards must be addressed (see section Advanced settings).
 Loading...